
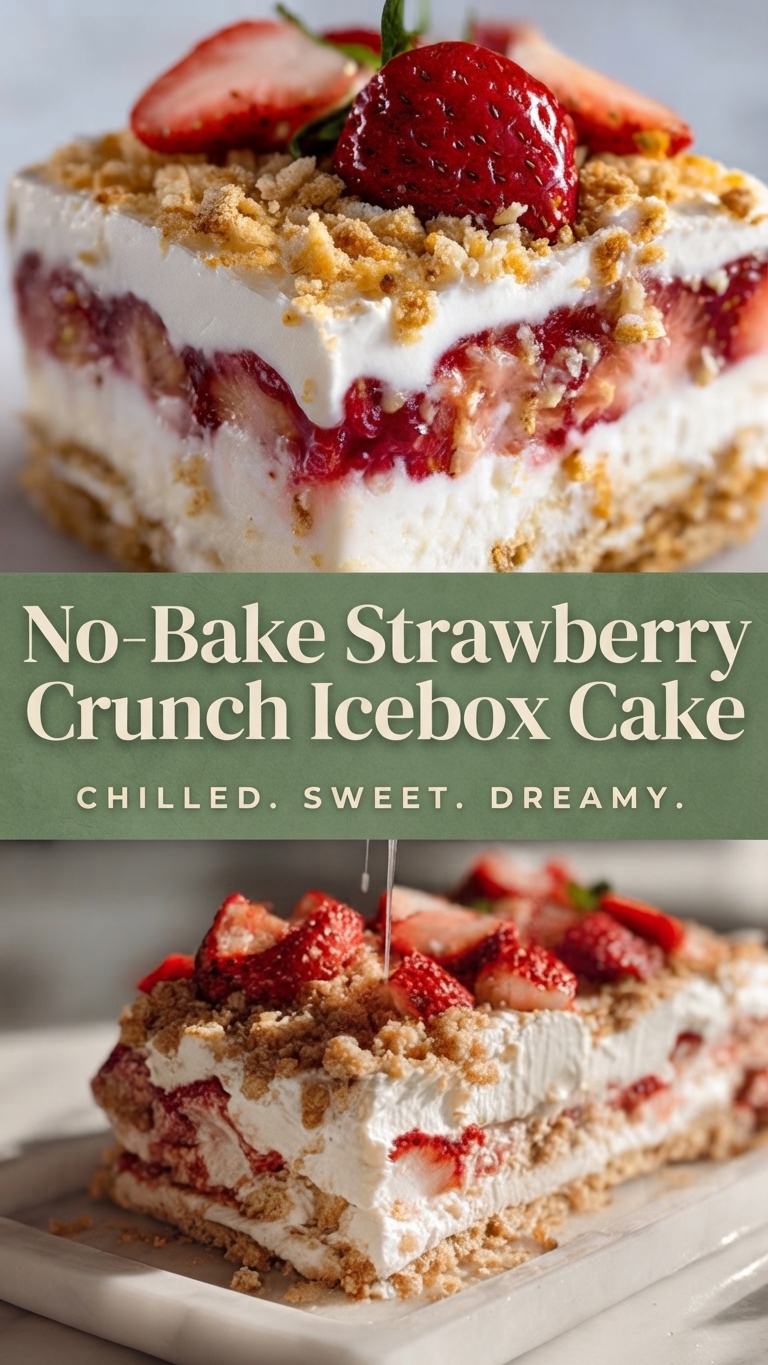
No-Bake Strawberry Crunch Icebox Cake
Chilled. Sweet. Dreamy.
Indulge in the quintessential taste of summer with this incredibly easy, no-bake Strawberry Crunch Icebox Cake. This layered dessert is the ultimate make-ahead treat, requiring minimal effort but delivering maximum flavor. It features alternating layers of light-as-air whipped cream, sweetened fresh strawberries, and delicate vanilla wafers that soften beautifully overnight in the refrigerator, creating a cake-like texture. The pièce de résistance is the buttery, crunchy golden crumble topping, which adds an irresistible texture contrast to the creamy layers below. Perfectly chilled and bursting with berry flavor, this dreamy dessert is guaranteed to be the star of any potluck, barbecue, or family gathering.
Ingredients
For the Strawberry Layer:
-
4 cups fresh strawberries, washed, hulled, and sliced
-
1/4 cup granulated sugar
-
1 tablespoon fresh lemon juice
For the Whipped Cream Layer:
-
3 cups heavy whipping cream, very cold
-
1 cup powdered sugar
-
2 teaspoons pure vanilla extract
-
1/4 teaspoon salt
For the Crumb Topping:
-
1 and 1/2 cups crushed vanilla wafers (about a 12 oz box)
-
1/2 cup (1 stick) unsalted butter, melted
-
1/4 cup granulated sugar
-
1/2 teaspoon salt
For the Cake Layers:
-
2 boxes (approx. 11 oz each) thin vanilla wafers (like Nilla Wafers)
Instructions
-
Prepare the Strawberries: In a medium bowl, combine the sliced strawberries, 1/4 cup granulated sugar, and lemon juice. Toss gently to coat. Let the strawberries sit at room temperature for at least 20 minutes, or until they release their juices and create a light syrup.
-
Make the Whipped Cream: In a large bowl, using a hand mixer or a stand mixer fitted with the whisk attachment, beat the cold heavy whipping cream, powdered sugar, vanilla extract, and salt on medium-high speed. Whip until stiff peaks form. Be careful not to overmix into butter. Keep chilled until ready to assemble.
-
Prepare the Crumb Topping: In a medium bowl, combine the crushed vanilla wafers, melted butter, 1/4 cup granulated sugar, and salt. Mix with a fork until the mixture is evenly moistened and resembles coarse, buttery sand.
-
Assemble the Cake:
-
Layer 1: Spread a thin layer of the whipped cream (about 1/2 cup) onto the bottom of a 9×13 inch baking dish. This helps anchor the first layer of cookies.
-
Cookies: Arrange a single layer of whole vanilla wafers over the whipped cream, covering the bottom of the dish completely. You may need to break some cookies to fit into gaps.
-
Strawberries & Cream: Spoon half of the strawberry mixture (including the juices) evenly over the cookies. dollop and spread one-third of the remaining whipped cream over the strawberries.
-
Repeat: Create a second layer of cookies, followed by the remaining strawberries and another third of the whipped cream.
-
Final Layer: Add a final, third layer of cookies. Spread the remaining whipped cream evenly over the top, ensuring the cookies are completely covered.
-
-
Add the Crunch: Evenly sprinkle the prepared buttery crumb topping over the top layer of whipped cream.
-
Chill: Cover the baking dish tightly with plastic wrap or a lid. Refrigerate for at least 6 hours, but preferably overnight. This allows the cookies to soften and the flavors to meld.
-
Serve: Once chilled, cut the cake into squares and serve directly from the dish.
Tips for Success
-
Use Cold Cream: Ensure your heavy whipping cream is very cold before whipping. This is crucial for achieving stiff, stable peaks. You can even chill your mixing bowl and whisk attachment for best results.
-
Don’t Rush the Chill: The longer the cake chills, the softer the cookies will become, resulting in a better texture. An overnight chill is highly recommended.
-
Even Layering: Try to spread the strawberries and whipped cream as evenly as possible to ensure every slice is balanced.
-
Fresh is Best: While frozen strawberries can be used in a pinch, fresh berries will provide the best flavor and texture. If using frozen, thaw them completely and drain off any excess liquid before macerating with sugar.
-
Variation: For a slightly different flavor profile, try substituting the vanilla wafers with graham crackers, lemon snap cookies, or even shortbread cookies.
Storage and Reheating
-
Storage: Cover leftovers tightly with plastic wrap or store in an airtight container in the refrigerator for up to 3 days. The crumb topping will lose some of its crunch the longer it sits.
-
Freezing: This cake can also be frozen for a firmer, ice cream-like texture. Freeze the assembled cake (without the crumb topping) for up to 1 month. Add the crumb topping after thawing for best results, or freeze the topping separately and sprinkle it on before serving. Thaw overnight in the refrigerator before cutting.
-
Reheating: This dessert is intended to be served cold and does not require reheating.
Serving Suggestions
-
For an extra decadent touch, serve each slice with an additional dollop of freshly whipped cream and a few extra fresh strawberry slices.
-
A drizzle of strawberry sauce or chocolate sauce also makes a beautiful and delicious addition.
-
Pair with a glass of iced tea or lemonade for a perfectly refreshing summer dessert.
Closing
This no-bake Strawberry Crunch Icebox Cake is more than just a recipe; it’s a celebration of summer’s sweetest flavors. Simple to assemble yet impressive to behold, it’s the perfect dessert to create lasting memories with family and friends. So, grab your ingredients, embrace the simplicity of no-bake cooking, and get ready to enjoy a slice of chilled, sweet, and dreamy perfection. Happy baking (or rather, non-baking)!