
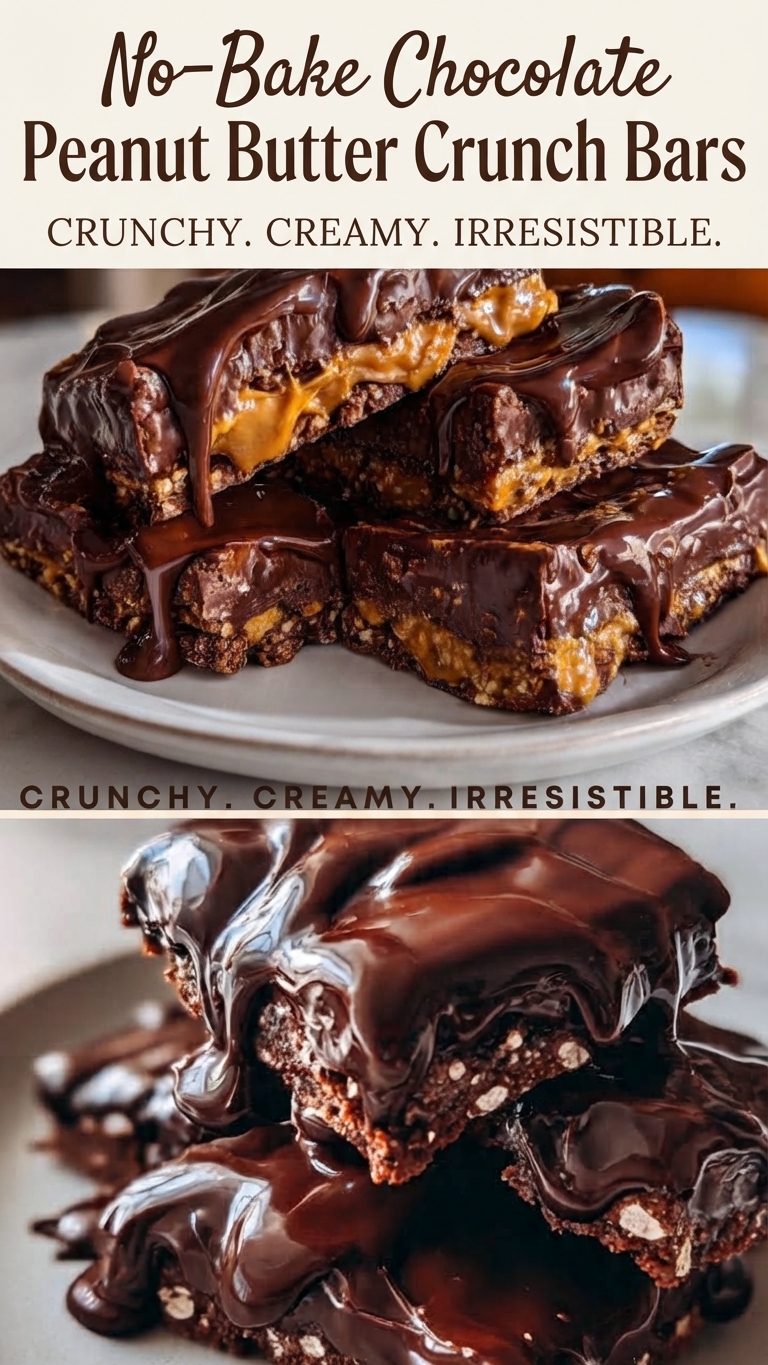
No-Bake Chocolate Peanut Butter Crunch Bars
[Intro]
Indulge in the ultimate sweet and salty treat with these decadent No-Bake Chocolate Peanut Butter Crunch Bars. Featuring a thick, crunchy base made with crispy rice cereal and creamy peanut butter, all topped with a generous layer of rich, glossy chocolate ganache, these bars are impossible to resist. Best of all, they require no baking and come together in minutes for a simple, yet impressive, dessert.
Ingredients
For the Crunchy Base:
-
2 cups (50g) crispy rice cereal
-
1 cup (260g) creamy peanut butter
-
1/2 cup (115g) unsalted butter, melted
-
1/2 cup (60g) powdered sugar, sifted
For the Chocolate Topping:
-
1 1/2 cups (255g) semi-sweet chocolate chips
-
3 tablespoons (42g) unsalted butter
Instructions
-
Prepare the Pan: Line an 8×8 inch (20×20 cm) square baking pan with parchment paper, leaving an overhang on the sides for easy removal.
-
Combine Base Ingredients: In a large bowl, mix together the melted butter, creamy peanut butter, and powdered sugar until smooth and well combined.
-
Add the Crunch: Gently fold in the crispy rice cereal until all the cereal is evenly coated with the peanut butter mixture.
-
Press into Pan: Transfer the mixture to the prepared baking pan. Use a spatula or the back of a metal measuring cup to press the mixture firmly and evenly into the bottom of the pan.
-
Chill: Place the pan in the refrigerator to chill while you prepare the chocolate topping (about 10-15 minutes).
-
Melt the Chocolate: In a microwave-safe bowl, combine the semi-sweet chocolate chips and butter. Heat in 30-second intervals, stirring between each, until the mixture is completely smooth and melted.
-
Spread the Topping: Pour the melted chocolate mixture over the chilled peanut butter base. Use an offset spatula to spread the chocolate into an even layer.
-
Final Chill: Return the pan to the refrigerator for at least 1 hour, or until the chocolate topping is completely set and firm.
-
Slice and Serve: Once set, use the parchment paper overhang to lift the entire block out of the pan. Place it on a cutting board and use a sharp knife to cut into 16 squares (or your desired size). For cleanest cuts, let the block sit at room temperature for about 10 minutes before slicing.
Tips
-
For the Peanut Butter: Use a standard, no-stir creamy peanut butter for best results. Natural peanut butters that separate can be too oily and may prevent the base from setting properly.
-
Adding Salt: If you are using unsalted butter and unsalted peanut butter, consider adding a generous pinch of salt to the peanut butter base to enhance the salty-sweet flavor.
-
Clean Slicing: For perfect, clean squares, run your knife under hot water and wipe it dry between each cut.
-
Uniform Bars: Ensure you press the base mixture down firmly and evenly to prevent the bars from crumbling when sliced.
Storage and Reheating
-
Storage: Store the bars in an airtight container in the refrigerator for up to 2 weeks. They should be stored in a single layer or separated by parchment paper to prevent sticking.
-
Freezing: These bars freeze beautifully. Place them in a freezer-safe container, separated by parchment paper, for up to 3 months. Thaw in the refrigerator before serving.
-
Serving: These bars are best served chilled directly from the refrigerator for a firm, crunchy texture. If you prefer a softer bite, let them sit at room temperature for 15-20 minutes before enjoying.
Serving Suggestions
-
With Coffee: The rich, chocolatey flavor pairs perfectly with a hot cup of coffee or espresso.
-
A La Mode: Serve a chilled square alongside a scoop of vanilla bean ice cream for an extra special dessert.
-
Garnish: For a beautiful presentation, sprinkle a light dusting of flaky sea salt or a drizzle of extra melted peanut butter over the chocolate top just before it sets.
Closing
These No-Bake Chocolate Peanut Butter Crunch Bars are the perfect solution for when you need a quick and satisfying dessert without turning on the oven. With their irresistible combination of crunchy cereal, creamy peanut butter, and decadent chocolate, they are sure to become a family favorite. Enjoy making (and eating) them!