
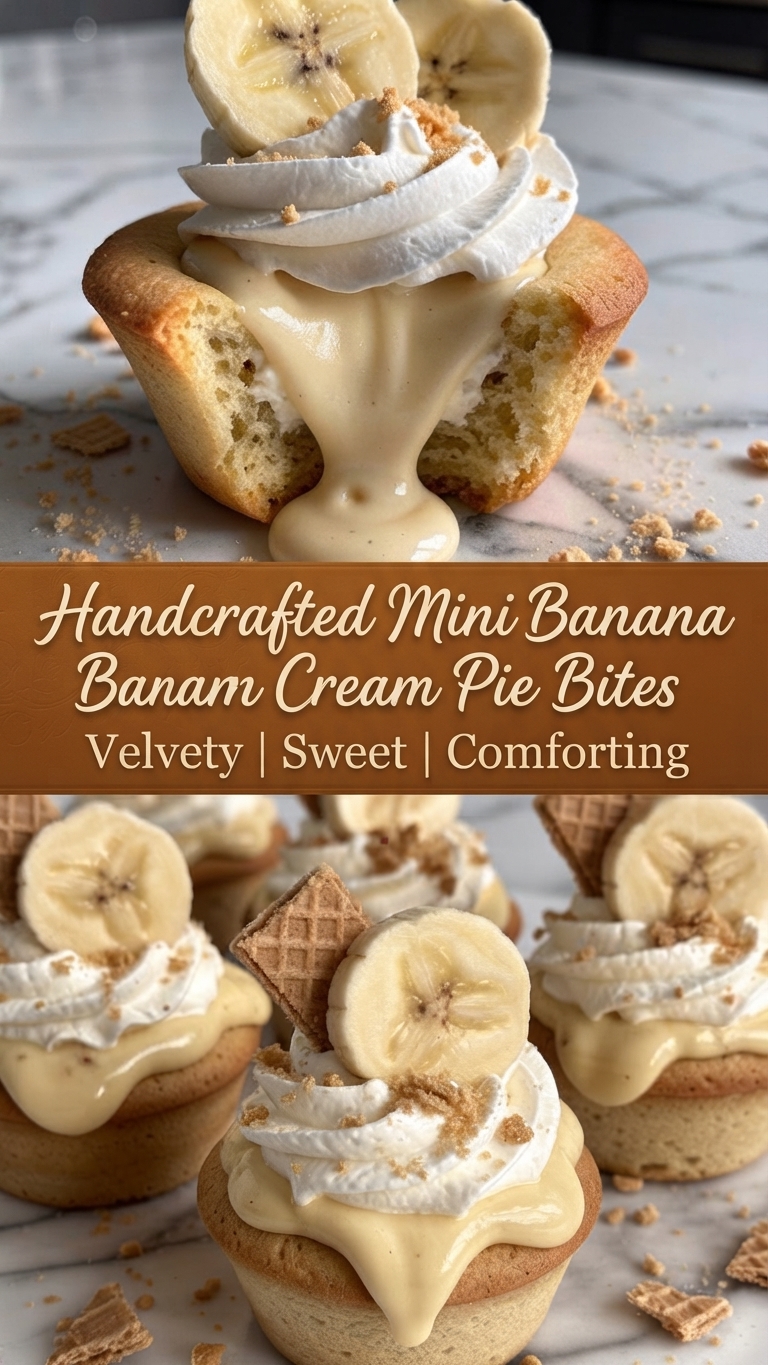
Mini Banana Cream Pie Cookie Cups Recipe
[Image: A top-down view of a single, bite-taken mini banana cream pie cookie cup, revealing the rich, flowing vanilla pastry cream inside. Topped with a swirl of fresh whipped cream, banana slices, and cookie crumbs.]
Are you ready to combine two of the best desserts ever into one perfect, bite-sized treat? Welcome to heaven. These Mini Banana Cream Pie Cookie Cups are the ultimate crowd-pleaser. They start with a golden, buttery shortbread-style cookie cup, baked until crisp. Once cooled, we fill them to the brim with a silky, homemade vanilla bean pastry cream that oozes delightfully when you take a bite. To top it all off, each cup is crowned with a generous swirl of stabilized whipped cream, fresh banana slices, a sprinkle of graham cracker crumbs, and a charming mini waffle cookie wedge.
This recipe is pure nostalgia—creamy, sweet, and undeniably comforting. They are fantastic for parties, baby showers, or just because you need a little happiness in your week. Best of all, the components can be made ahead of time, making assembly a breeze. Let’s get baking!
[Image: A close-up shot of several assembled mini banana cream pie cookie cups, showcasing the variety of toppings—banana slices, mini waffle wafers, whipped cream swirls, and cookie dust.]
Why You’ll Love This Recipe
-
No-Fuss Crust: Using a cookie cup base is much easier than rolling out pie dough and blind-baking a crust.
-
From-Scratch Cream: The homemade vanilla pastry cream is silky smooth and rich, far superior to instant pudding.
-
Customizable: Switch up the cookie cup flavor or add different garnishes.
-
Perfect Portions: These mini treats are ideal for single-serving enjoyment.
Ingredients
Yields: 24 mini cups
Prep time: 45 minutes
Chill time: 3 hours
Bake time: 15 minutes
For the Cookie Cups:
-
1 cup (2 sticks or 226g) unsalted butter, softened
-
¾ cup (150g) granulated sugar
-
1 large egg yolk
-
1 teaspoon pure vanilla extract
-
2 ¼ cups (280g) all-purpose flour
-
½ teaspoon salt
For the Vanilla Pastry Cream:
-
¾ cup (150g) granulated sugar
-
1/3 cup (40g) cornstarch
-
¼ teaspoon salt
-
2 cups (475ml) whole milk
-
4 large egg yolks
-
2 tablespoons unsalted butter
-
2 teaspoons pure vanilla extract
For the Whipped Cream & Assembly:
-
1 ½ cups (355ml) heavy whipping cream, very cold
-
3 tablespoons powdered sugar
-
1 teaspoon pure vanilla extract
-
3 ripe bananas, sliced
-
Crushed vanilla wafers or graham crackers (for sprinkling)
-
Mini waffle cone pieces or wafers (optional, for garnish)
Instructions
Phase 1: Make the Cookie Cups
-
Preheat and Prep: Preheat your oven to 350°F (175°C). Lightly grease a 24-cup mini muffin tin with cooking spray or butter.
-
Cream Butter and Sugar: In a large bowl, use an electric mixer to cream the softened butter and granulated sugar together on medium speed until light and fluffy (about 3 minutes).
-
Add Yolks and Vanilla: Beat in the egg yolk and vanilla extract until fully incorporated, scraping down the sides of the bowl as needed.
-
Combine Dry Ingredients: In a separate medium bowl, whisk together the flour and salt. With the mixer on low speed, gradually add the dry ingredients to the butter mixture. Mix just until a soft dough forms. Do not overmix.
-
Fill Muffin Tin: Scoop heaping teaspoons of the dough into each prepared mini muffin cup. Press the dough firmly against the bottom and up the sides of each cup, creating a well in the center for the filling. (A small tart shaper or the back of a teaspoon can help with this).
-
Bake: Bake for 12–15 minutes, or until the edges are lightly golden brown.
-
Re-Shape: Immediately after removing from the oven, while the cookie cups are still warm and pliable, use the back of a round teaspoon measure to gently re-press the centers down, ensuring a deep cavity for the filling. Let the cups cool in the pan for 10 minutes before carefully transferring them to a wire rack to cool completely.
Phase 2: Make the Vanilla Pastry Cream
-
Combine Dry Ingredients: In a medium saucepan (off heat), whisk together the sugar, cornstarch, and salt.
-
Whisk in Milk: Gradually whisk in the whole milk until smooth.
-
Temper Egg Yolks: In a separate bowl, lightly whisk the egg yolks. Slowly pour about one-half cup of the hot milk mixture into the egg yolks, whisking constantly (this is called tempering and prevents the eggs from scrambling). Pour the yolk mixture back into the saucepan with the rest of the milk mixture.
-
Cook to Thicken: Place the saucepan over medium heat. Cook, whisking constantly and vigorously, for 6–10 minutes. The mixture will come to a gentle boil and thicken considerably.
-
Strain: Once thickened, remove from heat immediately. For an ultra-smooth cream, pour the mixture through a fine-mesh sieve into a clean bowl.
-
Add Flavor and Chill: Stir in the butter and vanilla extract until smooth and melted. Press a piece of plastic wrap directly onto the surface of the pastry cream (this prevents a skin from forming). Refrigerate until completely chilled and set, at least 3 hours, or overnight.
Phase 3: Assembly
-
Prepare Whipped Cream: Just before assembling, in a chilled bowl, beat the heavy cream, powdered sugar, and vanilla extract with an electric mixer on medium-high speed until stiff peaks form.
-
Whisk Cream: Briefly whisk the chilled pastry cream to loosen it and make it smooth again.
-
Fill Cups: Spoon or pipe the chilled pastry cream into each cooled cookie cup, filling almost to the top.
-
Top: Top each filled cup with a generous swirl of the stabilized whipped cream.
-
**Garnish