
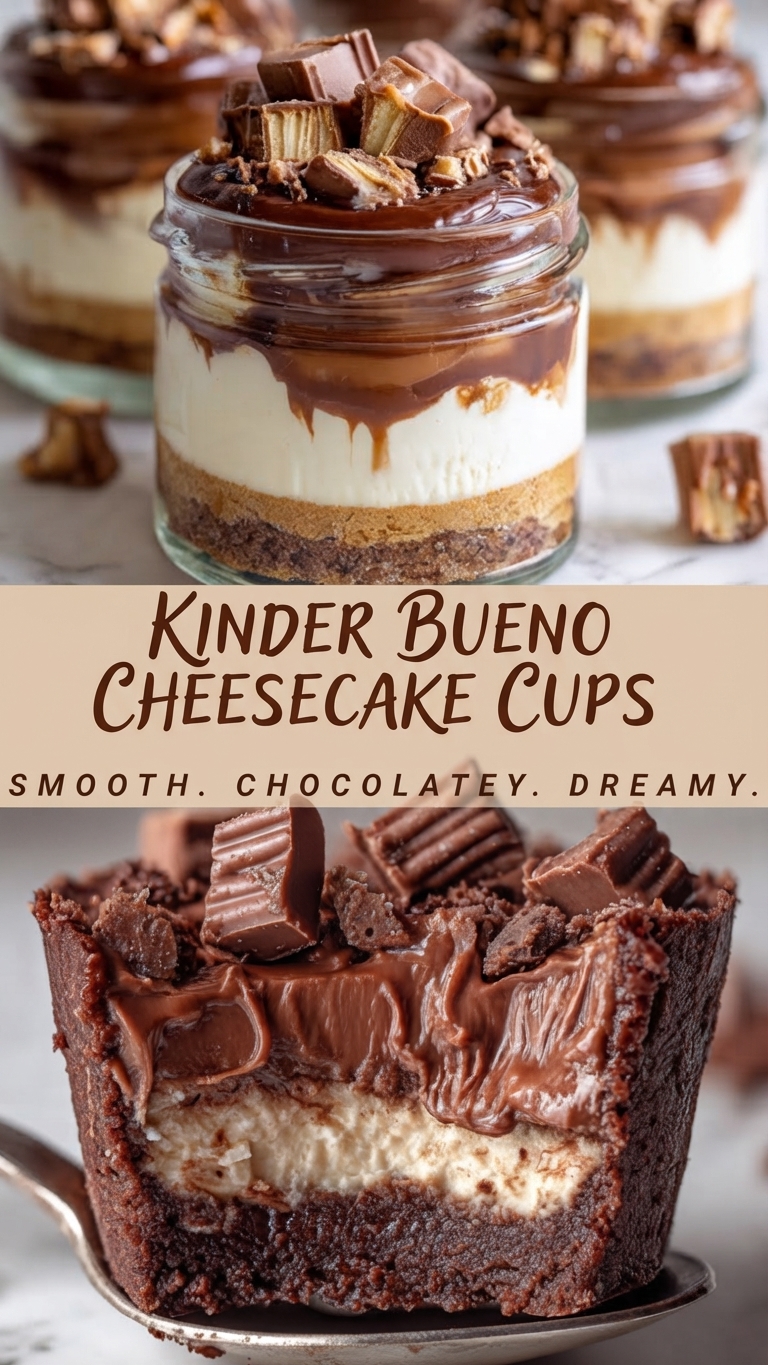
Decadent No-Bake Chocolate Hazelnut Cheesecake Cups
If you are looking for the ultimate dessert to impress with zero oven time, these Decadent No-Bake Chocolate Hazelnut Cheesecake Cups are the answer. Combining a rich, crisp chocolate crust with a smooth, creamy vanilla cheesecake filling and a luscious chocolate-hazelnut topping, this recipe is a dream come true for any chocolate lover. Inspired by popular hazelnut-wafer treats, these individual portions are as stunning to look at as they are delicious to eat. They are perfect for dinner parties, holidays, or whenever you need an elegant, make-ahead indulgence.
Ingredients
For the Chocolate Crust:
-
1 ½ cups (150g) chocolate wafer cookies or chocolate graham crackers, finely crushed
-
4 tablespoons (56g) unsalted butter, melted
-
1 tablespoon granulated sugar (optional, for extra sweetness)
For the Cheesecake Filling:
-
16 oz (450g) full-fat cream cheese, softened to room temperature
-
½ cup (100g) granulated sugar
-
1 teaspoon pure vanilla extract
-
1 cup (240ml) heavy whipping cream, cold
-
1 tablespoon confectioners’ sugar (powdered sugar)
For the Chocolate-Hazelnut Topping:
-
½ cup (125g) chocolate-hazelnut spread (such as Nutella)
-
2 tablespoons heavy cream or milk, to thin
-
6-8 chocolate-hazelnut wafer bars (like Kinder Bueno), chopped, for garnish
-
Extra chocolate shavings or melted chocolate for drizzling (optional)
Equipment
-
Electric hand mixer or stand mixer
-
Mixing bowls
-
Rubber spatula
-
6-8 small glass jars, ramekins, or a standard muffin tin with liners
-
Piping bag (optional)
Instructions
Prepare the Crust:
-
In a medium bowl, combine the crushed chocolate cookies and melted butter. Mix with a fork until all the crumbs are evenly moistened and resemble wet sand. If using extra sugar, stir it in now.
-
Divide the mixture evenly among your 6-8 glass jars or into the bottom of a lined muffin tin. Use the back of a small spoon or your fingers to firmly press the crumbs down into an even layer.
-
Place the jars or muffin tin in the refrigerator to chill while you prepare the filling.
Make the Cheesecake Filling:
-
In a large bowl, use an electric mixer on medium speed to beat the softened cream cheese until it is completely smooth and creamy, about 2 minutes. Scrape down the sides and bottom of the bowl.
-
Add the granulated sugar and vanilla extract to the cream cheese. Beat on medium-low speed until fully incorporated and smooth.
-
In a separate, chilled medium bowl, whip the cold heavy cream and confectioners’ sugar with clean beaters on medium-high speed until stiff peaks form (be careful not to over-whip into butter).
-
Gently fold about one-third of the whipped cream into the cream cheese mixture to lighten it. Then, add the remaining whipped cream and gently fold it in using a rubber spatula until no streaks remain. Do not stir aggressively; you want to keep the filling airy.
Assemble the Cups:
-
Remove the chilled crusts from the refrigerator.
-
Spoon or pipe the cheesecake filling over the crusts, filling each jar or liner about two-thirds to three-quarters full.
-
Gently tap the jars on the counter to settle the filling and release any air bubbles. Smooth the top with the back of a spoon or an offset spatula.
-
Chill the filled cups in the refrigerator for at least 4 hours, or until firm.
Add the Topping:
-
Just before serving, prepare the chocolate-hazelnut layer. In a small microwave-safe bowl, combine the chocolate-hazelnut spread and the 2 tablespoons of heavy cream or milk.
-
Microwave in 15-second intervals, stirring in between, until the mixture is smooth, pourable, and slightly runny.
-
Pour a thin, even layer of the melted chocolate-hazelnut mixture over each chilled cheesecake cup. Tilt the jars slightly to help it coat the surface evenly.
-
Immediately top each cup generously with the chopped chocolate-hazelnut wafer bars. For an extra touch, you can add a drizzle of melted chocolate or some chocolate shavings.
-
Serve immediately or return to the refrigerator for 15 minutes to let the top set slightly.
Tips for Success
-
Room Temperature Ingredients: Ensure your cream cheese is truly at room temperature. Cold cream cheese will result in a lumpy filling.
-
Whipping Cream: Make sure your heavy cream and bowl are very cold before whipping. This helps the cream achieve maximum volume.
-
Crust Texture: For a sturdier crust, bake the pressed crumb base for 10 minutes at 350°F (175°C), then let it cool completely before adding the filling. This step is optional but recommended if you prefer a less crumbly texture.
-
Clean Layers: To get perfectly clean layers in your jars without smudging the sides, use a piping bag to pipe the filling in.
-
Make-Ahead: These cups are perfect for making ahead. The base and filling can be assembled and stored, covered, in the refrigerator for up to 2 days before adding the topping and wafers. The wafers should be added just before serving to maintain their crunch.
Storage and Reheating
-
Storage: Store any leftover cheesecake cups in an airtight container or cover the jars with plastic wrap. They will keep in the refrigerator for up to 4 days. The wafer topping will soften over time.
-
Freezing: You can freeze the assembled cups (without the fresh wafer topping) for up to 1 month. Thaw them in the refrigerator overnight before topping with fresh wafers and serving.
Serving Suggestions
These Decadent No-Bake Chocolate Hazelnut Cheesecake Cups are a complete dessert on their own. For an extra special presentation, serve them on a small plate with a dollop of fresh whipped cream and a few toasted, chopped hazelnuts sprinkled around the base. A cup of strong coffee or an espresso is the perfect accompaniment to cut through the richness of the chocolate and cream.
Closing
We hope you enjoy making these spectacular chocolate hazelnut cheesecake cups as much as we do. They are a guaranteed crowd-pleaser that proves elegance doesn’t have to be complicated. Happy baking (or rather, no-baking)!