There’s something incredibly comforting about the aroma of a freshly baked apple pie wafting through the house. It’s a scent that evokes memories of home, warmth, and shared moments. Today, we’re diving into the delightful world of Baked Apple Pie, a classic dessert that has graced tables for generations and continues to be a favorite for its simplicity, heartwarming taste, and universal appeal.
This isn’t just any pie; it’s a celebration of apples, spices, and a beautifully flaky crust. Whether you’re a seasoned baker or just starting your culinary journey, this recipe is designed to guide you to pie perfection. Forget the store-bought versions; the satisfaction of creating your own, from scratch, is unparalleled.
The Heart of the Pie: Choosing Your Apples
The secret to an outstanding apple pie lies first and foremost in the apples themselves. Not all apples are created equal when it comes to baking. You want apples that will hold their shape, offer a good balance of sweet and tart, and become tender without turning into mush.
Our top recommendations for apple pie:
- Granny Smith: The quintessential baking apple. Its tartness provides a fantastic contrast to the sweetness of the other ingredients, and it holds its shape beautifully.
- Honeycrisp: A fantastic all-rounder, offering a crisp texture and a lovely balance of sweet and tart.
- Fuji: Sweet and firm, Fuji apples add a delightful crunch even after baking.
- Braeburn: Known for its sweet-tart flavor and firm texture, making it excellent for baking.
- Golden Delicious: Milder in flavor, but they break down nicely and add sweetness.
The best approach is often a mix of two or three different varieties. This creates a more complex flavor profile and interesting texture in your filling. For example, combining Granny Smith for tartness and structure with Honeycrisp for sweetness and a different texture will elevate your pie significantly.
Preparation is Key: Once you’ve chosen your apples, wash them thoroughly, peel them, core them, and slice them into uniform pieces, about 1/4 to 1/2 inch thick. Consistency in size ensures even cooking.
Crafting the Perfect Pie Crust: The Foundation of Flavor
A great apple pie deserves a great crust. A flaky, tender, and buttery crust is not just a vessel for the filling; it’s an integral part of the experience. While some might find making pie crust daunting, with a few tips and tricks, you’ll be a pastry pro in no time.
Ingredients for a Flaky Crust:
- All-purpose flour: The base of your crust.
- Unsalted butter: Crucial for flavor and flakiness. Ensure it’s very cold, cut into small cubes. Cold butter creates steam in the oven, which leads to those wonderful flaky layers.
- Ice water: Also very cold! This helps keep the butter solid and prevents the dough from becoming tough.
- A pinch of salt: Enhances the flavor of the crust.
Tips for Success:
- Keep it Cold: This is the golden rule for pie crust. Cold butter and ice water are your best friends.
- Don’t Overwork the Dough: Overworking develops the gluten, leading to a tough crust. Mix until just combined. You should still see visible pieces of butter in the dough – these are what create the flakiness.
- Chill, Chill, Chill: After mixing, wrap the dough and refrigerate it for at least 30 minutes, or up to 2 days. This allows the gluten to relax and the butter to firm up, making it easier to roll and ensuring a tender crust.
- Flour Your Surface Lightly: When rolling, use just enough flour to prevent sticking. Too much flour will make your crust dry.
The Warming Spices and Sweetness: A Symphony of Flavors
The filling is where the magic truly happens, transforming simple apples into a luxurious, spiced delight.
Key Ingredients for the Filling:
- Sliced apples: As discussed, a good mix is best.
- Granulated sugar and brown sugar: A combination offers depth of sweetness and a hint of molasses flavor. Adjust to your apple’s sweetness.
- All-purpose flour or cornstarch: This acts as a thickener for the juices released by the apples, preventing a watery pie.
- Cinnamon: The quintessential apple pie spice.
- Nutmeg: A warm complement to cinnamon.
- A pinch of cloves or allspice (optional): For an extra layer of warmth and complexity.
- A squeeze of lemon juice (optional but recommended): Brightens the flavors and prevents apples from browning.
- A touch of unsalted butter: Dotted over the filling before baking, it adds richness and helps create a beautiful caramelization.
Bringing it Together:
In a large bowl, gently toss the sliced apples with the sugars, flour (or cornstarch), and spices. Ensure the apples are evenly coated. Let it sit for a few minutes while you prepare your pie crust; this allows the apples to start releasing some of their juices, which will then mix with the thickener.
Assembling Your Masterpiece: The Art of the Pie
With your crust ready and your filling spiced, it’s time to assemble your pie.
- Roll out the Bottom Crust: On a lightly floured surface, roll out one disc of chilled pie dough into a 12-inch circle. Carefully transfer it to a 9-inch pie plate, letting the excess hang over the edges.
- Add the Filling: Pour the apple mixture into the pie crust, mounding it slightly in the center. Dot the top with small pieces of unsalted butter.
- Top Crust Options:
- Full Top Crust: Roll out the second disc of dough into another 12-inch circle. Place it over the apple filling. Trim the edges, leaving about a 1-inch overhang. Crimp the edges of the top and bottom crusts together to seal. Cut several slits in the top crust to allow steam to escape during baking.
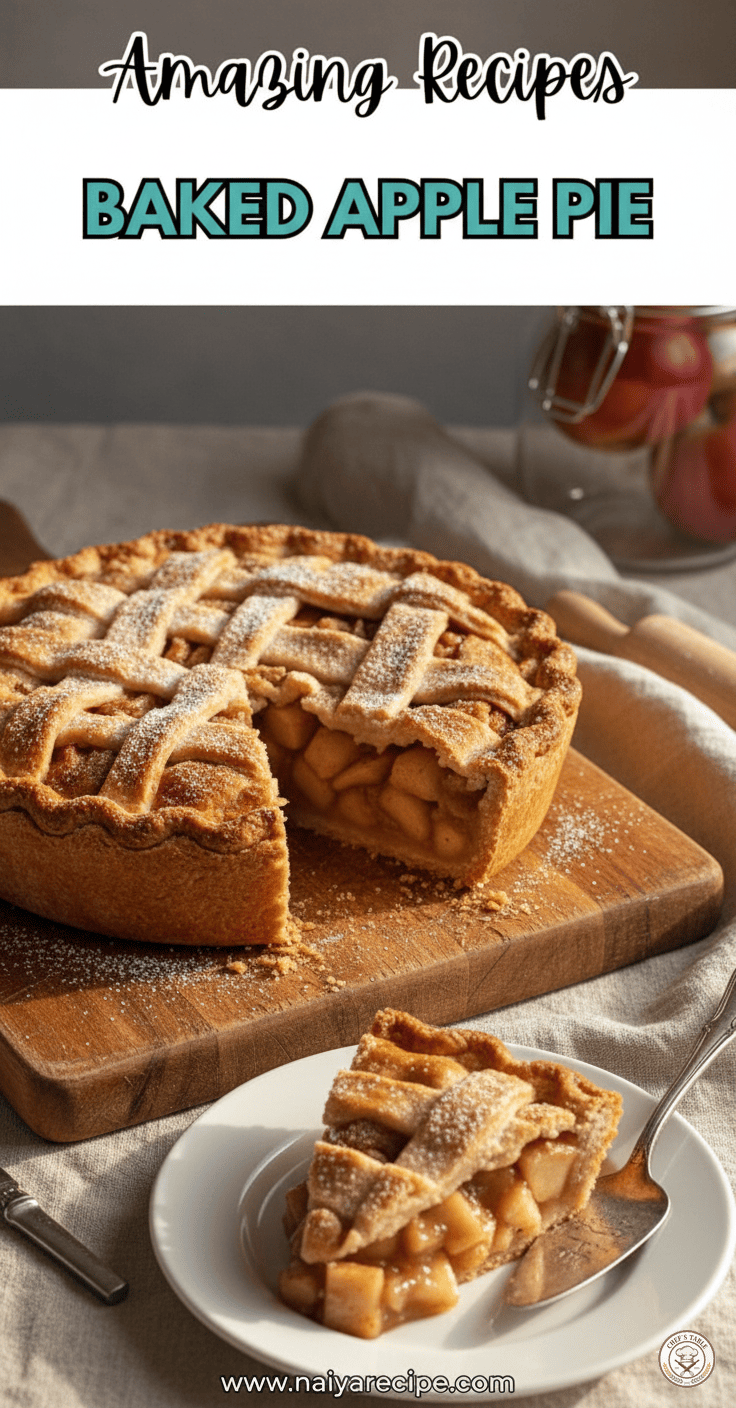
- Lattice Top: For a beautiful presentation, cut the second dough disc into strips (about 3/4 to 1 inch wide) and weave them over the apple filling in a lattice pattern. This takes a little more time but is well worth the effort for the stunning visual.
- Egg Wash and Sugar Sprinkle (Optional but recommended): For a golden, shiny crust, brush the top of the pie with an egg wash (one egg beaten with a tablespoon of water or milk). Sprinkle with a tablespoon or two of granulated sugar for a lovely crunchy finish.
Baking to Golden Perfection
Preheat your oven to the recommended temperature (usually around 400°F/200°C). Place the pie on a baking sheet to catch any potential drips.
Baking Stages:
- Initial High Heat: Start by baking at a higher temperature for the first 15-20 minutes. This helps set the crust and encourages it to become wonderfully flaky.
- Reduce Heat: After the initial high-heat bake, reduce the oven temperature (typically to 375°F/190°C) and continue baking until the crust is golden brown and the filling is bubbly and tender. This usually takes another 40-60 minutes.
- Check for Doneness: To ensure the apples are cooked through, insert a thin knife or skewer into one of the steam vents or through the lattice. If it goes in easily with little resistance, your apples are tender.
- Prevent Over-Browning: If the edges of your crust start to brown too quickly, you can cover them loosely with aluminum foil or use a pie shield.
The Agonizing Wait: Cooling Your Pie
Once your pie emerges from the oven, a glorious golden-brown, resist the urge to slice into it immediately. This is perhaps the hardest part of pie-making!
Why Cool? Cooling allows the filling to set properly. If you cut into a hot pie, the filling will be runny, and the slices won’t hold their shape. Let your pie cool on a wire rack for at least 2-3 hours, or even longer, until it’s just warm or at room temperature. The flavors will also meld and deepen as it cools.
Serving Suggestions: The Perfect Accompaniment
A slice of warm, homemade apple pie is a treat on its own, but it truly shines with a few thoughtful additions:
- A scoop of vanilla bean ice cream: The classic pairing, where the cold, creamy ice cream melts slightly into the warm, spiced apples.
- A dollop of freshly whipped cream: Light, airy, and a delightful contrast to the rich filling.
- A drizzle of caramel sauce: For an extra touch of indulgence.
Storing Your Baked Apple Pie
Properly stored, your homemade apple pie will remain delicious for several days.
- Room Temperature: An apple pie can be stored at room temperature, covered loosely with foil or plastic wrap, for up to 2 days.
- Refrigeration: For longer storage, refrigerate the pie. It will keep well for 3-4 days. Bring it back to room temperature or gently rewarm slices in the oven before serving.
- Freezing: You can freeze a baked apple pie for up to 3-4 months. Wrap it tightly in plastic wrap and then in foil. Thaw overnight in the refrigerator and reheat in a moderate oven until warmed through.
A Timeless Tradition
Baking an apple pie is more than just following a recipe; it’s an experience, a tradition, and an act of love. From the careful selection of apples to the patient cooling process, each step contributes to a dessert that brings joy and comfort. The reward is that first bite: the tender, spiced apples bursting with flavor, encased in a perfectly flaky crust.
So, gather your ingredients, tie on your apron, and embark on the wonderful journey of baking your very own Baked Apple Pie. It’s a taste of home, a piece of culinary history, and a delicious memory waiting to be made. Enjoy every single glorious bite!
Visit us for more amazing recipes at www.naiyarecipe.com