There’s something incredibly comforting about the aroma of apples and cinnamon wafting from the kitchen. It evokes memories of simpler times, of grandmothers baking with love, and of gatherings filled with warmth and laughter. While apple pie holds a special place in our hearts, sometimes we crave that same beloved flavor in a more convenient, easy-to-share form. Enter the old-fashioned baked apple bars – a truly timeless dessert classic that captures all the deliciousness of apple pie in a delightful, handheld package.
These bars are more than just a dessert; they are a celebration of home baking, a testament to the enduring appeal of simple, wholesome ingredients, and a reminder that some traditions are simply too good to ever fade away. Whether you’re an experienced baker or just starting your culinary journey, this recipe is designed to be straightforward, yielding a result that is both impressive and utterly delicious.
The Allure of Apple Bars
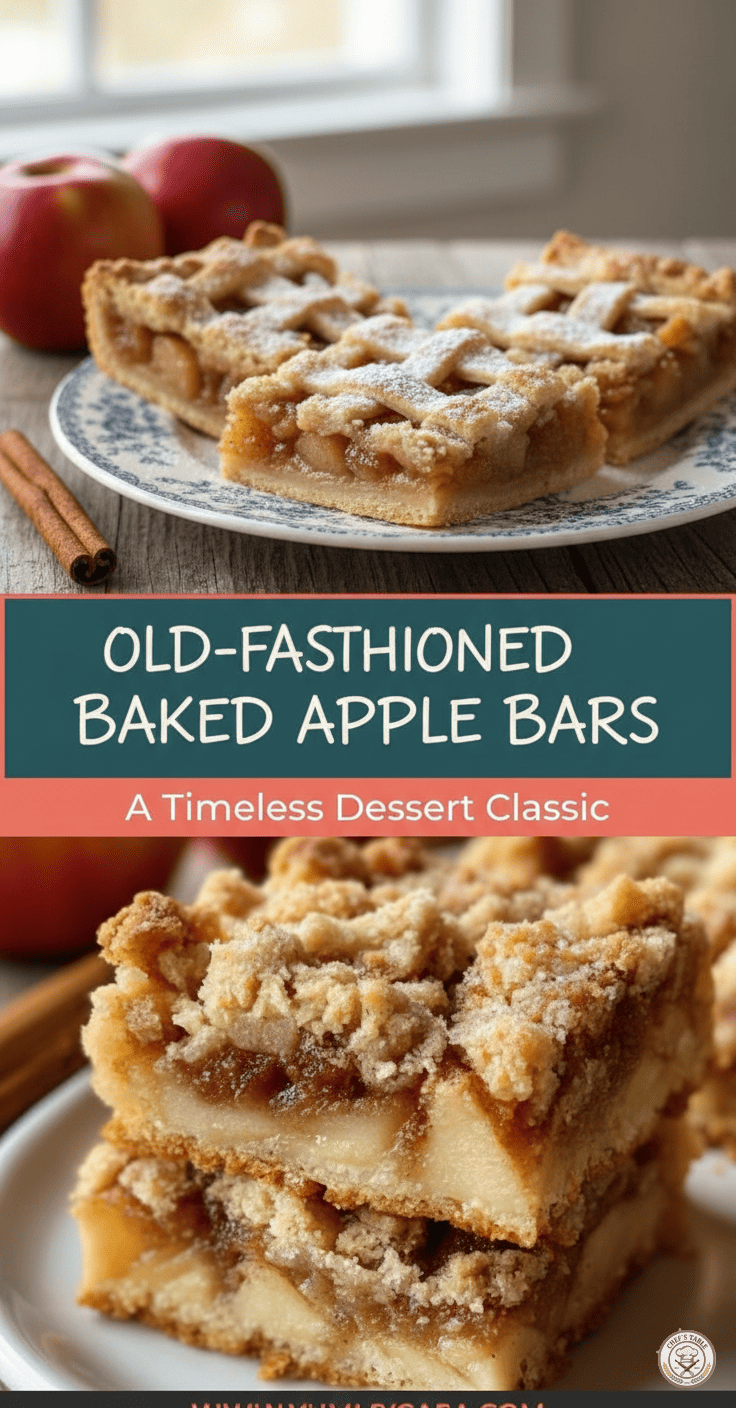
What makes these apple bars so captivating? It’s a combination of factors. First, there’s the crust – a tender, buttery foundation that provides the perfect contrast to the sweet and spiced apple filling. Then, the filling itself: generously spiced, soft yet with a slight bite, bursting with the natural sweetness and tang of fresh apples. And finally, the topping, often a delightful crumble or a delicate lattice, adding texture and visual appeal.
Unlike a traditional pie, which can sometimes be intimidating to make and serve, apple bars are wonderfully forgiving. They bake beautifully in a rectangular pan, making them easy to slice into individual servings, perfect for potlucks, picnics, school lunches, or a simple dessert after dinner. They travel well, store well, and are universally loved by all ages.
A Journey Through Flavor: What You’ll Need
Creating these old-fashioned baked apple bars requires a few key ingredients, most of which you likely already have in your pantry. The beauty of this recipe lies in its simplicity and the way humble ingredients come together to create something truly extraordinary.
For the Crust:
- All-purpose flour: The foundation of our tender crust.
- Granulated sugar: Adds a touch of sweetness to the base.
- Cold unsalted butter: Crucial for a flaky, tender crust. Keep it very cold!
- Egg: Helps bind the crust ingredients together.
- A pinch of salt: Enhances all the other flavors.
- Cold water (if needed): Just a tablespoon or two to bring the dough together, if necessary.
For the Apple Filling:
- Fresh apples: The star of the show! We’ll discuss the best varieties below.
- Granulated sugar: To sweeten the apples.
- Brown sugar: Adds a deeper, more caramel-like sweetness.
- All-purpose flour or cornstarch: To thicken the filling, preventing it from becoming too watery.
- Ground cinnamon: The classic spice pairing for apples.
- Ground nutmeg: Adds a subtle warmth and complexity.
- Lemon juice: Brightens the flavor and prevents apples from browning.
- A pinch of salt: Balances the sweetness.
For the Crumb Topping (Optional, but highly recommended for a classic bar):
- All-purpose flour: Base of the crumble.
- Granulated sugar: For sweetness.
- Brown sugar: Adds depth and moisture to the crumble.
- Cold unsalted butter: Creates those delicious, buttery crumbs.
- Ground cinnamon: Ties the topping into the apple flavor.
Choosing Your Apples Wisely
The type of apple you choose can significantly impact the final texture and flavor of your bars. You want apples that hold their shape well during baking and offer a good balance of sweetness and tartness.
Here are some excellent choices:
- Granny Smith: A classic for baking due to its tartness and firm texture. They hold up incredibly well.
- Honeycrisp: Sweet, crisp, and holds its shape beautifully.
- Fuji: Sweet and firm, a great all-around baking apple.
- Braeburn: A good balance of sweet and tart, and they stay firm.
- Golden Delicious: Softer and sweeter, but still a good option, especially when mixed with a firmer, tarter apple.
- A blend of apples: Often, the best results come from combining two or three varieties. For example, a mix of Granny Smith for tartness and Honeycrisp for sweetness and texture can be absolutely divine.
Avoid very soft apples like Red Delicious, as they can turn to mush during baking.
Step-by-Step Guide to Perfection
Now, let’s get down to the delicious details of how to bring these old-fashioned baked apple bars to life.
Phase 1: Preparing the Crust
- Prepare your pan: Preheat your oven to 375°F (190°C). Lightly grease and flour a 9×13-inch baking pan, or line it with parchment paper, leaving an overhang on the sides for easy lifting. This is crucial for preventing sticking and making removal a breeze.
- Combine dry ingredients: In a large bowl, whisk together the flour, granulated sugar, and salt for the crust.
- Cut in the butter: Add the very cold, cubed butter to the dry ingredients. Using a pastry blender, your fingertips, or a food processor, cut the butter into the flour mixture until it resembles coarse crumbs with some pea-sized pieces of butter remaining. The colder the butter, the flakier your crust will be.
- Add the egg: Lightly beat the egg and add it to the mixture. Mix until the dough just starts to come together. If the dough seems too dry and crumbly to form, add cold water one tablespoon at a time, mixing just until it forms a cohesive dough. Be careful not to overmix.
- Press into the pan: Press the dough evenly into the bottom of the prepared baking pan. You can use your hands or the bottom of a glass to get an even layer.
- Pre-bake (optional but recommended): For a crispier crust, you can pre-bake it for about 10-15 minutes, or until lightly golden. This helps prevent a soggy bottom, especially with a juicy apple filling. Remove from oven and set aside while you prepare the filling.
Phase 2: Crafting the Apple Filling
- Peel, core, and slice: Wash, peel, core, and slice your chosen apples into thin, uniform pieces, about ¼-inch thick. Aim for consistency so they cook evenly. A mandoline can be helpful here, but a sharp knife works just fine.
- Toss with lemon juice: Place the sliced apples in a large bowl and toss them immediately with lemon juice. This prevents browning and adds a touch of brightness.
- Mix in sugars and spices: In a separate small bowl, whisk together the granulated sugar, brown sugar, flour (or cornstarch), cinnamon, nutmeg, and salt.
- Combine with apples: Pour the sugar and spice mixture over the apples and toss gently until all the apple slices are evenly coated.
Phase 3: Assembling the Crumb Topping (if using)
- Combine dry ingredients: In a medium bowl, whisk together the flour, granulated sugar, brown sugar, and cinnamon for the crumb topping.
- Cut in butter: Add the cold, cubed butter to the dry ingredients. Use a pastry blender or your fingertips to cut the butter into the mixture until coarse, buttery crumbs form. Don’t overmix; you want varying sizes of crumbs.
Phase 4: Assembly and Baking
- Layer the apples: Spread the prepared apple filling evenly over the pre-baked (or unbaked, if skipping pre-bake) crust in the pan.
- Add the topping: If using the crumb topping, sprinkle it evenly over the apple layer. If you’re going for a lattice top, roll out some extra crust dough, cut it into strips, and arrange them over the apples in a lattice pattern.
- Bake: Place the pan in the preheated oven. Bake for 45-60 minutes, or until the apple filling is bubbly and tender (test with a knife or fork), and the topping (if applicable) is golden brown. If the topping starts to brown too quickly, you can loosely tent the pan with aluminum foil.
- Cool completely: This is perhaps the most challenging part – resisting the urge to dig in immediately! It’s crucial to let the apple bars cool completely in the pan on a wire rack before slicing. This allows the filling to set properly, making for clean, beautiful slices. Cooling can take several hours.
Tips for Success
- Don’t overmix the crust: Overmixing develops the gluten in the flour, leading to a tough crust. Mix just until combined.
- Keep ingredients cold: Cold butter is key for a flaky crust and a crumbly topping.
- Uniform apple slices: Consistent slicing ensures even cooking.
- Adjust sugar to your taste and apples: If your apples are very sweet, you might reduce the sugar slightly. If they are very tart, you might add a touch more.
- Don’t skip the cooling: Patience is a virtue, especially when baking! A properly cooled bar is a joy to slice and eat.
- Storage: Store leftover apple bars tightly covered at room temperature for up to 2 days, or in the refrigerator for up to 5 days. They also freeze well for up to 3 months.
Serving Suggestions
These old-fashioned baked apple bars are delightful on their own, but here are a few ways to elevate the experience:
- A scoop of vanilla bean ice cream: The classic pairing for warm apple desserts. The cold ice cream melting over the warm bars is pure bliss.
- A dollop of freshly whipped cream: Light, airy, and adds a touch of elegance.
- A drizzle of caramel sauce: For an extra layer of indulgent sweetness.
- A dusting of powdered sugar: Simple, pretty, and adds a subtle sweetness.
- With a cup of coffee or tea: Perfect for an afternoon treat or a comforting breakfast.
The Enduring Legacy of Baked Apple Bars
In a world constantly chasing the new and trendy, there’s a profound comfort in returning to the classics. Old-fashioned baked apple bars are a testament to the fact that some flavors and recipes are simply timeless because they are inherently good. They speak of warmth, comfort, and the simple joys of home baking.
This recipe is more than just a list of ingredients and instructions; it’s an invitation to create memories, to fill your home with irresistible aromas, and to share a piece of timeless deliciousness with those you love. So, gather your apples, preheat your oven, and prepare to fall in love with these truly classic baked apple bars. They are sure to become a beloved staple in your culinary repertoire, a dessert that brings smiles and a taste of cherished tradition to every bite.