
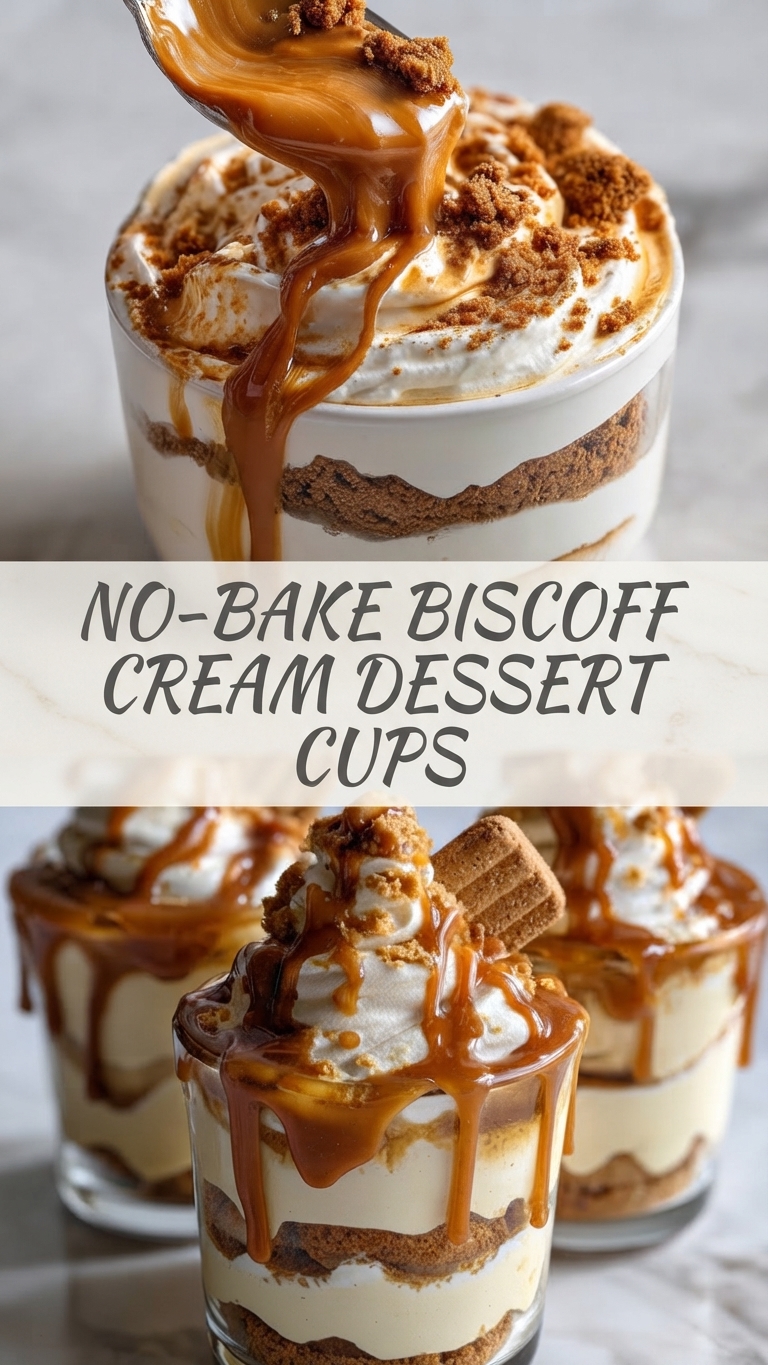
No-Bake Biscoff Cream Dessert Cups
Indulge in the ultimate quick dessert with these luscious No-Bake Biscoff Cream Dessert Cups. Combining the caramelized, spiced flavor of Biscoff cookies and spread with a rich, creamy filling, this recipe requires no oven and comes together in minutes. Perfect for a stress-free treat that looks elegant and tastes incredible.
These layered cups are a textural masterpiece. We start with a crunchy base of crushed Biscoff cookies, followed by a velvety cream cheese and whipped cream mixture that’s infused with creamy Biscoff spread. Each cup is finished with an extra drizzle of warm spread and a final dusting of crumbs, making them irresistible to anyone who loves that signature spiced cookie flavor.
Whether you need a last-minute dessert for a dinner party, a sweet treat for a weeknight, or a fun activity to do with kids, these dessert cups are the answer. They can be assembled individually in small glasses or jars, making them perfectly portioned and beautiful to serve. Best of all, they can be made ahead of time, as the flavors meld and the cookies soften slightly in the refrigerator, creating a texture similar to a no-bake cheesecake.
Get ready to impress with minimal effort. Let’s make these delightful Biscoff treats!
Ingredients
For the Crust:
-
1 ½ cups (approx. 200g) Biscoff cookies (Speculoos cookies), finely crushed
-
3 tablespoons unsalted butter, melted
For the Biscoff Cream Filling:
-
8 oz (226g) cream cheese, softened to room temperature
-
½ cup (150g) creamy Biscoff spread (cookie butter)
-
¼ cup (50g) powdered sugar, sifted
-
1 teaspoon vanilla extract
-
1 cup (240ml) heavy whipping cream, cold
For Topping and Garnish:
-
¼ cup (75g) creamy Biscoff spread, gently warmed until pourable
-
Reserved Biscoff crumbs
-
Whole Biscoff cookies (optional, for garnish)
Instructions
-
Prepare the Crust: In a medium bowl, combine the finely crushed Biscoff cookies and melted butter. Mix well with a fork until the crumbs are evenly moistened and resemble wet sand. Divide the mixture evenly among 4-6 small serving glasses or jars (depending on their size). Press the crumbs firmly into the bottom of each glass using the back of a spoon or your fingers. Place the glasses in the refrigerator to chill while you prepare the filling.
-
Whip the Cream: In a separate, chilled medium bowl, use an electric hand mixer or stand mixer fitted with the whisk attachment to beat the cold heavy whipping cream on medium-high speed. Continue to whip until stiff peaks form. (Be careful not to over-whip into butter). Set the whipped cream aside in the refrigerator.
-
Mix the Cream Cheese Base: In a large bowl, add the softened cream cheese. Beat on medium speed with the electric mixer until it is completely smooth and creamy, scraping down the sides of the bowl as needed. Add the ½ cup of creamy Biscoff spread, powdered sugar, and vanilla extract. Continue to beat until the mixture is thoroughly combined, uniform in color, and smooth.
-
Fold and Combine: Gently fold the reserved whipped cream into the Biscoff-cream cheese mixture in two or three separate additions. Use a rubber spatula to fold, being careful not to deflate the air you just whipped into the cream. Fold just until the ingredients are fully incorporated and no streaks of cream remain.
-
Assemble the Dessert Cups: Remove the chilled glasses from the refrigerator. Spoon or pipe the Biscoff cream filling evenly over the prepared crusts. You can fill the cups almost to the top, leaving just a small space for the final toppings. Smooth the tops gently with the back of a spoon or an offset spatula.
-
Add the Final Toppings: Drizzle the gently warmed creamy Biscoff spread over the top of each dessert cup. Sprinkle the reserved Biscoff crumbs over the center of the drizzle. If desired, tuck a whole Biscoff cookie into the side of the cream in each cup for an extra decorative touch.
-
Chill and Serve: For the best texture and flavor, cover the dessert cups loosely with plastic wrap and refrigerate for at least 2 hours, or until firm. (They can be made up to 24 hours in advance). Serve chilled directly from the refrigerator.
Tips
-
Soften Cream Cheese: Ensure your cream cheese is fully softened to room temperature before mixing. This is crucial for achieving a smooth, lump-free filling.
-
Whip Cold Cream: For stiff peaks, your heavy whipping cream and mixing bowl should be very cold. You can even chill the beaters.
-
Folding Technique: When combining the whipped cream and cream cheese mixture, use a gentle, slow folding motion. Aggressive stirring will deflate the whipped cream, resulting in a dense rather than light and airy filling.
-
Variations: Feel free to add a layer of sliced bananas or fresh raspberries between the crust and the cream for a fruity twist. You can also swap the Biscoff spread in the filling for peanut butter or another nut butter.
Storage and Reheating
-
Refrigeration: These No-Bake Biscoff Cream Dessert Cups should be stored covered in the refrigerator, where they will keep well for up to 3 days. The crust will become softer the longer it sits, which many people enjoy.
-
Freezing: While these can be frozen, the texture of the cream may change slightly upon thawing, becoming a bit denser or slightly grainy. They are best enjoyed fresh or refrigerated. If freezing, cover tightly and consume within one month. Thaw in the refrigerator overnight before serving.
Serving Suggestions
These elegant dessert cups are perfect for entertaining. Serve them at the end of a meal with a cup of hot coffee or espresso, as the spiced notes of the Biscoff complement coffee perfectly. They are also fantastic for casual gatherings, potlucks, or holidays. Their individual portion size makes them easy to grab and enjoy while mingling.
Closing
This recipe for No-Bake Biscoff Cream Dessert Cups is a delightful way to satisfy your sweet cravings with minimal effort and maximum flavor. It’s a guaranteed crowd-pleaser that looks as good as it tastes, perfect for any occasion where a decadent, no-fuss dessert is needed. Enjoy every creamy, crunchy bite!