
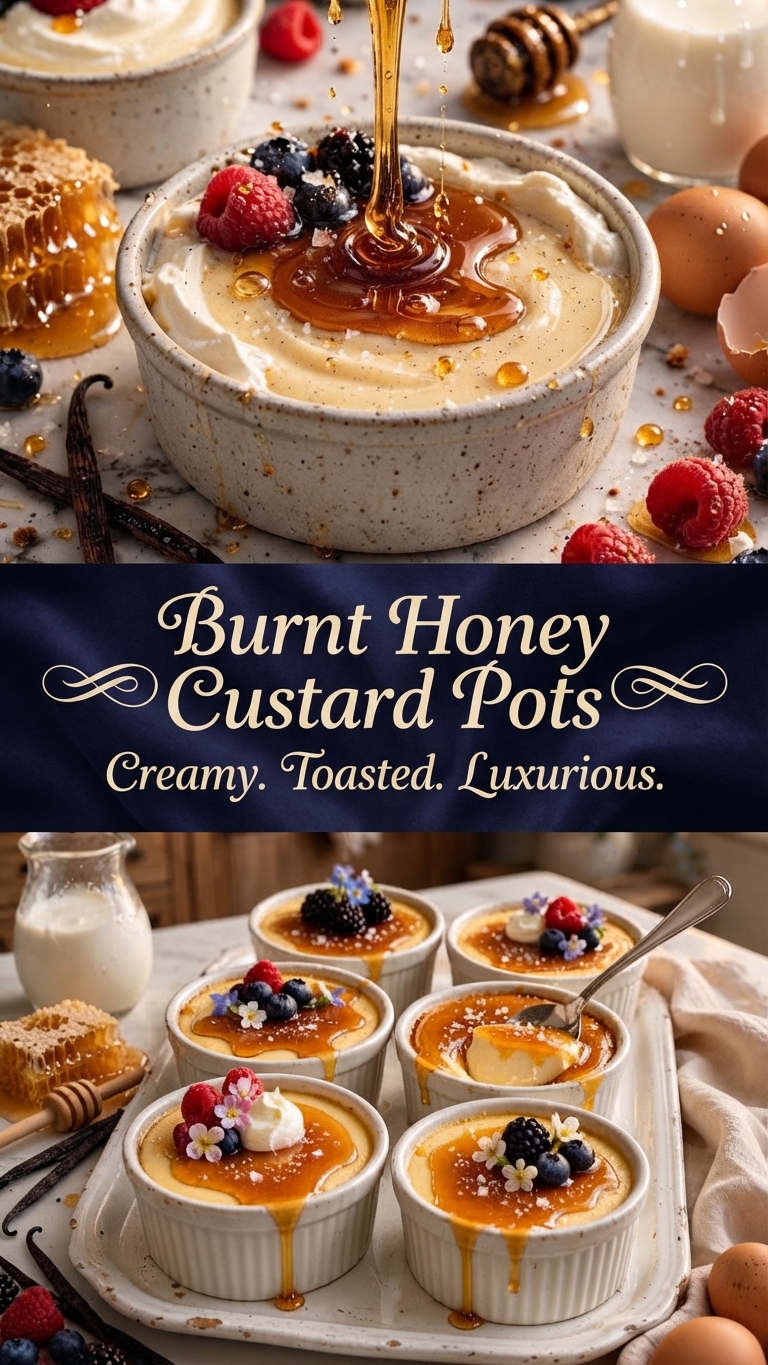
Burnt Honey Custard Pots
Creamy. Toasted. Luxurious.
Indulge in the profound comfort of our Burnt Honey Custard Pots. This recipe transforms humble pantry staples into a dessert that is both sophisticated and deeply satisfying. The secret lies in the caramelization—we take pure, golden honey and heat it until it develops a deep, complex, almost nutty flavor before combining it with a rich, vanilla-infused custard base. Each spoonful offers a perfect contrast between the silky-smooth, chilled custard and the intense, slightly bitter-sweet layer of burnt honey on top.
These little pots are surprisingly simple to make yet look spectacular when presented with fresh berries and edible flowers. They are the ultimate make-ahead dessert for dinner parties or a cozy weeknight treat.
Ingredients
Yields: 6 servings
Prep time: 25 minutes
Cook time: 45 minutes
Chill time: 4 hours (minimum)
For the Custard Base:
-
2 cups (480 ml) heavy cream
-
1 cup (240 ml) whole milk
-
1 vanilla bean, split lengthwise, seeds scraped (or 1 tablespoon high-quality vanilla bean paste)
-
6 large egg yolks
-
½ cup (100 g) granulated sugar
-
Pinch of fine sea salt
For the Burnt Honey Layer:
-
½ cup (120 ml) mild-flavored honey (such as clover or acacia)
-
3 tablespoons (45 ml) hot water
For Garnish (Optional):
-
Fresh raspberries
-
Fresh blackberries
-
Flaky sea salt (like Maldon)
-
Small edible flowers (such as violas)
Instructions
Step 1: Prepare the Custard Base
-
Preheat your oven to 325°F (165°C).
-
In a medium saucepan, combine the heavy cream, whole milk, and the scraped vanilla bean pods and seeds (or vanilla paste). Bring the mixture just to a simmer over medium heat, then remove it immediately from the heat. Do not let it come to a rolling boil. Set aside to steep for 15 minutes.
-
While the cream is steeping, in a medium bowl, whisk together the egg yolks and granulated sugar until pale and well-combined.
-
Remove the vanilla bean pod from the cream mixture. Slowly and gradually whisk the warm cream into the egg yolk mixture, one ladle at a time. This tempering process prevents the eggs from scrambling. Add a pinch of salt.
-
Strain the custard mixture through a fine-mesh sieve into a large glass measuring cup or bowl to ensure a perfectly smooth texture. Skim any foam from the surface.
Step 2: Create the Burnt Honey Drizzle
-
Pour the honey into a small, heavy-bottomed saucepan. Place it over medium heat.
-
Allow the honey to simmer and bubble vigorously. Watch it closely. It will first become frothy, then it will begin to darken.
-
Continue heating until the honey turns a deep amber color and emits a distinct, rich, slightly smoky aroma. This is the crucial stage; do not let it turn black, as it will taste acrid. This typically takes 3–5 minutes.
-
Remove the saucepan from the heat. Immediately and very carefully whisk in the hot water. (The mixture will steam and bubble intensely.) Continue whisking until the sauce is smooth. Allow this burnt honey sauce to cool slightly for 5 minutes.
Step 3: Fill and Bake
-
Divide the burnt honey sauce evenly among six 4-ounce (120 ml) ramekins, spooning approximately 1 to 1.5 tablespoons into the bottom of each.
-
Gently ladle the strained custard base over the burnt honey layer in each ramekin. The custard will sit on top of the honey layer.
-
Arrange the ramekins in a large roasting pan. Carefully pour boiling water into the roasting pan until the water reaches halfway up the sides of the ramekins, creating a water bath (bain-marie).
-
Transfer the roasting pan to the preheated oven and bake for 35–45 minutes, or until the custards are set at the edges but still slightly wobbly in the very center when gently shaken.
Step 4: Chill and Set
-
Remove the ramekins from the water bath and place them on a wire rack to cool completely at room temperature.
-
Once cooled, cover each ramekin tightly with plastic wrap and transfer them to the refrigerator. Chill for a minimum of 4 hours, or preferably overnight. This allows the burnt honey layer to soften and permeate the bottom of the custard.
Step 5: Serve
-
When ready to serve, top each custard pot with a few fresh raspberries and blackberries.
-
Add a tiny pinch of flaky sea salt to contrast with the sweet honey.
-
For an elegant finish, garnish with small edible flowers.
Tips for Success
-
The Honey Makes the Flavor: Use a high-quality, flavorful honey for the best results. A mild clover honey works beautifully, as its flavor is intensified during the burning process without becoming overpowering.
-
Preventing Scrambled Eggs: Be patient when tempering the egg yolks. Add the hot cream slowly while whisking constantly. Straining the final custard mixture is non-negotiable for achieving that silky, luxurious mouthfeel.
-
Water Bath Benefits: Baking the custards in a water bath (bain-marie) provides gentle, even heat, preventing the delicate egg proteins from overcooking and curdling.
-
Don’t Overbake: The custards should be removed from the oven when they still have a slight jiggle in the center. They will continue to set as they cool.
Storage and Reheating
-
Storage: The baked and chilled Custard Pots can be kept in the refrigerator, covered, for up to 4 days.
-
Reheating: These custards are designed to be served chilled. We do not recommend reheating them, as this will alter the delicate texture.
Serving Suggestions
These Burnt Honey Custard Pots are a complete dessert on their own, but they pair wonderfully with a cup of freshly brewed coffee or an Earl Grey tea. For an extra special touch, you could serve them alongside a simple, crisp butter shortbread cookie.
Conclusion
The experience of cracking through the silky top to reach the layer of deeply caramelized honey beneath is a true delight. These Burnt Honey Custard Pots are a testament to the magic that happens when you treat simple ingredients with care, resulting in a dessert that is elegant, comforting, and utterly unforgettable. Enjoy every luxurious bite.