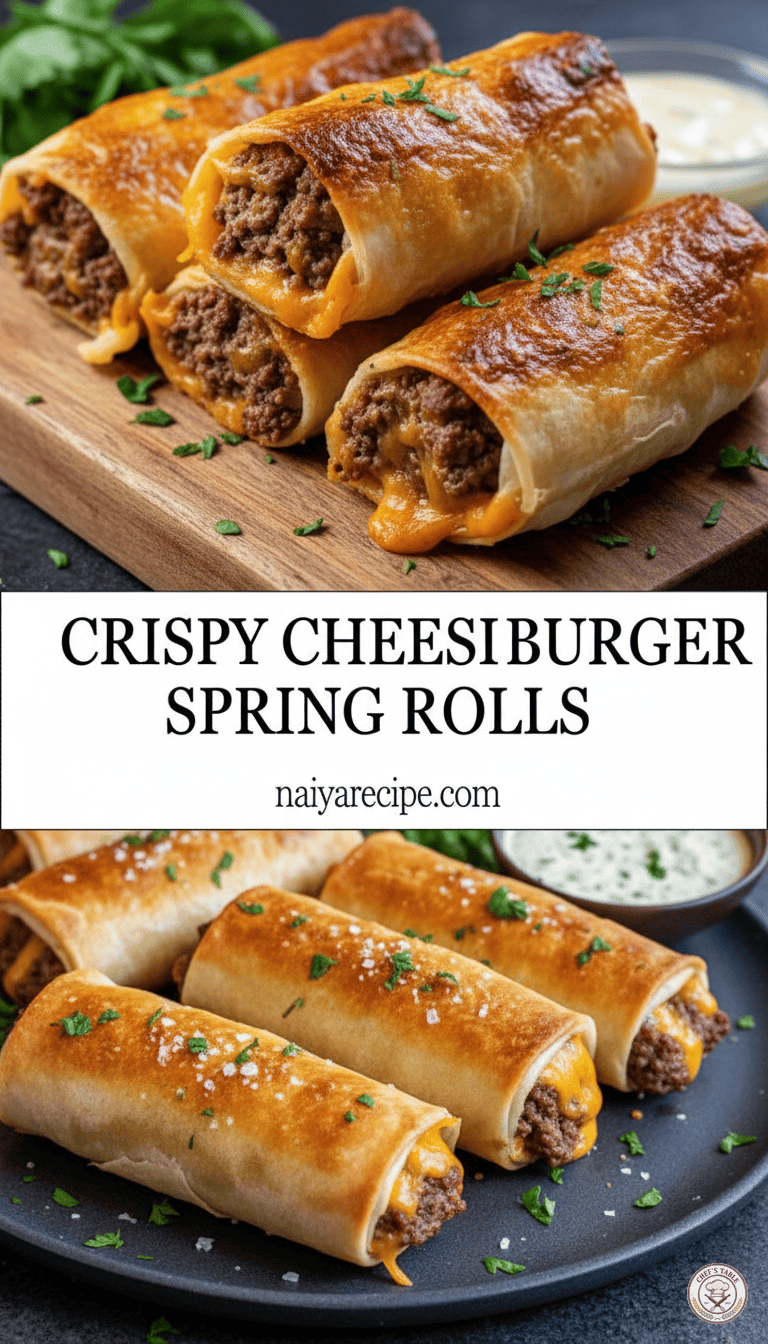
Welcome to naiyarecipe.com, where we transform your favorite comfort foods into exciting new culinary experiences! Today, we’re diving into a dish that’s sure to become a new family favorite: Crispy Cheeseburger Spring Rolls. Imagine all the deliciousness of a classic cheeseburger – the seasoned ground beef, the melted cheese – enveloped in a crispy, golden spring roll wrapper. It’s a fusion of flavors and textures that’s utterly irresistible and surprisingly easy to make.
This recipe takes inspiration from a beloved American classic and gives it an Asian-inspired twist. The result is a snack, appetizer, or even a light meal that’s perfect for parties, game nights, or just a fun weeknight dinner. Forget soggy buns; these rolls offer a satisfying crunch with every bite, followed by a burst of savory, cheesy goodness. And the best part? They’re completely customizable to your taste preferences.
The Inspiration Behind the Crunch
The idea of a cheeseburger spring roll might seem unconventional at first, but it makes perfect sense. Both cheeseburgers and spring rolls are champions of texture and flavor. A good cheeseburger relies on a juicy patty, melted cheese, and fresh toppings, while spring rolls are celebrated for their delicate, crispy exterior and flavorful fillings. By bringing these two worlds together, we create a dish that offers the best of both: the comforting taste of a cheeseburger wrapped in the delightful crispness of a spring roll.
This particular recipe focuses on maximizing that crispy texture and rich, savory flavor. We’ll walk you through each step, from seasoning your ground beef to achieving that perfect golden-brown crust. Get ready to impress your friends and family with this innovative and incredibly tasty creation!
Why You’ll Love These Crispy Cheeseburger Spring Rolls
- Irresistible Flavor Combination: It’s a cheeseburger in a bite-sized, crispy package! The familiar taste of seasoned beef and melted cheese is wonderfully complemented by the delicate, crunchy wrapper.
- Perfect for Any Occasion: Whether you’re hosting a party, looking for a unique appetizer, or wanting a fun twist on dinner, these rolls fit the bill. They’re excellent for game day, movie night, or even a casual get-together.
- Easy to Make: Don’t be intimidated by spring rolls! Our step-by-step guide makes the rolling process simple, and the cooking method is straightforward.
- Customizable: While we provide a fantastic base recipe, you can easily adapt the fillings and dipping sauces to suit your personal preferences. Want a little spice? Add some jalapeños! Love pickles? Dice some up and add them to the mix.
- Kid-Friendly: What kid doesn’t love a cheeseburger? This fun format is sure to be a hit with younger eaters, making mealtime exciting.
- No Fork Required: These are the ultimate finger food – easy to pick up, dip, and enjoy!
Ingredients You’ll Need
Creating these delicious rolls requires a few key ingredients, most of which you likely already have in your pantry or can easily find at any grocery store.
For the Filling:
- Ground Beef: We recommend a lean ground beef (80/20 or 85/15) for flavor and to avoid excessive grease.
- Onion: Finely diced, adds a crucial aromatic base and sweetness to the beef.
- Garlic: Freshly minced garlic elevates the savory profile of the filling.
- Ketchup: Provides that essential tangy, sweet, and savory “cheeseburger” flavor.
- Mustard: Yellow mustard or Dijon mustard can be used for a slight tang and depth of flavor.
- Worcestershire Sauce: A secret weapon for adding umami and a rich, savory depth to the beef.
- Salt and Black Pepper: To season the meat perfectly.
- Cheddar Cheese: Shredded cheddar cheese is classic for cheeseburgers. You can also use a blend of cheddar and Monterey Jack for extra meltiness. Pre-shredded works, but freshly shredded melts smoother.
- Fresh Parsley (optional): Chopped, for a touch of freshness and color in the filling.
For the Spring Rolls:
- Spring Roll Wrappers: These are crucial! Look for thin, square or round spring roll wrappers in the refrigerated or frozen section of Asian grocery stores or larger supermarkets. Do not use rice paper wrappers, as they are for fresh rolls and will not crisp up the same way.
- Egg (for egg wash): Lightly beaten, used to seal the spring roll wrappers.
- Vegetable Oil or Canola Oil: For frying. You’ll need enough to submerge the rolls partially or fully, depending on your frying method.
For Serving (Optional Dipping Sauces):
- Ketchup
- Special Burger Sauce: A mix of mayonnaise, ketchup, relish, and a touch of mustard and garlic powder.
- Ranch Dressing
- Sriracha Mayonnaise
Step-by-Step Instructions
Let’s get cooking! Follow these detailed steps to create your own batch of Crispy Cheeseburger Spring Rolls.
1. Prepare the Cheeseburger Filling:
- Brown the Beef: In a large skillet or frying pan, heat a tablespoon of oil over medium-high heat. Add the ground beef and cook, breaking it up with a spoon, until it’s fully browned and no pink remains.
- Drain Excess Fat: This is an important step to prevent your spring rolls from becoming greasy. Carefully drain any excess fat from the pan. You can do this by tilting the pan and scooping out the fat, or by transferring the beef to a colander lined with paper towels.
- Sauté Aromatics: Return the beef to the pan (or clean the pan if it was very greasy). Add the finely diced onion and cook until softened and translucent, about 5-7 minutes. Stir in the minced garlic and cook for another minute until fragrant. Be careful not to burn the garlic.
- Season the Filling: Stir in the ketchup, mustard, Worcestershire sauce, salt, and black pepper. Mix everything well to ensure the beef is evenly coated with the seasonings. Cook for another 2-3 minutes, allowing the flavors to meld.
- Cool the Filling: Transfer the seasoned beef mixture to a bowl and let it cool down slightly. This is important before adding the cheese, as you don’t want the cheese to melt prematurely and become stringy before rolling. Cooling also makes the mixture easier to handle.
- Add the Cheese: Once the filling has cooled for about 10-15 minutes (it should still be warm but not piping hot), stir in the shredded cheddar cheese and fresh parsley (if using). Mix until the cheese is just combined; it will melt beautifully when the rolls are fried.
2. Assemble the Spring Rolls:
- Prepare Your Workspace: Get organized! Have your spring roll wrappers ready, a small bowl with the beaten egg (egg wash), and your cooled beef and cheese filling. Lay out a clean, dry surface for rolling.
- Handle Wrappers Carefully: If using frozen wrappers, make sure they are fully thawed according to package instructions. Carefully peel one spring roll wrapper from the stack. Keep the remaining wrappers covered with a damp cloth or plastic wrap to prevent them from drying out, as dry wrappers are prone to cracking.
- Position the Wrapper: Lay a spring roll wrapper on your clean surface in a diamond shape, with one corner pointing towards you.
- Add the Filling: Place about 2-3 tablespoons of the beef and cheese filling in a line just above the bottom corner, leaving enough space on the sides for folding. Don’t overfill, as this can make rolling difficult and cause the rolls to burst during frying.
- Fold the Bottom Corner: Take the bottom corner of the wrapper and fold it snugly over the filling, tucking it in firmly.
- Fold in the Sides: Take the left and right corners and fold them towards the center, creating an envelope shape. Press down gently to secure.
- Roll It Up: Starting from the folded bottom, tightly roll the wrapper upwards towards the top corner. Keep the roll firm and consistent to avoid air pockets, which can cause uneven cooking.
- Seal with Egg Wash: Just before reaching the top corner, dip your finger into the egg wash and brush it along the remaining top edge of the wrapper. Finish rolling to seal the spring roll completely. The egg wash acts like glue.
- Repeat: Continue this process with the remaining wrappers and filling until all your spring rolls are assembled. Place the finished rolls on a plate or baking sheet, ensuring they don’t touch each other, or they might stick.
3. Fry the Spring Rolls:
- Heat the Oil: In a deep skillet, Dutch oven, or deep fryer, heat about 2-3 inches of vegetable or canola oil over medium-high heat to 350-375°F (175-190°C). If you don’t have a thermometer, you can test the oil by dropping a small piece of wrapper into it; it should sizzle immediately and turn golden brown within 30-60 seconds.
- Fry in Batches: Carefully place 3-4 spring rolls into the hot oil, ensuring you don’t overcrowd the pan. Overcrowding will lower the oil temperature and result in greasy, less crispy rolls.
- Cook Until Golden: Fry the spring rolls for 3-5 minutes, turning occasionally with tongs, until they are beautifully golden brown and crispy on all sides. The internal temperature of the filling will be hot, and the cheese will be perfectly melted.
- Drain Excess Oil: Once cooked, carefully remove the spring rolls from the oil using tongs or a slotted spoon and transfer them to a wire rack set over a paper towel-lined baking sheet. This allows excess oil to drain off, keeping them extra crispy.
- Maintain Oil Temperature: Allow the oil to return to the proper temperature between batches before adding more spring rolls.
4. Serve and Enjoy!
- Serve Immediately: Crispy Cheeseburger Spring Rolls are best enjoyed hot and fresh.
- With Dipping Sauces: Offer a variety of dipping sauces on the side. Classic ketchup is a must, but a special burger sauce, ranch dressing, or even a spicy sriracha mayo can add an extra layer of flavor.
Tips for Success
- Don’t Overfill: This is the most common mistake. Too much filling makes rolling difficult and can cause the wrappers to tear or burst.
- Keep Wrappers Moist: Spring roll wrappers can dry out quickly. Keep unused wrappers covered with a damp cloth or plastic wrap.
- Roll Tightly: A tight roll ensures a compact spring roll that holds its shape and crisps up evenly.
- Use a Thermometer for Frying: An oil thermometer is your best friend for frying. Maintaining the correct oil temperature (350-375°F or 175-190°C) is key to achieving perfectly crispy, non-greasy results. If the oil is too cool, the rolls will absorb too much oil and be greasy. If it’s too hot, they’ll brown too quickly on the outside before the inside is properly heated.
- Drain Thoroughly: Don’t skip draining the cooked rolls on a wire rack. This helps maintain their crispiness.
- Make Ahead Option: You can assemble the spring rolls ahead of time and store them in the refrigerator for a few hours (covered) or freeze them for longer storage. If freezing, arrange them in a single layer on a baking sheet until solid, then transfer to a freezer-safe bag. Fry from frozen, adding a few extra minutes to the cooking time.
Variations and Customizations
One of the great things about these Crispy Cheeseburger Spring Rolls is how versatile they are! Here are some ideas to make them your own:
- Spice It Up: Add a pinch of red pepper flakes to the beef mixture, or incorporate finely diced jalapeños for a spicy kick.
- Add Vegetables: Finely shredded carrots, bell peppers, or even corn kernels can be added to the beef mixture for extra flavor and nutrition. Just make sure they are diced very small.
- Different Cheeses: Experiment with other cheeses! Pepper Jack for a spicy version, mozzarella for extra stretch, or a blend of your favorites.
- “Everything Bagel” Topping: After frying, sprinkle the hot spring rolls with everything bagel seasoning for an extra layer of savory flavor and crunch.
- Pickle Power: Finely diced pickles or relish can be added to the beef mixture or served on the side for that classic cheeseburger tang.
- Onion Rings Twist: Instead of plain diced onion, try sautéing caramelized onions for a sweeter, richer flavor.
- Different Dips: Beyond the usual suspects, consider a BBQ sauce dip, a creamy horseradish sauce, or even a sweet chili sauce for an unexpected twist.
Storage and Reheating
- Storing Leftovers: Cooked spring rolls are best enjoyed fresh, but leftovers can be stored in an airtight container in the refrigerator for up to 2-3 days.
- Reheating: To reheat, place them on a baking sheet in a preheated oven or toaster oven at 350°F (175°C) for 10-15 minutes, or until heated through and re-crisped. Air frying is also an excellent method for reheating, producing wonderfully crispy results in just a few minutes. Microwaving is not recommended, as it will make them soggy.
The Perfect Party Appetizer
These Crispy Cheeseburger Spring Rolls are truly a crowd-pleaser. They disappear quickly at gatherings, thanks to their appealing golden exterior and familiar, comforting filling. Their convenient size makes them easy for guests to grab and enjoy while mingling. Prepare a large batch for your next event, set out a few different dipping sauces, and watch them vanish!
Conclusion
There you have it – a truly innovative and incredibly delicious recipe for Crispy Cheeseburger Spring Rolls. It’s a dish that bridges cultures, bringing together the beloved flavors of an American cheeseburger with the irresistible crunch of an Asian spring roll. We encourage you to try this recipe and make it your own. Don’t be afraid to experiment with fillings and dipping sauces to discover your perfect combination.
Whether you’re looking for a fun new appetizer, a unique snack, or just a creative way to enjoy your favorite burger flavors, these spring rolls are sure to hit the spot. Get ready to roll, fry, and delight in the amazing taste and texture of these culinary marvels. Happy cooking from all of us at naiyarecipe.com!