There are few aromas as comforting and inviting as fresh cinnamon rolls baking in the oven. That warm, sweet, and spicy scent promises a delightful start to any day, a perfect pick-me-up, or a satisfying treat. Today, we’re diving deep into the world of “Sweet Cinnamon Roll Breakfast Bliss,” a recipe designed to bring pure joy to your kitchen and your taste buds. Forget store-bought shortcuts; this recipe is about crafting an experience, a moment of pure, unadulterated pleasure that only homemade goodness can provide.
The Allure of the Cinnamon Roll
What is it about the cinnamon roll that captures hearts and appetites around the globe? Is it the soft, pillowy dough? The decadent swirl of cinnamon sugar? The creamy, dreamy glaze cascading over every crevice? It’s all of the above, and more. A well-made cinnamon roll is a symphony of textures and flavors. You have the slight chewiness of the dough, the gentle crunch of the sugar, the warmth of the cinnamon, and the cool, sweet embrace of the frosting. Each bite is a journey, a moment of bliss that transports you to a happier place.
This recipe aims to elevate that experience, providing you with a guide to creating cinnamon rolls that are not just good, but truly unforgettable. We’ll explore the science behind the perfect dough, the art of the filling, and the secret to a luscious glaze that will have everyone asking for your recipe.
The Foundation: Crafting the Perfect Dough
The heart of any great cinnamon roll is its dough. A tender, rich, and slightly sweet dough provides the perfect canvas for the cinnamon filling. This recipe focuses on an enriched dough, meaning it includes ingredients like milk, eggs, and butter, which contribute to its softness, flavor, and delightful texture.
Ingredients for the Dough:
- Warm Milk (1 cup): Crucial for activating the yeast. Ensure it’s between 105-115°F (40-46°C). Too hot, and it will kill the yeast; too cold, and the yeast won’t activate properly.
- Active Dry Yeast (2 ¼ teaspoons or 1 packet): The leavening agent that gives the rolls their signature rise and airy texture.
- Granulated Sugar (¼ cup): Feeds the yeast and adds a subtle sweetness to the dough.
- Large Eggs (2): Provide richness, color, and structure to the dough. Bring them to room temperature for better incorporation.
- Melted Unsalted Butter (½ cup): Adds incredible flavor and tenderness. Let it cool slightly before adding to the mixture.
- All-Purpose Flour (4-4 ½ cups): The primary structural component. You might need slightly more or less depending on humidity and how well your dough comes together.
- Salt (1 teaspoon): Balances the sweetness and enhances the overall flavor of the dough.
Making the Dough: A Step-by-Step Guide
- Activate the Yeast: In a large mixing bowl (or the bowl of a stand mixer), combine the warm milk, yeast, and a pinch of the granulated sugar. Stir gently and let it sit for 5-10 minutes. You’ll know the yeast is active when it becomes foamy and bubbly. This is a crucial step – if your yeast doesn’t bloom, it might be old, and your rolls won’t rise.
- Wet Ingredients: To the activated yeast mixture, add the remaining granulated sugar, room temperature eggs, and melted (and slightly cooled) butter. Whisk everything together until well combined.
- Add Dry Ingredients: Gradually add 2 cups of the flour and the salt to the wet mixture. Mix on low speed (if using a stand mixer) or with a wooden spoon until just combined.
- Knead the Dough: Continue adding the remaining flour, about ½ cup at a time, until the dough comes together and starts to pull away from the sides of the bowl. The dough should be soft, slightly sticky, but manageable.
- Stand Mixer: Switch to the dough hook attachment and knead on medium-low speed for 6-8 minutes, or until the dough is smooth and elastic.
- By Hand: Turn the dough out onto a lightly floured surface and knead for 8-10 minutes, using a push-and-fold motion, until smooth and elastic.
- First Rise: Lightly grease a clean large bowl with a neutral oil. Place the dough in the bowl, turning it once to coat the top. Cover the bowl with plastic wrap or a clean kitchen towel. Let the dough rise in a warm, draft-free place for 1-1 ½ hours, or until it has doubled in size. A slightly warm oven (turned off) or a sunny spot on your counter works perfectly.
The Heart of the Roll: The Cinnamon Filling
While the dough is rising, you can prepare the irresistible cinnamon filling. This is where the magic really happens, creating that characteristic swirl of sweetness and spice.
Ingredients for the Filling:
- Melted Unsalted Butter (½ cup): Helps bind the sugar and cinnamon, and adds richness.
- Light Brown Sugar (1 cup, packed): Provides a deeper, more molasses-like sweetness than granulated sugar.
- Ground Cinnamon (2 tablespoons): The star of the show! Use good quality cinnamon for the best flavor.
- A Pinch of Salt: To enhance the sweetness and depth of the cinnamon.
Preparing the Filling:
In a medium bowl, combine the melted butter, packed light brown sugar, ground cinnamon, and a pinch of salt. Mix thoroughly until it forms a thick, spreadable paste. Set aside.
Assembling Your Cinnamon Rolls: The Art of the Swirl
Once your dough has completed its first rise, it’s time to bring everything together and create those beautiful spirals.
Step-by-Step Assembly:
- Punch Down and Roll Out: Gently punch down the risen dough to release the air. Turn the dough out onto a lightly floured surface. Using a rolling pin, roll the dough into a large rectangle, approximately 18×12 inches (45×30 cm). Aim for an even thickness.
- Spread the Filling: Evenly spread the cinnamon filling over the entire surface of the dough, leaving a small ½-inch border along one of the long edges (this will help seal the roll).
- Roll it Up: Starting from the long edge opposite the border, carefully and tightly roll the dough into a log. The tighter you roll it, the more defined your spirals will be.
- Slice the Rolls: Once you have a tight log, it’s time to slice. You can use a sharp, un-serrated knife or, for cleaner cuts, unflavored dental floss!
- Knife Method: Gently cut the log into 12-15 equal pieces, about 1 ½ inches thick.
- Floss Method: Slide a piece of dental floss under the log, cross the ends over the top, and pull them tightly to slice through the dough. This method prevents the dough from squishing.
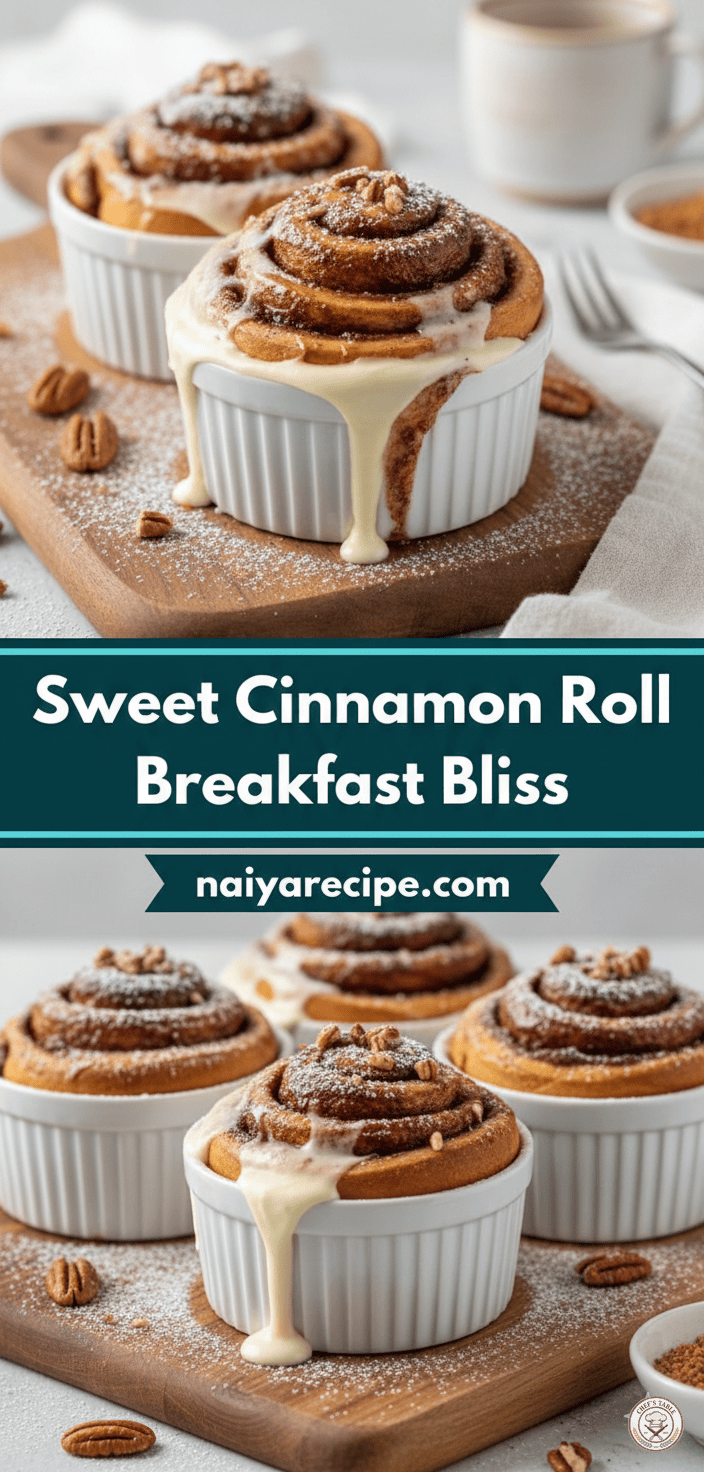
- Second Rise: Arrange the sliced cinnamon rolls in a lightly greased 9×13-inch baking dish or in individual ramekins (as shown in the image). Make sure to leave a little space between each roll, as they will expand during the second rise and baking. Cover the dish with plastic wrap or a clean kitchen towel and let them rise in a warm place for another 30-45 minutes, or until they are puffy and nearly doubled in size.
Baking to Golden Perfection
Preheat your oven to 375°F (190°C) about 15 minutes before the second rise is complete.
- Bake: Place the baking dish in the preheated oven and bake for 20-25 minutes, or until the tops are golden brown and the rolls are cooked through. If they start browning too quickly, you can loosely tent them with aluminum foil.
- Cool Slightly: Once baked, remove the rolls from the oven and let them cool in the dish for 5-10 minutes before frosting. This allows them to set slightly and absorb the glaze beautifully.
The Crown Jewel: Cream Cheese Glaze
No cinnamon roll is complete without a generous slathering of creamy, tangy-sweet glaze. This cream cheese frosting is the perfect counterpoint to the rich, spicy rolls.
Ingredients for the Glaze:
- Softened Cream Cheese (4 ounces): Full-fat cream cheese works best for richness and texture. Ensure it’s at room temperature.
- Softened Unsalted Butter (¼ cup): Adds to the creaminess and flavor.
- Powdered Sugar (1 ½ – 2 cups): Also known as confectioners’ sugar, this provides the sweetness and smooth texture.
- Vanilla Extract (1 teaspoon): Enhances all the other flavors.
- Milk (1-3 tablespoons): To adjust the consistency of the glaze. Start with 1 tablespoon and add more until you reach your desired pourable consistency.
Making the Glaze:
- Cream Together: In a medium bowl, combine the softened cream cheese and softened butter. Beat with an electric mixer (or by hand with a whisk) until smooth and creamy, with no lumps.
- Add Remaining Ingredients: Gradually add the powdered sugar, a little at a time, mixing until fully incorporated. Stir in the vanilla extract.
- Adjust Consistency: Add milk one tablespoon at a time, mixing well after each addition, until the glaze reaches a smooth, pourable, yet thick consistency. It should slowly drip off a spoon.
The Grand Finale: Glazing and Serving
Now for the best part!
- Glaze While Warm: While the cinnamon rolls are still warm (but not piping hot), generously drizzle or spread the cream cheese glaze over the tops. The warmth of the rolls will slightly melt the glaze, allowing it to seep into every nook and cranny.
- Optional Garnishes: For an extra touch of elegance and flavor, sprinkle some chopped pecans or a dusting of powdered sugar over the glazed rolls.
- Serve and Enjoy: Serve your “Sweet Cinnamon Roll Breakfast Bliss” immediately while they are still warm and gooey.
Tips for Cinnamon Roll Success
- Room Temperature Ingredients: For the best results, ensure your eggs, milk, cream cheese, and butter are all at room temperature before you begin. This helps them incorporate smoothly and rise properly.
- Don’t Over-Flour: When kneading the dough, resist the urge to add too much flour. A slightly sticky dough is often the key to tender rolls.
- Warm Rising Environment: A warm, draft-free spot is essential for yeast activity. If your kitchen is cool, you can place the covered bowl in a slightly warm (turned off) oven with the door ajar, or even in a microwave (turned off) with a cup of hot water next to it.
- Tight Roll is Key: When rolling the dough into a log, make sure it’s as tight as possible. This creates those beautiful, distinct spirals.
- Freshness is Best: Cinnamon rolls are best enjoyed the day they are made. However, leftovers can be stored in an airtight container at room temperature for up to 2 days, or in the refrigerator for up to 5 days. Reheat gently in the microwave for a few seconds before serving to restore their softness.
- Freezing Unbaked Rolls: You can prepare the rolls up to the second rise, then cover them tightly and freeze for up to 2 weeks. When ready to bake, thaw them overnight in the refrigerator, then let them come to room temperature and complete their second rise before baking as directed.
- Freezing Baked Rolls: Baked and glazed cinnamon rolls can also be frozen in an airtight container for up to 1 month. Thaw at room temperature and reheat if desired.
A Moment of Bliss
Baking these Sweet Cinnamon Roll Breakfast Bliss rolls is more than just following a recipe; it’s an act of love. It’s about creating something truly special, filling your home with incredible aromas, and sharing a moment of pure comfort and joy with those you care about. So roll up your sleeves, gather your ingredients, and prepare to embark on a delicious journey that will undoubtedly become a cherished tradition in your home.
Enjoy every sweet, cinnamon-infused bite!
naiyarecipe.com