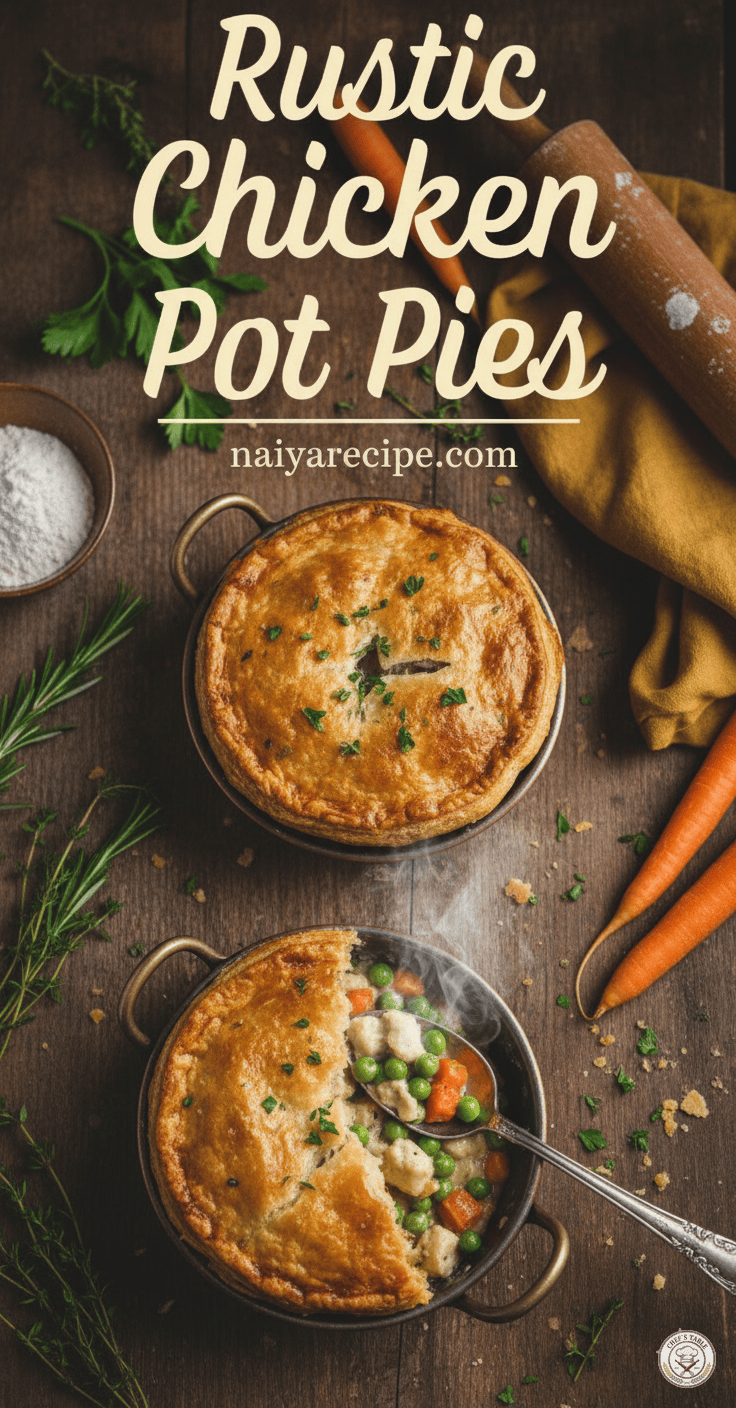
There’s something incredibly comforting about a warm, flaky chicken pot pie, especially one that evokes a sense of rustic charm and homemade goodness. These individual chicken pot pies are just that – a delightful blend of tender chicken, vibrant vegetables, and a rich, creamy sauce, all encased in a golden, buttery crust. Perfect for a cozy family dinner or a special gathering, these pies are not only delicious but also visually appealing, making them a fantastic addition to any meal.
The beauty of individual pot pies lies in their presentation and the joy of having your very own perfectly portioned meal. No more fighting over the last slice! Each pie is a complete, satisfying dish, offering a wonderful balance of flavors and textures. The crispy crust gives way to a steaming, savory filling that will warm you from the inside out.
The Heart of the Pie: A Rich and Flavorful Filling
The filling is truly what makes a chicken pot pie sing. For this rustic version, we’re focusing on classic, wholesome ingredients that come together to create a symphony of taste.
Ingredients for the Filling:
- Chicken: You’ll need about 2 cups of cooked chicken, shredded or diced. This is a fantastic recipe for using up leftover roasted or rotisserie chicken, making dinner prep even quicker. If you’re starting from scratch, you can boil or bake chicken breasts or thighs until cooked through and then shred them.
- Vegetables: A colorful medley of carrots, peas, and celery forms the base of our vegetable blend.
- Carrots: About 1 cup, peeled and diced into small, uniform pieces. They add a touch of sweetness and beautiful orange hue.
- Peas: 1 cup of frozen peas. No need to thaw them beforehand; they’ll cook beautifully in the sauce.
- Celery: ½ cup, finely diced. Celery adds a subtle aromatic flavor and a nice textural contrast.
- Onion: ½ cup, finely diced yellow onion. This provides a crucial aromatic foundation for the sauce.
- Fresh Herbs: A tablespoon each of fresh thyme and parsley, finely chopped. These fresh herbs elevate the flavor profile, adding brightness and an earthy aroma.
- The Creamy Base:
- Butter: ¼ cup (4 tablespoons) unsalted butter. This is essential for building a rich roux.
- All-Purpose Flour: ¼ cup. This will create the roux, thickening the sauce to perfection.
- Chicken Broth: 2 cups, low sodium. This forms the liquid base of our flavorful sauce.
- Milk: 1 cup, whole milk or half-and-half for extra creaminess.
- Salt and Black Pepper: To taste. Don’t be shy with seasoning; it brings all the flavors to life.
Crafting the Filling: Step-by-Step
- Sauté the Aromatics: In a large pot or Dutch oven, melt the butter over medium heat. Add the diced onion, carrots, and celery. Cook, stirring occasionally, until the vegetables begin to soften, about 5-7 minutes. The goal is to tenderize them slightly and coax out their natural sweetness.
- Build the Roux: Sprinkle the flour over the softened vegetables. Stir constantly for 1-2 minutes, allowing the flour to cook and form a roux. This step is crucial for thickening the sauce and preventing a raw flour taste.
- Whisk in Liquids: Gradually whisk in the chicken broth, a little at a time, ensuring no lumps form. Once all the broth is incorporated, slowly whisk in the milk. Bring the mixture to a gentle simmer, stirring frequently. As it simmers, it will begin to thicken.
- Add Chicken and Peas: Once the sauce has thickened to your desired consistency (it should be thick enough to coat the back of a spoon), stir in the cooked chicken, frozen peas, and fresh thyme. Season generously with salt and black pepper. Taste and adjust seasonings as needed. Remember, the filling should be well-seasoned, as the pastry will balance it out.
- Cool Slightly: Remove the filling from the heat and let it cool for at least 15-20 minutes. This prevents the hot filling from making the pastry soggy.
The Golden Crown: Flaky Pastry Crust
A rustic chicken pot pie wouldn’t be complete without a perfectly golden and flaky crust. While you can certainly make your own pastry from scratch (a truly rewarding experience!), good quality store-bought puff pastry or pie crust works beautifully and saves time, especially for individual pies.
For the Crust:
- Puff Pastry or Pie Crust: You’ll need about 1-2 sheets of puff pastry or one box of refrigerated pie crusts (which typically contains two rounds). If using puff pastry, let it thaw in the refrigerator according to package directions. If using pie crust, let it come to room temperature for about 15 minutes before unrolling.
- Egg Wash: 1 large egg, beaten with 1 tablespoon of water or milk. This creates that beautiful golden-brown sheen and helps the crust get extra crispy.
Preparing the Crusts:
- Prepare your Baking Dishes: You’ll need individual ramekins, oven-safe bowls, or small casserole dishes for these pies. Lightly grease them if they are not naturally non-stick. The number of pies will depend on the size of your dishes, but typically this recipe yields 4-6 individual pot pies.
- Cut the Pastry: On a lightly floured surface, unroll your puff pastry or pie crust. Using a round cutter or knife, cut circles that are slightly larger than the top of your individual baking dishes. This allows for a slight overhang, which you can crimp for a rustic look. If your dishes have handles, you might need to adjust the shape slightly.
- Vent the Crust: Before placing the crusts on top of the filling, make a few small slits in the center of each pastry round. This allows steam to escape during baking, preventing the crust from puffing up too much and becoming uneven.
Assembling and Baking Your Rustic Pot Pies
Now comes the exciting part – bringing it all together!
- Fill the Dishes: Spoon the cooled chicken and vegetable filling into your prepared individual baking dishes, filling them about ¾ full. Don’t overfill, as the filling will bubble up slightly during baking.
- Top with Pastry: Gently place a pastry round over the top of each filled dish. Press the edges of the pastry onto the rim of the dish. You can leave them as is for a simple look, or use a fork to crimp the edges, creating a decorative seal.
- Egg Wash: Brush the tops of the pastry with the egg wash. This gives the crust a beautiful golden color and a slightly glossy finish.
- Bake: Preheat your oven to 400°F (200°C). Place the individual pot pies on a baking sheet (this catches any potential drips and makes transferring easier). Bake for 25-35 minutes, or until the crust is deeply golden brown and puffed, and the filling is bubbly and heated through. If the crust starts to brown too quickly, you can loosely cover the pies with aluminum foil.
- Cool and Serve: Once baked, carefully remove the pies from the oven. Let them cool for 5-10 minutes before serving. This allows the filling to set slightly and prevents you from burning your mouth with the hot, bubbly goodness.
Tips for the Perfect Rustic Pot Pie
- Don’t Rush the Roux: Take your time cooking the flour and butter mixture. A properly cooked roux prevents a pasty taste and ensures a smooth, thick sauce.
- Cool the Filling: This step is crucial! Hot filling can make your bottom crust (if you were using one) or the bottom of the top crust soggy.
- Season Generously: Taste the filling before you add the crust. It should be well-seasoned. The pastry itself is relatively plain, so the filling needs to carry the flavor.
- Vary the Vegetables: Feel free to customize your vegetable mix. Diced potatoes, mushrooms, corn, or green beans would all be delicious additions. Just make sure to pre-cook any harder vegetables so they are tender when the pie finishes baking.
- Make Ahead: You can prepare the filling up to two days in advance and store it in an airtight container in the refrigerator. You can also assemble the pies (without baking) and refrigerate them for up to 24 hours. Just add a few extra minutes to the baking time if baking from cold.
- Freezing Instructions: These individual pot pies freeze wonderfully! Assemble them as directed, but do not bake. Wrap each unbaked pie tightly in plastic wrap and then in aluminum foil. Freeze for up to 3 months. To bake from frozen, unwrap, brush with egg wash, and bake at 375°F (190°C) for 45-60 minutes, or until golden brown and bubbly.
Why You’ll Love These Rustic Chicken Pot Pies
These individual rustic chicken pot pies are more than just a meal; they’re an experience. They embody comfort, warmth, and the simple joy of homemade food. The flaky crust, the rich and savory chicken and vegetable filling, and the ease of individual portions make them a crowd-pleaser for any occasion.
Imagine a chilly evening, a crackling fire (or just a warm blanket!), and one of these steaming pot pies in your hands. It’s the ultimate comfort food that nourishes both body and soul. The aroma alone will transport you to a cozy kitchen, filled with the promise of a satisfying meal.
Whether you’re an experienced cook or just starting your culinary journey, these rustic chicken pot pies are a fantastic recipe to master. They’re versatile, forgiving, and incredibly rewarding to make. So, gather your ingredients, embrace the rustic charm, and get ready to enjoy a truly delightful meal from naiyarecipe.com!