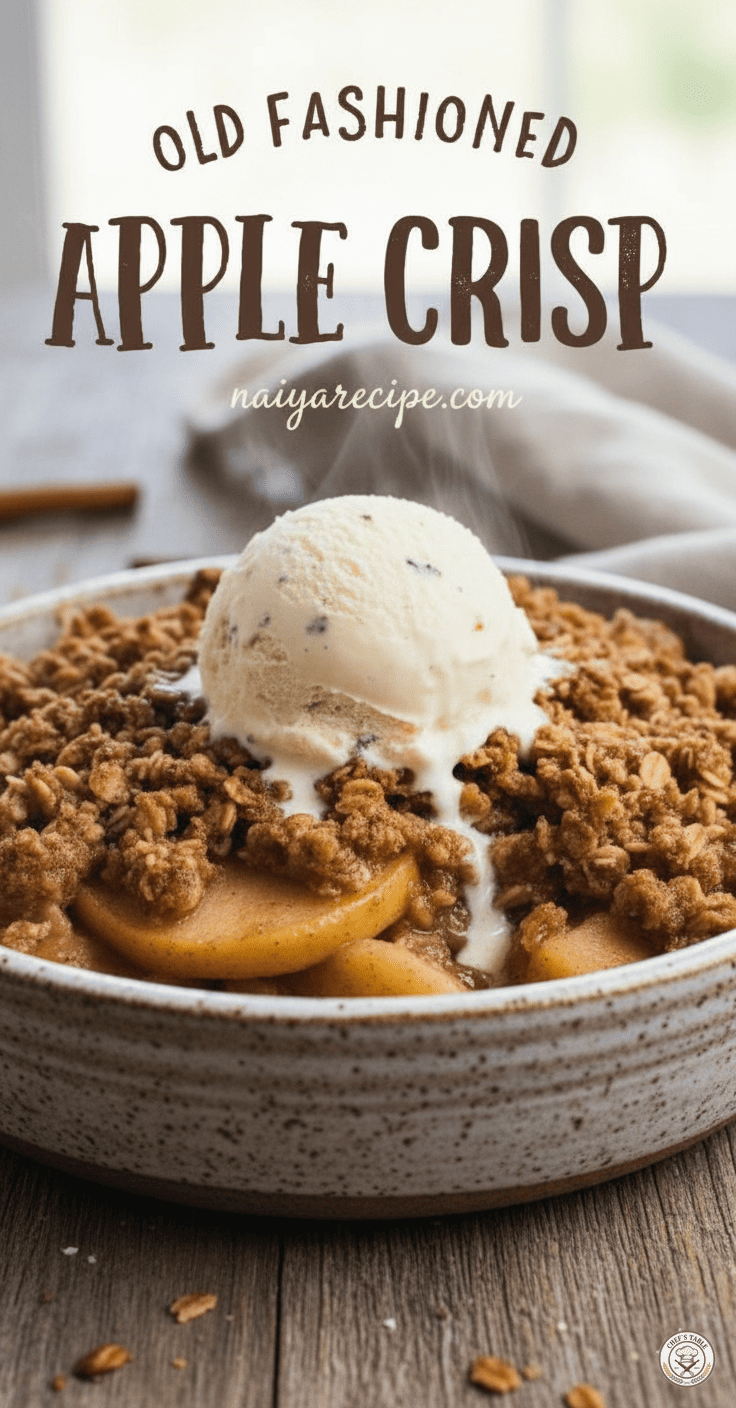
There’s something incredibly comforting about a classic apple crisp. It’s a dessert that evokes warmth, nostalgia, and the sweet embrace of home. Imagine a golden-brown, buttery oat topping generously blanketing tender, cinnamon-spiced apples, all baked to bubbly perfection. Add a scoop of vanilla ice cream melting lazily over the warm crisp, and you have a truly unforgettable experience. This old-fashioned apple crisp recipe, found on naiyarecipe.com, is a testament to simple, wholesome ingredients coming together to create magic. It’s a dish that transcends seasons, bringing joy on a chilly autumn evening or as a delightful treat on a summer afternoon.
The Allure of Apple Crisp
Why does apple crisp hold such a special place in our hearts? Perhaps it’s its unpretentious nature. Unlike some elaborate desserts that require hours of intricate work, apple crisp is wonderfully forgiving and relatively simple to prepare. It doesn’t demand artistic plating; its beauty lies in its rustic charm. Each spoonful offers a delightful contrast of textures: the yielding softness of cooked apples against the satisfying crunch of the oat topping.
Moreover, apple crisp is a dessert that speaks to generations. It’s the kind of recipe that grandmothers passed down, perfected over countless family gatherings. The aroma alone, as it bakes, is enough to transport you back to cherished memories, filling your kitchen with an inviting scent that promises something delicious is on its way. It’s a versatile dessert, equally at home at a casual weeknight dinner or as a standout at a holiday feast.
Choosing Your Apples: The Foundation of Flavor
The success of any apple crisp hinges significantly on the apples you choose. While many varieties can work, some are simply superior for baking. You want apples that will hold their shape during baking, offering a pleasant bite rather than turning into mush. They should also provide a good balance of sweetness and tartness to prevent the crisp from being overly saccharine.
Here are some excellent choices for your apple crisp:
- Granny Smith: A classic for a reason! Their firm texture and tartness provide a wonderful counterpoint to the sweet topping. If you use Granny Smiths exclusively, you might want to slightly increase the sugar in the apple filling.
- Honeycrisp: These apples are a fan favorite for their crisp texture and balanced sweet-tart flavor. They hold up beautifully in baking and contribute a lovely natural sweetness.
- Fuji: Sweet, crisp, and firm, Fujis are another excellent choice that maintains its structure when baked.
- Braeburn: Known for their firm texture and a good balance of sweet and tart notes, Braeburns are reliable baking apples.
- Golden Delicious: While sweeter and softer than some others, Golden Delicious apples add a lovely mild sweetness and can be a good component when mixed with a tarter apple.
For the best results, consider using a mix of two or three apple varieties. This approach allows you to achieve a more complex flavor profile and varied textures in your crisp. For instance, combining Granny Smiths with Honeycrisps or Fujis offers the perfect sweet-tart harmony.
Crafting the Perfect Topping: The Heart of the Crisp
The topping is what truly makes a crisp a “crisp.” It’s that irresistible layer of buttery oats, flour, and brown sugar that bakes into a golden, crunchy crust. This recipe’s topping is designed for maximum flavor and texture.
The key to a successful topping lies in how you combine the ingredients. You want to create a crumbly mixture, not a smooth paste. Cold butter is essential here. When cold butter is cut into the dry ingredients, it creates small pockets of fat. As the crisp bakes, these pockets release steam, creating flaky, tender, and incredibly crispy crumbs.
Some people prefer to use a pastry blender or their fingertips to cut the butter into the dry ingredients. Others find success with a food processor, pulsing briefly until coarse crumbs form. Whichever method you choose, avoid overmixing. The goal is to have pea-sized crumbs that will spread beautifully over the apples and bake into a golden, crunchy crown.
The Sweet and Spiced Apple Filling
Beneath that glorious topping lies the tender, spiced apple filling. This is where the apples truly shine. A simple mixture of sugar, cinnamon, and a touch of flour or cornstarch (to thicken the juices) is all it takes to transform plain apples into a luscious, aromatic base.
The amount of sugar in the filling can be adjusted based on the sweetness of your apples and your personal preference. If you’re using very tart apples like Granny Smiths, you might want to add a little more sugar. Conversely, if your apples are naturally very sweet, you can reduce the sugar slightly.
Cinnamon is the quintessential spice for apple desserts, and its warm, fragrant notes are indispensable in an old-fashioned apple crisp. You can also experiment with other warm spices like a pinch of nutmeg or allspice if you like, but cinnamon alone is perfectly wonderful.
Step-by-Step Guide to Old-Fashioned Apple Crisp
Making this apple crisp is a straightforward and rewarding process. Here’s a detailed breakdown:
Ingredients You’ll Need:
For the Apple Filling:
- 6-8 medium baking apples (about 6 cups sliced), peeled, cored, and sliced about ¼-inch thick
- ½ cup granulated sugar (adjust based on apple sweetness)
- 2 tablespoons all-purpose flour or cornstarch
- 1 teaspoon ground cinnamon
- ¼ teaspoon ground nutmeg (optional, but lovely)
- 2 tablespoons fresh lemon juice (prevents browning and brightens flavor)
For the Crisp Topping:
- 1 cup old-fashioned rolled oats (not instant)
- ¾ cup all-purpose flour
- ½ cup packed light brown sugar
- ¼ cup granulated sugar
- ½ teaspoon ground cinnamon
- ¼ teaspoon salt
- ½ cup (1 stick) unsalted butter, cold and cut into small pieces
Instructions:
- Preheat and Prepare: Preheat your oven to 375°F (190°C). Lightly grease a 9×13-inch baking dish (or an equivalent sized round or oval dish, like a 9-inch pie plate for a thicker crisp).
- Prepare the Apples: In a large bowl, combine the sliced apples, granulated sugar, flour (or cornstarch), cinnamon, nutmeg (if using), and lemon juice. Toss gently until the apples are evenly coated. Pour the apple mixture into your prepared baking dish and spread it into an even layer.
- Make the Topping: In a separate medium bowl, combine the rolled oats, flour, brown sugar, granulated sugar, cinnamon, and salt. Whisk briefly to combine the dry ingredients.
- Cut in the Butter: Add the cold, cubed butter to the dry topping ingredients. Using a pastry blender, two knives, or your fingertips, cut the butter into the mixture until coarse crumbs form. You want a crumbly texture, with some pieces of butter still visible, about the size of small peas.
- Assemble the Crisp: Sprinkle the prepared topping evenly over the apple mixture in the baking dish.
- Bake: Place the baking dish on a baking sheet (to catch any potential drips) and bake for 40-50 minutes, or until the topping is golden brown and the apple filling is bubbly and tender when poked with a fork. If the topping starts to brown too quickly, you can loosely tent it with foil.
- Rest and Serve: Once baked, remove the crisp from the oven and let it cool for at least 15-20 minutes before serving. This allows the filling to set slightly and prevents it from being too runny.
- Enjoy! Serve warm, ideally with a scoop of vanilla ice cream or a dollop of fresh whipped cream.
Tips for the Best Apple Crisp
- Don’t Skimp on the Apples: A generous amount of apples ensures a hearty, satisfying crisp. If your dish seems a little empty, add another apple!
- Cold Butter is Key: As mentioned, cold butter is crucial for a crumbly, crispy topping. Don’t use softened or melted butter.
- Don’t Overmix the Topping: Overmixing can lead to a tough or dense topping. Mix just until crumbs form.
- Adjust Sweetness: Taste your apples before mixing. If they are very tart, you might want to increase the sugar in the filling by a tablespoon or two.
- Prevent Soggy Bottom: Adding a tablespoon of flour or cornstarch to the apple filling helps absorb excess moisture released by the apples during baking, preventing a watery bottom layer.
- Let it Rest: The resting period after baking is important. It allows the fruit juices to thicken and settle, resulting in a more cohesive and less watery crisp.
- Storage: Leftover apple crisp can be stored covered in the refrigerator for up to 3-4 days. Reheat gently in the oven or microwave.
Serving Suggestions
While delicious on its own, old-fashioned apple crisp truly shines when paired with certain accompaniments:
- Vanilla Ice Cream: The classic pairing! The cold, creamy ice cream melting into the warm, spiced apples and crunchy topping is pure bliss.
- Whipped Cream: A dollop of freshly whipped cream, perhaps lightly sweetened, adds a lovely airy richness.
- Custard Sauce: A warm vanilla custard sauce can elevate this humble dessert to something truly elegant.
- Plain: Sometimes, simplicity is best. Enjoying the crisp unadorned allows the pure flavors to take center stage.
A Dessert for All Occasions
This old-fashioned apple crisp is more than just a dessert; it’s an experience. It’s the perfect treat to share with loved ones, to bring to a potluck, or to simply enjoy on a quiet evening at home. Its rustic charm and comforting flavors make it universally appealing. With this recipe from naiyarecipe.com, you can easily recreate this timeless classic in your own kitchen and savor every warm, spiced, and crunchy bite. So go ahead, gather your apples, roll up your sleeves, and prepare to fill your home with the irresistible aroma of baking perfection. You won’t regret it!