As the leaves begin to turn and a crispness fills the air, there’s a certain craving that emerges for comforting, warm, and utterly delicious treats. And what embodies that autumn spirit more perfectly than the classic combination of sweet caramel and tart apples? Today, we’re diving into a recipe that transforms these beloved flavors into a convenient, delightful, and absolutely irresistible dessert: Caramel Apple Bars. Forget the messy process of dipping individual apples; these bars deliver all the beloved taste with a much easier approach, making them perfect for potlucks, family gatherings, or just a cozy evening at home.
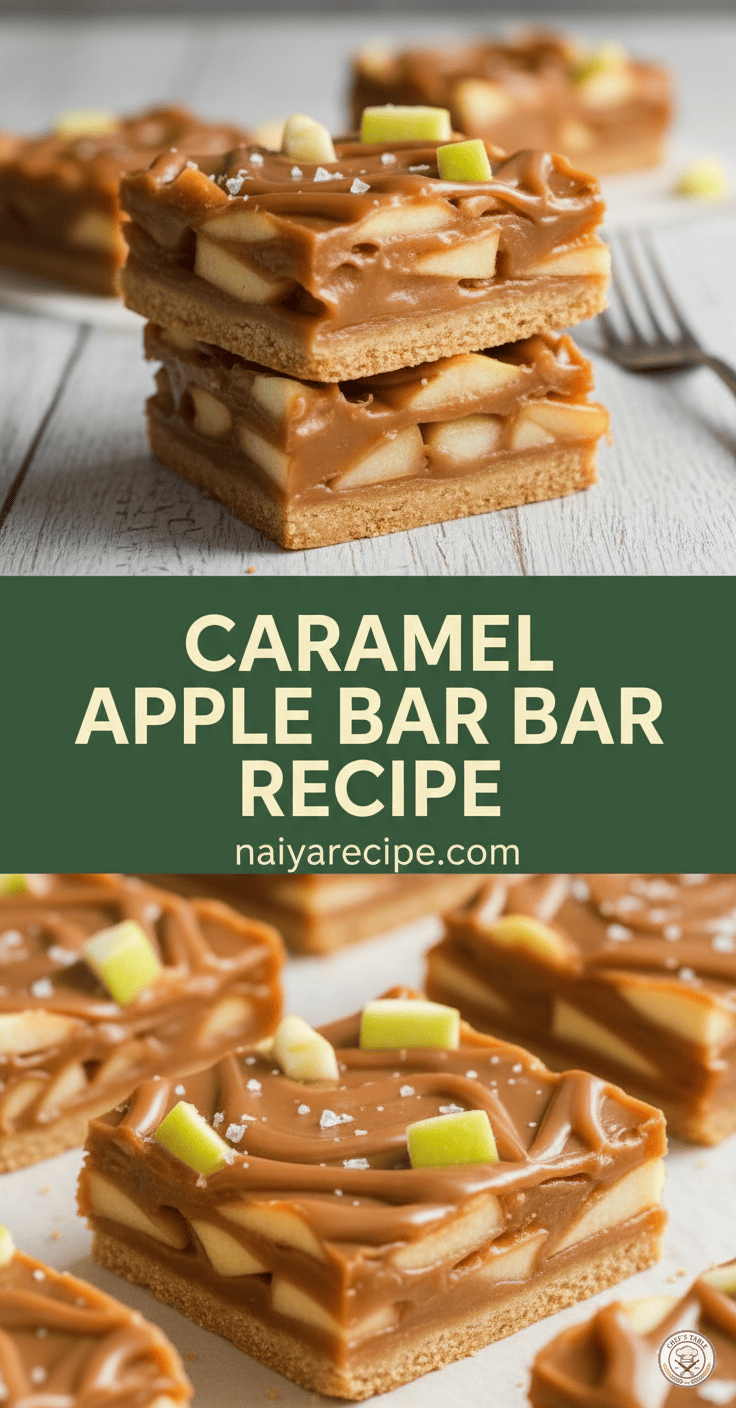
The beauty of these caramel apple bars lies in their layers of texture and flavor. You’ve got a sturdy, buttery shortbread crust that provides the perfect foundation. Piled high on top are tender, cinnamon-spiced apple pieces, which soften and become incredibly fragrant as they bake. But the real showstopper, of course, is the luscious, homemade caramel topping that cascades over everything, creating a chewy, sticky, and utterly decadent finish. A sprinkle of sea salt is optional but highly recommended, as it brilliantly cuts through the sweetness and elevates the entire experience.
Let’s break down how to create these autumnal masterpieces in your own kitchen.
The Foundation: A Perfect Shortbread Crust
Every great bar cookie starts with an even greater crust, and for our caramel apple bars, a simple yet incredibly flavorful shortbread is key.
Ingredients for the Crust:
- 1 cup (2 sticks) unsalted butter, softened
- ¾ cup granulated sugar
- 1 teaspoon vanilla extract
- 2 ½ cups all-purpose flour
- ½ teaspoon salt
Instructions for the Crust:
- Preheat and Prep: Begin by preheating your oven to 350°F (175°C). Line a 9×13-inch baking pan with parchment paper, leaving an overhang on the sides. This will make it incredibly easy to lift the entire batch of bars out of the pan once they’ve cooled.
- Cream the Wet Ingredients: In a large mixing bowl, using an electric mixer, cream together the softened butter and granulated sugar until the mixture is light and fluffy. This step is crucial for incorporating air and achieving a tender crust. Beat in the vanilla extract until just combined.
- Add Dry Ingredients: In a separate medium bowl, whisk together the all-purpose flour and salt. Gradually add the dry ingredients to the wet ingredients, mixing on low speed until just combined. Be careful not to overmix; overmixing can lead to a tough crust. The dough will be thick and crumbly.
- Press into Pan: Press the dough evenly into the bottom of the prepared 9×13-inch baking pan. You can use your hands, the bottom of a glass, or a flat spatula to achieve an even layer. This shortbread base doesn’t need to be baked separately (a step often called “blind baking”) before adding the filling, which saves you a step!
The Heart of the Bar: Tender Apple Filling
For the apple layer, we want apples that will hold their shape somewhat but still become tender and infused with warm spices.
Ingredients for the Apple Filling:
- 4-5 medium-sized apples (such as Honeycrisp, Fuji, Gala, or Granny Smith for a tarter contrast), peeled, cored, and diced into small, uniform pieces (about ½-inch)
- 2 tablespoons granulated sugar
- 1 teaspoon ground cinnamon
- ¼ teaspoon ground nutmeg
- 1 tablespoon fresh lemon juice (prevents browning and brightens flavor)
- 1 tablespoon all-purpose flour (helps absorb excess moisture from the apples)
Instructions for the Apple Filling:
- Prepare the Apples: In a large bowl, combine the diced apples, granulated sugar, cinnamon, nutmeg, and lemon juice. Toss gently to ensure all the apple pieces are coated.
- Add Flour: Sprinkle the tablespoon of all-purpose flour over the apple mixture and toss again. The flour will help to thicken the apple juices as they cook, preventing the bars from becoming watery.
- Layer on Crust: Evenly spread the seasoned apple mixture over the prepared shortbread crust in the baking pan.
The Star: Decadent Homemade Caramel
While you could use store-bought caramel, making your own takes these bars to an entirely new level. The depth of flavor and smooth texture of homemade caramel are simply unmatched.
Ingredients for the Caramel:
- 1 cup (2 sticks) unsalted butter
- ½ cup packed light brown sugar
- ½ cup granulated sugar
- ½ cup heavy cream
- 1 teaspoon vanilla extract
- ¼ teaspoon salt (optional, but highly recommended for balance)
Instructions for the Caramel:
- Combine Ingredients: In a medium saucepan over medium heat, combine the butter, light brown sugar, granulated sugar, and heavy cream.
- Melt and Stir: Stir constantly until the butter is melted and the sugars have dissolved. Bring the mixture to a gentle boil, then reduce the heat to low and continue to simmer, stirring occasionally, for 5-7 minutes. The caramel will thicken slightly and darken in color.
- Remove from Heat: Remove the saucepan from the heat and stir in the vanilla extract and salt (if using). Be careful as the caramel will be hot.
- Pour Over Apples: Carefully pour the hot caramel evenly over the apple layer in the baking pan. Use a spatula to spread it gently if needed, ensuring the apples are well-covered.
Baking and Finishing Your Caramel Apple Bars
Now it’s time to bring all these wonderful layers together in the oven.
Baking Instructions:
- Bake: Place the baking pan in the preheated oven and bake for 45-55 minutes, or until the caramel is bubbly, the edges are lightly golden, and the apples are tender. The baking time can vary slightly depending on your oven and the type of apples used.
- Cool Completely: This is perhaps the most crucial step for perfect bars. Once baked, remove the pan from the oven and place it on a wire rack to cool completely. This means letting it sit for several hours, or even better, refrigerating it for at least 2-3 hours once it has reached room temperature. The caramel needs to set fully before you attempt to cut the bars; otherwise, it will be a sticky, delicious mess (still delicious, but messy!).
- Cut and Serve: Once thoroughly chilled and set, use the parchment paper overhang to lift the entire block of bars out of the pan. Place it on a cutting board and cut into squares or rectangles of your desired size. For a clean cut, you can wipe your knife blade with a damp cloth between cuts.
Tips for Success and Variations
- Apple Choice: While many apples work well, Honeycrisp and Fuji offer a great balance of sweetness and firmness. If you prefer a more tart flavor, Granny Smith apples are an excellent choice. You can even use a mix of varieties for more complex flavor.
Don’t Rush Cooling: Seriously, resist the urge to cut into these bars too soon! The caramel must* cool and set completely to hold its shape. Patience is a virtue when it comes to caramel apple bars.
- A Touch of Crunch: For an added layer of texture, you could sprinkle some chopped pecans or walnuts over the caramel before baking.
- Storage: Store any leftover caramel apple bars in an airtight container at room temperature for up to 3 days, or in the refrigerator for up to a week. They are also freezer-friendly; wrap individual bars tightly in plastic wrap and then foil, and freeze for up to 2-3 months. Thaw at room temperature before serving.
- Serving Suggestion: While these bars are perfect on their own, a dollop of whipped cream or a scoop of vanilla ice cream makes them an even more decadent dessert, especially if gently warmed before serving.
Why These Bars Are a Must-Make
The combination of a buttery shortbread base, warm cinnamon apples, and a rich, chewy caramel topping is simply unbeatable. These Caramel Apple Bars encapsulate everything wonderful about autumn in one perfect bite. They’re hearty, comforting, and filled with flavors that evoke images of apple orchards and cozy evenings. They’re also incredibly portable once set, making them an ideal treat to share.
Whether you’re an experienced baker or just starting out, this recipe is straightforward enough to follow, with results that will impress everyone. So, gather your ingredients, embrace the comforting aromas that will soon fill your kitchen, and get ready to indulge in the ultimate fall dessert. These Caramel Apple Bars are more than just a recipe; they’re an experience, a taste of seasonal joy that you’ll want to revisit year after year. Happy baking!