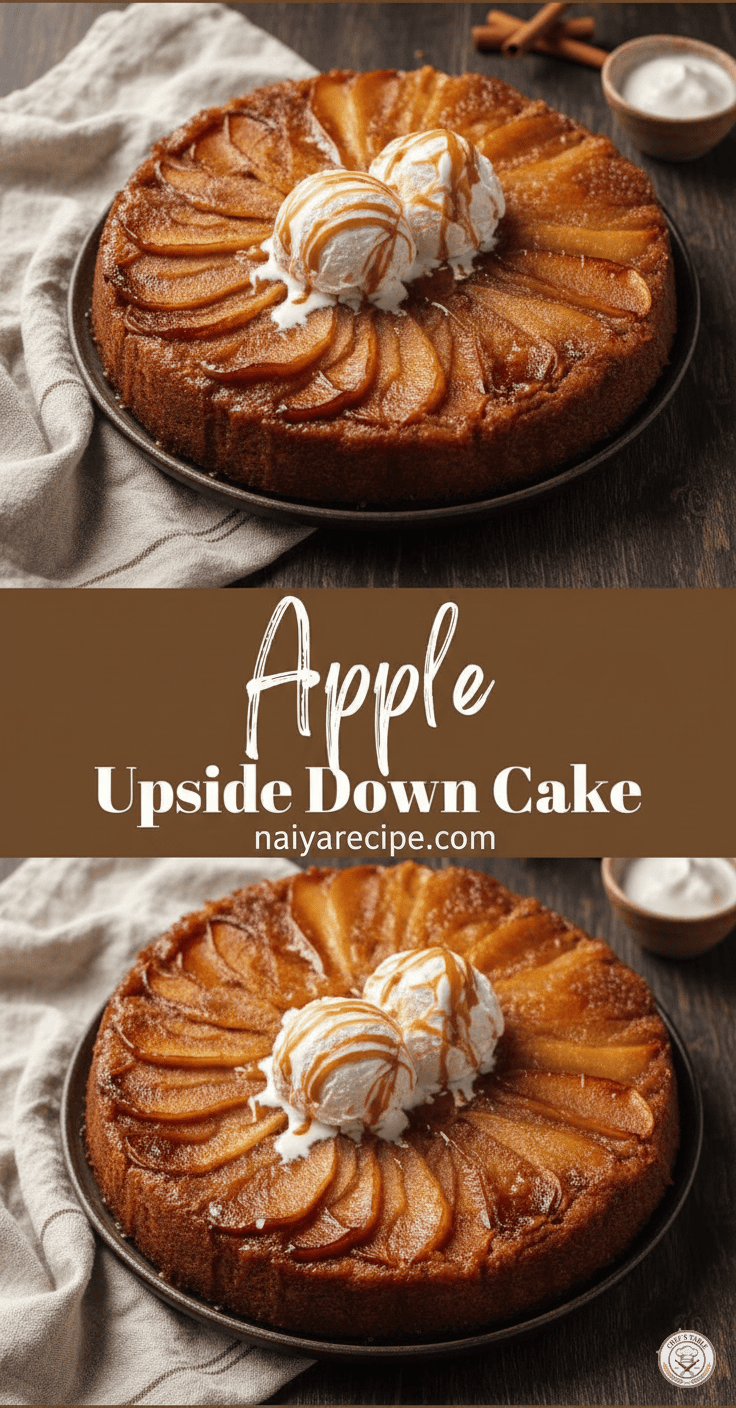
There’s something undeniably magical about an upside-down cake. The anticipation as you flip it over, the reveal of beautifully arranged fruit, glistening with a rich, caramelized glaze – it’s a moment that sparks joy and a touch of culinary triumph. And when that cake is an Apple Upside Down Cake, infused with the comforting flavors of fall and warm spices, it becomes an instant classic, perfect for any occasion. This isn’t just a dessert; it’s an experience, a delightful journey for your taste buds that combines tender apples with a moist, buttery cake, all brought together by that irresistible caramel topping.
The Allure of the Upside Down
What makes an upside-down cake so captivating? It’s the ingenious simplicity of the technique. The fruit and a sweet, often buttery, topping are placed at the bottom of the pan before the cake batter is poured over them. During baking, the topping bubbles and melds with the fruit, creating a glorious, sticky glaze. When the cake is inverted, this beautiful, caramelized layer becomes the show-stopping top, offering a stunning presentation with minimal fuss. For apple upside-down cake, this method ensures that each slice boasts a generous portion of tender, caramelized apples, their flavor intensified and sweetened by the process.
Why Apples? The Perfect Partner for Caramel
Apples are a natural choice for an upside-down cake. Their firm texture holds up beautifully during baking, preventing them from turning into mush, while their natural tartness provides a wonderful counterpoint to the sweetness of the caramel. Different apple varieties offer slightly different profiles, allowing you to customize your cake.
Best Apples for Baking:
- Granny Smith: Known for their tartness and firm texture, they hold their shape exceptionally well and provide a bright, zesty contrast to the sweet caramel.
- Honeycrisp: A fantastic all-rounder, offering a delightful balance of sweet and tart, with a crisp texture that softens beautifully.
- Fuji: Sweet and firm, Fuji apples bring a lovely sweetness and a pleasant chewiness to the cake.
- Braeburn: Another excellent choice, offering a good balance of sweet and tart, with a firm texture.
- Golden Delicious: Softer and sweeter, these apples become wonderfully tender and contribute a rich, mellow flavor.
For this recipe, a mix of two or three varieties can create a more complex flavor profile, combining tartness with sweetness and varying textures. Granny Smiths are often a favorite to ensure the cake isn’t overly sweet.
The Anatomy of a Perfect Apple Upside Down Cake
Creating the ultimate Apple Upside Down Cake involves three key components, each playing a crucial role in the final masterpiece:
1. The Caramel Topping
This is where the magic begins. A simple combination of butter and brown sugar creates the luscious caramel base that coats the apples and infuses the cake with deep, rich flavor. The brown sugar not only provides sweetness but also adds molasses notes, giving the caramel a wonderful depth. A touch of water or apple juice can be added to ensure the caramel is smooth and evenly distributed.
Tips for Perfect Caramel:
- Even Spread: Ensure the butter and brown sugar are evenly spread across the bottom of the pan to guarantee uniform caramelization.
- Don’t Overcook: While you want it bubbly, be careful not to burn the caramel, as it can turn bitter.
- Non-Stick Pan: Using a good quality non-stick cake pan (or lining a regular pan with parchment paper) is crucial for easy release.
2. The Apple Layer
This is the visual centerpiece of your cake. Slicing the apples uniformly is key for even cooking and a beautiful presentation. Arranging them artfully, whether in concentric circles or a radiating pattern, adds to the aesthetic appeal.
Tips for Preparing Apples:
- Peel and Core: Always peel and core your apples for the best texture.
- Consistent Slices: Aim for slices that are about 1/4 inch thick. Too thin, and they might disintegrate; too thick, and they might not cook through properly.
- Prevent Browning: If you’re not arranging them immediately, toss the apple slices with a little lemon juice to prevent oxidation and browning.
- Spice it Up: A sprinkle of cinnamon, nutmeg, or a pumpkin pie spice blend over the apples before adding the batter will elevate the flavor even further.
3. The Cake Batter
The cake itself needs to be moist, tender, and sturdy enough to support the apple layer without being too dense. A classic butter cake base, often enriched with buttermilk or sour cream, provides the perfect canvas. The batter should be thick enough to hold the apples in place during baking but light enough to remain fluffy.
Tips for a Moist Cake:
- Room Temperature Ingredients: Ensure butter, eggs, and any dairy are at room temperature for a smooth, emulsified batter.
- Don’t Overmix: Mix the batter just until combined. Overmixing develops the gluten, leading to a tough cake.
- Balance Wet and Dry: Add dry ingredients alternately with wet ingredients, starting and ending with dry, to prevent overmixing.
Step-by-Step Guide to Crafting Your Apple Upside Down Cake
Let’s break down the process into manageable steps to ensure your cake turns out perfectly every time.
Yields: 8-10 servings
Prep time: 30 minutes
Bake time: 45-55 minutes
Ingredients:
For the Caramel Topping:
- 1/2 cup (113g) unsalted butter
- 1 cup (200g) packed light brown sugar
- 2 tablespoons water or apple juice
- 1 teaspoon ground cinnamon (optional, but recommended)
For the Apple Layer:
- 3-4 medium-sized baking apples (such as Honeycrisp, Granny Smith, Fuji, or a mix), peeled, cored, and sliced about 1/4 inch thick
For the Cake Batter:
- 1 1/2 cups (190g) all-purpose flour
- 1 teaspoon baking powder
- 1/2 teaspoon baking soda
- 1/4 teaspoon salt
- 1/2 cup (113g) unsalted butter, softened
- 1 cup (200g) granulated sugar
- 2 large eggs, at room temperature
- 1 teaspoon vanilla extract
- 1/2 cup (120ml) buttermilk (or 1/2 cup milk + 1/2 tablespoon lemon juice or white vinegar, let sit for 5 minutes)
Equipment:
- 9-inch round cake pan
- Parchment paper (optional, but helpful)
- Mixing bowls
- Electric mixer (handheld or stand mixer)
- Spatula
Instructions:
1. Prepare Your Pan and Caramel Topping:
- Preheat your oven to 350°F (175°C).
- Grease a 9-inch round cake pan. For extra insurance against sticking, you can line the bottom with a circle of parchment paper, then grease the parchment as well. This is especially helpful if your pan isn’t non-stick.
- In a small saucepan over medium heat, melt the 1/2 cup butter for the topping.
- Once melted, add the brown sugar, water/apple juice, and optional cinnamon. Stir constantly until the sugar dissolves and the mixture is smooth and bubbly.
- Carefully pour the hot caramel mixture into the prepared cake pan, ensuring it evenly coats the bottom. You can gently tilt the pan to spread it.
2. Arrange the Apples:
- Arrange the apple slices directly on top of the caramel in a decorative pattern. You can start from the outer edge, overlapping slices slightly, and work your way towards the center. Make sure to pack them relatively tightly to cover the entire caramel layer. The more apples, the better!
3. Prepare the Cake Batter:
- In a medium bowl, whisk together the flour, baking powder, baking soda, and salt. Set aside.
- In a large bowl, using an electric mixer, cream together the 1/2 cup softened butter and granulated sugar until light and fluffy (about 2-3 minutes).
- Beat in the eggs one at a time, mixing well after each addition. Scrape down the sides of the bowl as needed. Stir in the vanilla extract.
- Gradually add the dry ingredients to the wet ingredients, alternating with the buttermilk. Begin and end with the dry ingredients (e.g., add 1/3 dry, mix, add 1/2 buttermilk, mix, add 1/3 dry, mix, add remaining 1/2 buttermilk, mix, add remaining 1/3 dry, mix). Mix on low speed just until combined and no streaks of flour remain. Be careful not to overmix.
4. Assemble and Bake:
- Carefully spoon the cake batter over the arranged apples in the pan. Gently spread the batter evenly to cover all the apple slices.
- Place the cake pan on a baking sheet (this helps catch any potential drips from the caramel) and transfer it to the preheated oven.
- Bake for 45-55 minutes, or until a wooden skewer or toothpick inserted into the center of the cake comes out clean. The top of the cake should be golden brown.
5. The Grand Reveal:
- Once baked, remove the cake from the oven and let it cool in the pan on a wire rack for only 10-15 minutes. This crucial step allows the caramel to slightly set but remain fluid enough to release from the pan.
- After the cooling period, place a serving plate (larger than the cake pan) upside down over the cake pan.
- Holding both the plate and the pan firmly, carefully and confidently invert the cake onto the serving plate.
- Lift the cake pan slowly. If any apples or caramel stick to the bottom of the pan, carefully scrape them off with a spatula and reattach them to the cake.
- If you used parchment paper, gently peel it off the top of the cake.
6. Serve and Enjoy!
- Allow the cake to cool slightly further if you like, but it’s absolutely divine served warm, especially with a scoop of vanilla ice cream or a dollop of whipped cream, and an extra drizzle of caramel sauce if desired.
Tips for Success
- Don’t Rush the Flip: The 10-15 minute cooling period is essential. Too soon, and the cake might fall apart; too long, and the caramel might harden and stick to the pan.
- Even Apple Slices: Consistency in apple thickness ensures even cooking.
- Room Temperature Ingredients: This applies to butter, eggs, and buttermilk. It ensures a smooth, well-emulsified batter.
- Proper Pan Preparation: Greasing and potentially lining the pan is your best defense against sticking.
- Storage: Store leftover cake at room temperature, covered, for up to 2 days, or in the refrigerator for up to 4 days. Gently warm individual slices before serving for the best experience.
Variations and Enhancements
While this classic Apple Upside Down Cake is perfect as is, here are a few ideas to customize it to your liking:
- Nutty Crunch: Sprinkle a handful of chopped walnuts or pecans over the caramel layer before adding the apples for an added layer of texture and flavor.
- Spice it Up Further: In addition to cinnamon, try adding a pinch of ground nutmeg, ginger, or cardamom to the cake batter or over the apples for a more complex spice profile.
- Citrus Zest: A teaspoon of orange or lemon zest in the cake batter can brighten the flavors beautifully.
- Molasses Magic: For an even deeper, more robust caramel flavor, you can substitute a tablespoon of molasses for a tablespoon of the brown sugar in the topping.
- Different Fruit Combinations: While apples are stellar, you can experiment with other fruits like pears, pineapple, peaches, or even plums for different upside-down cake variations.
A Dessert to Cherish
The Apple Upside Down Cake is more than just a recipe; it’s a testament to simple ingredients coming together to create something truly spectacular. It’s the kind of dessert that evokes warmth, comfort, and a touch of nostalgia. Whether you’re baking it for a special gathering, a family dinner, or simply to treat yourself, the process is rewarding, and the result is a beautifully caramelized, fruit-laden cake that will undoubtedly impress. So, gather your apples, fire up your oven, and prepare to create a culinary masterpiece that will bring smiles to everyone who takes a bite of this caramelized dream. Happy baking!