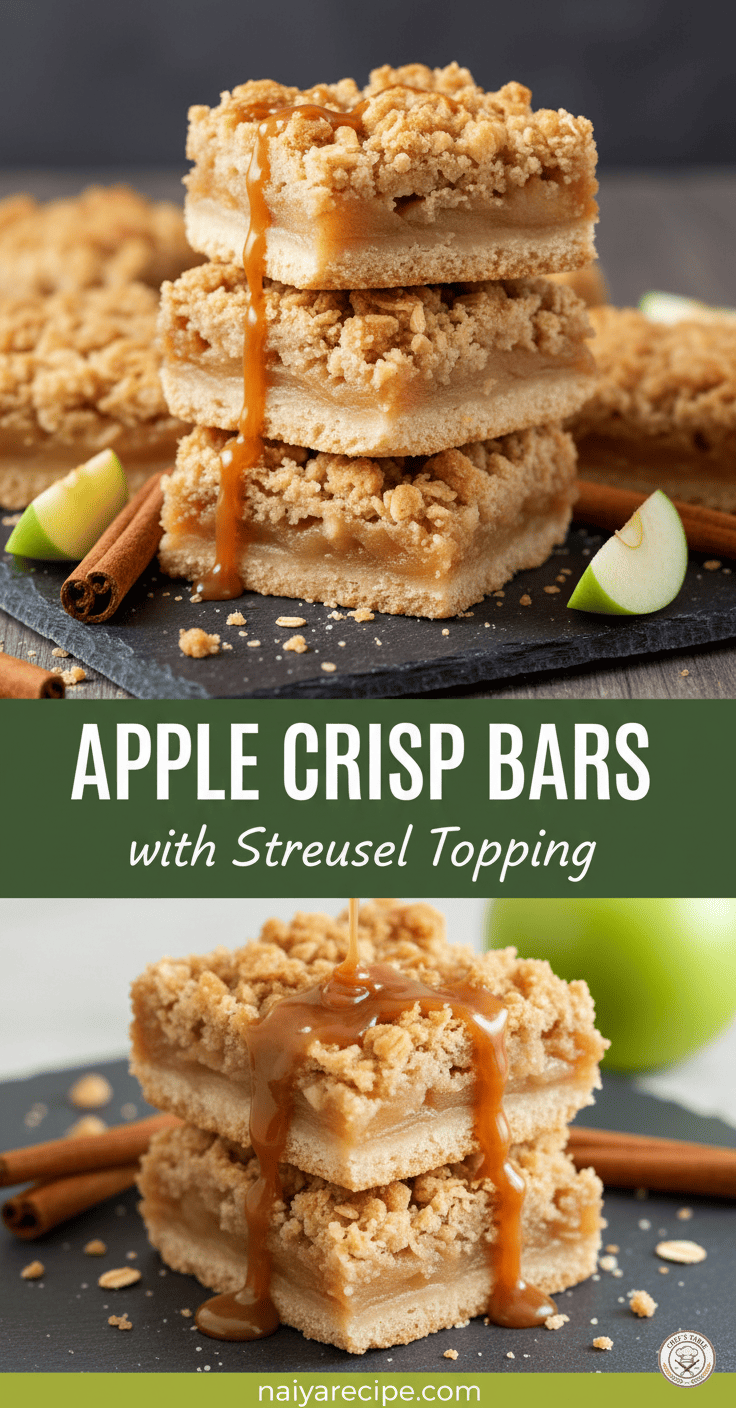
As the leaves begin to turn and a crispness fills the air, there’s nothing quite like the comforting aroma of warm apples and spices wafting from your kitchen. And while apple pie will always hold a special place in our hearts, sometimes you need a dessert that’s a little easier to share, a little simpler to transport, and just as utterly delicious. Enter these incredible Apple Crisp Bars with Streusel Topping!
These bars take all the best elements of a classic apple crisp – the tender, cinnamon-spiced apple filling, the buttery, crumbly streusel – and transform them into a convenient, hand-held delight. Perfect for potlucks, fall gatherings, or simply a cozy evening at home, they’re sure to become a staple in your autumn baking repertoire.
Why You’ll Love These Apple Crisp Bars
What makes these bars so irresistible? Let’s count the ways:
- Convenience: Easier to make and serve than a traditional apple pie. No intricate crust weaving required!
- Portability: Perfect for taking to parties, picnics, or gifting to friends and neighbors.
- Flavor Profile: A harmonious blend of sweet, tart, and spiced apples with a rich, buttery crumble.
- Texture Heaven: You get the satisfying chew of the apple filling, the delicate crispness of the streusel, and the sturdy, melt-in-your-mouth shortbread-like crust all in one bite.
- Crowd-Pleaser: These disappear quickly! They appeal to almost everyone, making them a go-to dessert for any occasion.
- Versatility: While amazing on their own, they’re also fantastic served warm with a scoop of vanilla ice cream or a drizzle of caramel sauce.
The Anatomy of a Perfect Apple Crisp Bar
Let’s break down the three delicious layers that make up these bars:
1. The Buttery Shortbread Crust
This isn’t just a foundation; it’s a crucial flavor and texture component. Made with simple ingredients like flour, sugar, and cold butter, this crust bakes up firm enough to hold all the delicious fillings, yet tender and slightly crumbly. It has a delightful richness that perfectly complements the fruit above. The key to a good shortbread crust is to not overmix, ensuring it remains delicate and not tough.
2. The Luscious Apple Filling
This is where the magic truly happens. Slices of fresh apples are tossed with sugar, cinnamon, a touch of flour (to help thicken the juices), and a hint of lemon juice (to brighten the flavor and prevent browning). The choice of apple is important here – you want varieties that hold their shape well when baked and offer a good balance of sweetness and tartness. We’ll delve into apple varieties shortly! As they bake, the apples soften beautifully, releasing their sweet, spiced juices, creating a wonderfully tender and flavorful layer.
3. The Irresistible Streusel Topping
Ah, the streusel! This is what gives the “crisp” its name and its signature texture. A simple mixture of flour, sugar, cinnamon, and cold butter, rubbed together until delightful crumbs form. When baked, these crumbs turn golden brown, creating a wonderfully crunchy, buttery, and spicy topping that contrasts beautifully with the soft apple filling. It’s the crowning glory of these bars!
Choosing the Right Apples for Your Bars
The success of your apple crisp bars largely depends on the apples you choose. You want apples that will stand up to baking without turning into complete mush, and that offer a good balance of sweet and tart flavors. Here are some excellent choices:
- Granny Smith: The classic choice for baking! They are firm, tart, and hold their shape exceptionally well. If you love a tangier apple dessert, these are perfect.
- Honeycrisp: Sweet, crisp, and slightly tart. They maintain a great texture when baked and are a crowd-pleaser.
- Fuji: Sweet and firm, with a slightly dense texture that holds up well.
- Braeburn: A fantastic all-around apple, offering a good balance of sweet and tart with a firm texture.
- Pink Lady: Sweet-tart and crisp, they bake beautifully.
- Golden Delicious: Softer than some other baking apples, but they offer a lovely sweetness and aroma. If using, consider pairing with a firmer, more tart apple.
- Gala: Sweet and relatively firm, they work well, but might soften more than Granny Smiths.
Pro Tip: For the best flavor and texture, I often recommend using a combination of two different apple varieties. For example, a mix of Granny Smith and Honeycrisp gives you the perfect balance of tartness, sweetness, and texture.
Essential Tools for Success
You don’t need a lot of fancy equipment for this recipe, but having these basics will make the process smooth:
- 9×13 inch baking pan: Essential for these bar cookies.
- Mixing bowls: Several for the different components.
- Measuring cups and spoons: For accurate ingredient measurements.
- Paring knife and cutting board: For peeling and slicing apples. An apple peeler/corer can speed things up significantly if you have one.
- Pastry blender or your fingertips: For making the streusel and cutting butter into the crust.
- Spatula or offset spatula: For pressing the crust into the pan and spreading the apple filling.
Step-by-Step Recipe: Apple Crisp Bars with Streusel Topping
This recipe is designed to be straightforward, even for novice bakers. Follow these steps, and you’ll have a delightful dessert in no time!
Yields: 12-16 bars
Prep time: 30 minutes
Bake time: 50-60 minutes
Ingredients:
For the Crust:
- 2 cups all-purpose flour
- 1/2 cup granulated sugar
- 1/2 teaspoon salt
- 1 cup (2 sticks) cold unsalted butter, cut into cubes
For the Apple Filling:
- 6 medium apples (about 6-7 cups sliced), peeled, cored, and thinly sliced (see apple recommendations above)
- 1/2 cup granulated sugar (adjust based on apple sweetness)
- 2 tablespoons all-purpose flour
- 1 teaspoon ground cinnamon
- 1/4 teaspoon ground nutmeg (optional)
- 1 tablespoon fresh lemon juice
For the Streusel Topping:
- 1 cup all-purpose flour
- 1/2 cup packed light brown sugar
- 1 teaspoon ground cinnamon
- 1/2 cup (1 stick) cold unsalted butter, cut into cubes
Instructions:
- Preheat Oven & Prepare Pan: Preheat your oven to 375°F (190°C). Lightly grease a 9×13 inch baking pan or line it with parchment paper, leaving an overhang on the sides for easy lifting later. This makes removing the bars much simpler.
- Make the Crust: In a large mixing bowl, combine the 2 cups flour, 1/2 cup granulated sugar, and 1/2 teaspoon salt. Add the cold, cubed butter. Using a pastry blender, two knives, or your fingertips, cut the butter into the flour mixture until it resembles coarse crumbs. Be careful not to overmix; you want pea-sized pieces of butter remaining.
Press the crumbly mixture evenly into the bottom of the prepared 9×13 inch baking pan. You can use your hands or the bottom of a glass. Bake for 15 minutes, or until lightly golden. While the crust is baking, prepare the apple filling and streusel topping.
- Prepare the Apple Filling: In a large bowl, combine the peeled, cored, and thinly sliced apples. Add the 1/2 cup granulated sugar, 2 tablespoons flour, 1 teaspoon cinnamon, and 1/4 teaspoon nutmeg (if using). Drizzle with 1 tablespoon lemon juice. Toss gently until the apples are evenly coated.
- Make the Streusel Topping: In a separate medium bowl, combine the 1 cup flour, 1/2 cup packed light brown sugar, and 1 teaspoon cinnamon. Add the cold, cubed butter. Using a pastry blender or your fingertips, cut the butter into the dry ingredients until coarse, buttery crumbs form. Again, avoid overmixing.
- Assemble the Bars: Once the crust has baked for 15 minutes, remove it from the oven. Evenly spoon the apple filling over the warm crust, spreading it out to the edges.
Sprinkle the streusel topping evenly over the apple layer.
- Bake: Return the pan to the oven and bake for an additional 35-45 minutes, or until the streusel topping is golden brown and the apple filling is bubbling and tender when pierced with a knife. If the streusel starts to brown too quickly, you can loosely tent the pan with aluminum foil for the last 10-15 minutes of baking.
- Cool Completely: This is the hardest part, but crucial! Let the bars cool in the pan on a wire rack for at least 2-3 hours, or preferably completely at room temperature. The apple filling needs time to set, making the bars easier to cut cleanly. If you try to cut them warm, they may crumble apart.
- Slice and Serve: Once completely cooled, lift the bars out of the pan using the parchment paper overhang. Transfer to a cutting board and slice into squares or rectangles.
Serving Suggestions
These Apple Crisp Bars are absolutely delightful on their own, perhaps with a cup of hot tea or coffee. However, if you’re feeling a little extra, here are some serving ideas:
- Warm with Ice Cream: Reheat a bar slightly in the microwave and serve with a scoop of premium vanilla bean ice cream. The contrast of warm and cold, soft and crisp, is heavenly!
- Caramel Drizzle: A light drizzle of store-bought or homemade caramel sauce takes these over the top.
- Whipped Cream: A dollop of freshly whipped cream adds a touch of richness.
- Plain Yogurt: For a slightly healthier twist, serve with a spoonful of plain Greek yogurt.
- Breakfast Treat: Yes, these can absolutely be a delicious (and justifiable!) breakfast treat with your morning coffee.
Storage Tips
- Room Temperature: Store leftover Apple Crisp Bars in an airtight container at room temperature for up to 2-3 days.
- Refrigerator: For longer storage, keep them in an airtight container in the refrigerator for up to 5 days.
- Freezing: These bars freeze wonderfully! Once completely cooled and cut, place them in a single layer on a baking sheet and freeze until firm. Then, transfer the frozen bars to an airtight freezer-safe container or freezer bag, separating layers with parchment paper. They can be frozen for up to 3 months. Thaw at room temperature or warm gently in the microwave or oven.
Troubleshooting Common Questions
- My apples are mushy! You likely used an apple variety that doesn’t hold up well to baking (like McIntosh) or overbaked them. Next time, choose firmer apples or reduce baking time slightly.
- My streusel isn’t crumbly enough/is too uniform! Make sure your butter is cold and you’re not overmixing. You want to rub or cut the butter in until coarse crumbs form, not a smooth dough.
- My bars are falling apart when I cut them! The most common reason for this is not allowing them to cool completely. Patience is key here! The filling needs to set firm.
- Can I make these gluten-free? Yes, you can experiment with a 1:1 gluten-free all-purpose flour blend for both the crust and the streusel.
- Can I add nuts to the streusel? Absolutely! Chopped pecans or walnuts would be a fantastic addition to the streusel topping, adding another layer of texture and flavor. Add about 1/2 cup with the other streusel ingredients.
A Perfect Autumn Indulgence
These Apple Crisp Bars with Streusel Topping are more than just a dessert; they’re a celebration of autumn flavors, a comforting hug in food form, and a testament to the simple joy of home baking. Whether you’re an experienced baker or just starting your culinary journey, this recipe is accessible, forgiving, and guaranteed to yield delicious results.
So, gather your ingredients, fire up your oven, and fill your home with the inviting scent of cinnamon and apples. You’re just a few steps away from enjoying these utterly irresistible Apple Crisp Bars. Happy baking!
For more delightful recipes like this, be sure to visit naiyarecipe.com!