Welcome, food enthusiasts, to a culinary journey that promises to tantalize your taste buds and transport you straight to the vibrant streets of Thailand, all from the comfort of your kitchen. Today, we’re diving deep into the art of crafting the ultimate Thai Chicken Sandwich. This isn’t just any sandwich; it’s a symphony of flavors, a harmonious blend of crispy, savory, tangy, and spicy that will leave you craving more. Forget everything you thought you knew about chicken sandwiches, because this Thai-inspired creation is about to redefine your expectations.
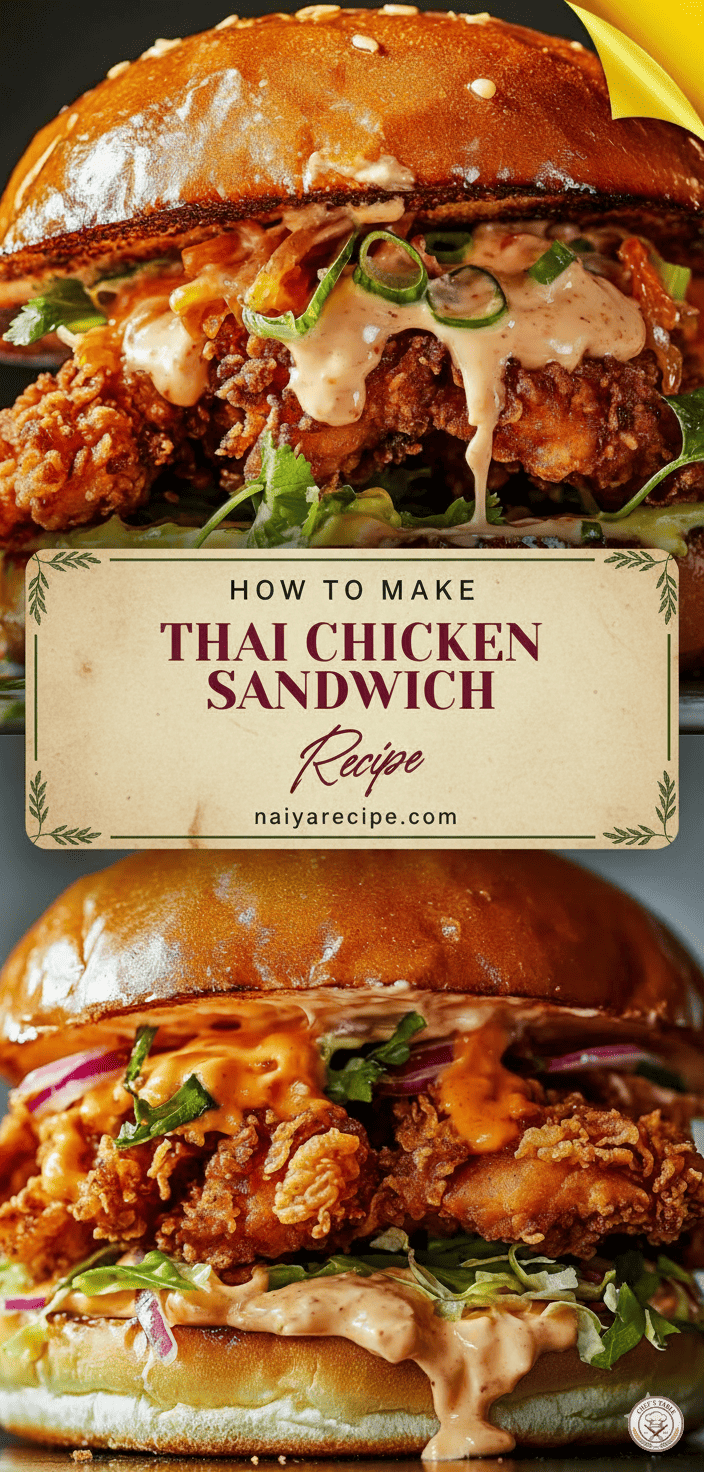
The beauty of Thai cuisine lies in its intricate balance of sweet, sour, salty, and spicy. This sandwich encapsulates that philosophy perfectly. Imagine biting into a perfectly golden, crispy piece of chicken, seasoned with aromatic Thai spices, nestled between two soft, toasted buns. Then, add a generous slather of a creamy, tangy, and subtly spicy sauce, topped with fresh, crisp vegetables that add a delightful crunch. It’s a textural and flavorful masterpiece that’s surprisingly easy to achieve at home.
We understand the importance of clear, concise instructions, so we’ve broken down this recipe into easy-to-follow steps, ensuring your success even if you’re a novice in the kitchen. From preparing the succulent chicken to whisking up the irresistible sauce and assembling the final masterpiece, every detail is covered. So, roll up your sleeves, gather your ingredients, and prepare to impress yourself and your loved ones with this incredible Thai Chicken Sandwich.
The Heart of the Sandwich: The Crispy Thai Chicken
The star of our show is undoubtedly the chicken. We’re aiming for a super crispy exterior and a juicy, tender interior, infused with classic Thai flavors.
Ingredients for the Chicken:
- 4 boneless, skinless chicken thighs (about 1.5 lbs total), or chicken breasts pounded to even thickness
- 1 cup all-purpose flour
- ½ cup cornstarch
- 1 tablespoon salt
- 1 tablespoon black pepper
- 1 teaspoon garlic powder
- 1 teaspoon onion powder
- 1 teaspoon ground ginger
- ½ teaspoon cayenne pepper (adjust to your spice preference)
- ¼ teaspoon ground white pepper
- 1 cup buttermilk (or milk mixed with 1 tablespoon white vinegar or lemon juice, let sit for 5 minutes)
- 1 large egg
- Vegetable oil for frying (enough to submerge the chicken)
Instructions for the Chicken:
- Prepare the Chicken: If using chicken breasts, pound them to an even thickness of about ¾ inch. If using thighs, trim any excess fat. Pat the chicken dry with paper towels.
- Make the Wet Batter: In a medium bowl, whisk together the buttermilk and egg until well combined. This will be our wet batter, helping the dry coating adhere beautifully.
- Create the Dry Coating: In a separate shallow dish or a large resealable bag, combine the flour, cornstarch, salt, black pepper, garlic powder, onion powder, ground ginger, cayenne pepper, and white pepper. Mix thoroughly to ensure all spices are evenly distributed.
- Dredge the Chicken: Dip each piece of chicken into the wet buttermilk mixture, allowing any excess to drip off. Then, transfer the chicken to the dry flour mixture. Press firmly on both sides to ensure a thick, even coating. For extra crispiness, you can double-dredge: dip the coated chicken back into the buttermilk mixture and then back into the flour mixture for a second coating. Set the coated chicken aside on a wire rack while you heat the oil. This resting time helps the coating adhere better.
- Heat the Oil: Pour vegetable oil into a large, heavy-bottomed pot or Dutch oven, ensuring it’s deep enough to submerge the chicken. Heat the oil over medium-high heat until it reaches 350°F (175°C). Use a kitchen thermometer to monitor the temperature; maintaining the correct temperature is crucial for crispy, non-greasy chicken.
- Fry the Chicken: Carefully lower one or two pieces of chicken into the hot oil, making sure not to overcrowd the pot. Overcrowding will lower the oil temperature, resulting in soggy chicken. Fry for 6-8 minutes, flipping halfway through, until the chicken is golden brown, cooked through, and reaches an internal temperature of 165°F (74°C).
- Drain and Rest: Remove the fried chicken from the oil and place it on a wire rack set over a baking sheet to drain any excess oil. This also helps keep the chicken crispy. Lightly sprinkle with a pinch of salt immediately after removing from the oil. Repeat with the remaining chicken.
The Zesty Zing: The Thai-Inspired Mayo Sauce
No sandwich is complete without a stellar sauce, and our Thai-inspired mayo sauce is the perfect complement to the crispy chicken. It’s creamy, tangy, and packed with an incredible depth of flavor.
Ingredients for the Sauce:
- ½ cup mayonnaise (full-fat for best results)
- 2 tablespoons sweet chili sauce
- 1 tablespoon lime juice (freshly squeezed is best)
- 1 tablespoon soy sauce (or tamari for a gluten-free option)
- 1 teaspoon sriracha (or more, to taste, for extra heat)
- 1 teaspoon grated fresh ginger
- ½ teaspoon garlic powder
- ¼ teaspoon sesame oil (optional, for an extra nutty aroma)
Instructions for the Sauce:
- Combine Ingredients: In a small bowl, combine the mayonnaise, sweet chili sauce, lime juice, soy sauce, sriracha, grated ginger, garlic powder, and sesame oil (if using).
- Whisk Until Smooth: Whisk all the ingredients together until the sauce is completely smooth and well combined. Taste and adjust seasonings as needed. If you prefer it spicier, add more sriracha. If you like it tangier, add a bit more lime juice.
- Chill (Optional): For best results, cover the sauce and refrigerate for at least 30 minutes to allow the flavors to meld. This step can be done while the chicken is cooking or even a few hours in advance.
The Finishing Touches: Assembling Your Masterpiece
With our crispy chicken fried to perfection and our luscious sauce ready, it’s time to bring all the elements together to create the ultimate Thai Chicken Sandwich.
Ingredients for Assembly:
- 4 brioche buns (or your favorite soft sandwich buns)
- Lettuce leaves (butter lettuce or green leaf work well, or shredded cabbage for extra crunch)
- Red onion, thinly sliced
- Fresh cilantro, chopped
- Optional: thinly sliced cucumber, pickled jalapeños
Instructions for Assembly:
- Toast the Buns: Lightly toast the brioche buns. You can do this in a toaster, under the broiler, or in a dry pan over medium heat until golden brown and slightly crisp. Toasted buns prevent them from getting soggy and add an extra layer of texture.
- Layer the Sauce: Spread a generous amount of the Thai-inspired mayo sauce on both the top and bottom halves of each toasted bun. Don’t be shy!
- Add the Greens: On the bottom bun, layer a few pieces of lettuce or shredded cabbage. This provides a fresh, crisp base.
- Place the Chicken: Carefully place a piece of crispy Thai chicken on top of the greens.
- Garnish with Freshness: Add a few slices of red onion and a sprinkle of fresh chopped cilantro on top of the chicken. If using, add cucumber slices or pickled jalapeños now.
- Top it Off: Place the top bun half over the assembled sandwich, pressing down gently.
- Serve Immediately: These sandwiches are best enjoyed fresh while the chicken is still warm and crispy.
Tips for Success and Variations
- Marinating the Chicken: For an even deeper flavor, you can marinate the chicken in a mixture of buttermilk, a squeeze of lime, and a pinch of your dry spices for at least 30 minutes, or up to 4 hours in the refrigerator, before dredging.
- Spice Level: Adjust the amount of cayenne pepper in the dry coating and sriracha in the sauce to match your preferred spice level. If you love heat, feel free to be generous!
- Vegetable Variety: Don’t limit yourself to lettuce and red onion. Sliced cucumber, shredded carrots, or even a quick pickle of daikon and carrots can add wonderful texture and flavor.
- Make it a Slider: Cut the chicken into smaller pieces and use slider buns for a party-friendly appetizer.
- Gluten-Free Option: Use gluten-free flour and cornstarch for the coating, and tamari instead of soy sauce for the sauce. Ensure your buns are also gluten-free.
- Healthy Twist: Instead of frying, you can bake or air fry the chicken for a lighter version. For baking, spray the coated chicken with cooking spray and bake at 400°F (200°C) for 20-25 minutes, flipping halfway, until golden and cooked through. For air frying, preheat to 375°F (190°C) and cook for 15-20 minutes, flipping halfway. While the texture won’t be identical to deep-fried, it will still be delicious!
Why This Sandwich Will Be Your New Favorite
This Thai Chicken Sandwich isn’t just a meal; it’s an experience. The journey from the initial crisp bite of the perfectly fried chicken to the explosion of the sweet, tangy, and spicy sauce, all rounded out by the freshness of the vegetables, is truly unforgettable. It’s comfort food elevated with exotic flavors that will make your taste buds sing.
Imagine hosting a casual get-together with friends, and instead of serving the usual fare, you present these vibrant, flavorful sandwiches. They’re a guaranteed conversation starter and a memorable dish that your guests will be asking you to make again and again. Or perhaps you’re looking for a weeknight meal that breaks the monotony. This recipe fits the bill perfectly – it’s exciting, relatively quick to prepare, and incredibly satisfying.
The combination of textures – the crunch of the chicken and fresh vegetables, the softness of the bun, and the creaminess of the sauce – makes every bite interesting. The interplay of flavors – the savory chicken, the zesty lime, the aromatic ginger and garlic, and the kick of chili – creates a complexity that is both intriguing and utterly delicious.
So, go ahead, give this Thai Chicken Sandwich a try. It’s a recipe that celebrates bold flavors, satisfying textures, and the joy of creating something truly special in your kitchen. You won’t regret embarking on this delightful culinary adventure. Enjoy every mouthwatering bite!