As the leaves begin to turn golden and a crisp chill fills the air, there’s nothing quite like the comforting aroma of apple pie baking in the oven. It’s a scent that evokes memories of family gatherings, cozy evenings by the fireplace, and the simple joys of the season. But let’s be honest, making a traditional apple pie from scratch can be a bit of a project. That’s where Apple Pie Bars come in! These delightful treats capture all the beloved flavors of classic apple pie in a convenient, easy-to-make bar form, perfect for sharing (or not!).
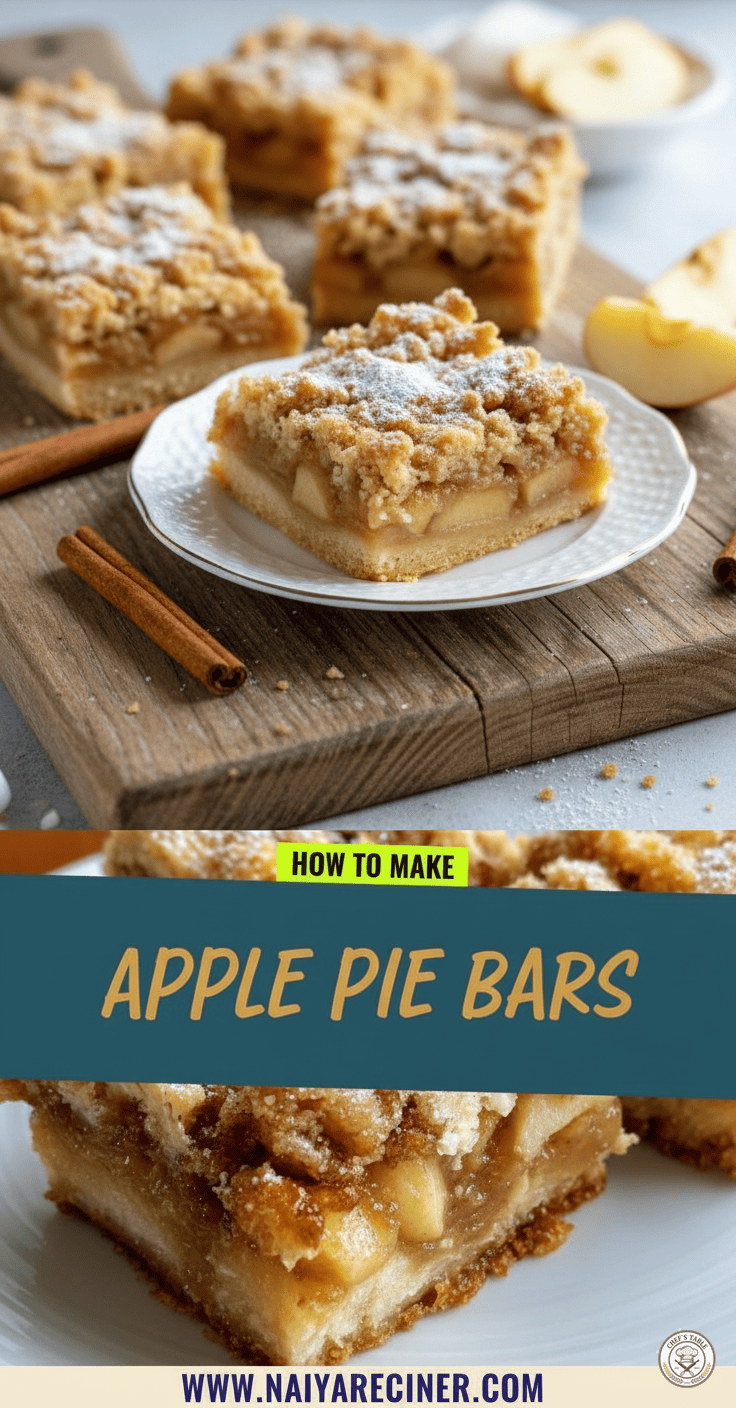
Imagine a buttery, tender shortbread crust, topped with a luscious, spiced apple filling, and finished with a golden, crumbly streusel. Each bite offers a harmonious blend of textures and tastes – the richness of the crust, the sweet-tartness of the apples, and the delightful crunch of the topping. These bars are less fuss than a pie, easier to serve, and absolutely irresistible. They are perfect for potlucks, bake sales, holiday parties, or simply as a special dessert for your family on a weeknight.
Why You’ll Love These Apple Pie Bars
- All the Flavor, Less the Fuss: You get the iconic taste of apple pie without the intricate lattice work or the risk of a soggy bottom crust.
- Perfect for Crowds: Bars are inherently easier to portion and serve than slices of pie, making them ideal for gatherings.
- Make Ahead Friendly: These bars actually taste even better the next day, making them a fantastic make-ahead dessert option.
- Customizable: While this recipe is fantastic as is, it’s also a great base for your own creative twists.
- Comfort Food at Its Best: There’s something inherently comforting and nostalgic about apple desserts, and these bars deliver on that promise with every bite.
The Anatomy of a Perfect Apple Pie Bar
Let’s break down what makes these bars so special:
The Shortbread Crust
The foundation of our apple pie bars is a simple yet incredibly flavorful shortbread crust. This isn’t just any crust; it’s rich, buttery, and slightly crumbly, providing the perfect counterpoint to the soft apple filling. Made with just a few basic ingredients – flour, sugar, and butter – it comes together quickly and presses easily into your baking pan. The key to a tender shortbread is not to overwork the dough and to use good quality, cold butter. This crust provides a sturdy base that holds up beautifully to the apple filling without becoming greasy or tough.
The Spiced Apple Filling
This is where the magic truly happens! We’re looking for a filling that is sweet, tangy, and bursting with warm spices, but not overly watery. The choice of apples is crucial here. A mix of sweet and tart apples offers the best flavor balance. Varieties like Honeycrisp, Granny Smith, Fuji, or Gala are all excellent choices. The apples are thinly sliced and then tossed with sugar, a touch of flour (to help thicken the juices), and a generous blend of cinnamon, nutmeg, and perhaps a pinch of allspice. This combination of spices is what gives apple pie its signature cozy flavor. Cooking the apples slightly beforehand (or allowing them to macerate) helps them soften evenly during baking and prevents the bars from becoming too watery.
The Crumbly Streusel Topping
No apple pie bar is complete without a glorious streusel topping! This crumbly, buttery mixture adds a wonderful texture and another layer of flavor. It’s made from flour, sugar, cold butter, and often a touch more cinnamon. When baked, the streusel turns golden brown and crispy, creating a delightful contrast to the soft apple filling and tender crust below. It’s the crowning glory of these bars, adding visual appeal and an irresistible crunch.
Ingredients You’ll Need
For the Shortbread Crust:
- All-purpose flour: The base for our tender crust.
- Granulated sugar: Adds sweetness and helps with browning.
- Unsalted butter (cold and cubed): Essential for a rich, flaky, and tender crust. Using cold butter prevents it from melting too quickly and creates pockets of steam, resulting in a more tender crumb.
- Pinch of salt: Enhances the flavor of the butter and sugar.
For the Apple Filling:
- Apples: About 6-8 medium apples (approximately 4-5 cups sliced). A mix of varieties like Granny Smith (for tartness) and Fuji or Honeycrisp (for sweetness and texture) works wonderfully.
- Granulated sugar: To sweeten the apples. Adjust according to the sweetness of your apples.
- All-purpose flour: Helps to thicken the apple juices, preventing a watery filling.
- Ground cinnamon: The star spice of apple pie!
- Ground nutmeg: Adds warmth and depth to the spice blend.
- A squeeze of lemon juice (optional but recommended): Brightens the apple flavor and helps prevent browning.
- Vanilla extract (optional): Enhances overall flavor.
For the Streusel Topping:
- All-purpose flour: The base for the crumbly topping.
- Brown sugar (packed): Adds a molasses-like richness and moisture to the streusel.
- Unsalted butter (cold and cubed): Crucial for creating those delightful crumbs.
- Ground cinnamon: For an extra layer of spice.
- Pinch of salt: Balances the sweetness.
For Garnish (Optional):
- Powdered sugar: For dusting, adds a beautiful finish.
Step-by-Step Instructions
Follow these detailed steps to create your own irresistible Apple Pie Bars:
Step 1: Prepare Your Baking Pan and Oven
Preheat your oven to 375°F (190°C). Lightly grease a 9×13 inch baking pan with butter or cooking spray. For easier removal, you can line the pan with parchment paper, leaving an overhang on the sides.
Step 2: Make the Shortbread Crust
- In a medium bowl, whisk together the all-purpose flour, granulated sugar, and salt.
- Add the cold, cubed butter to the dry ingredients.
- Using a pastry blender, two knives, or your fingertips, cut the butter into the flour mixture until it resembles coarse crumbs. Be careful not to overmix; you should still have some pea-sized pieces of butter.
- Press the crumb mixture evenly into the bottom of your prepared 9×13 inch baking pan. Use the back of a spoon or your fingers to create a firm, even layer.
- Bake the crust in the preheated oven for 12-15 minutes, or until it’s lightly golden around the edges.
- Remove the crust from the oven and set it aside to cool slightly while you prepare the filling.
Step 3: Prepare the Apple Filling
- Peel, core, and thinly slice your apples. Aim for slices about 1/4 inch thick.
- In a large bowl, combine the sliced apples with granulated sugar, all-purpose flour, ground cinnamon, ground nutmeg, and the optional lemon juice and vanilla extract.
- Toss everything together until the apples are evenly coated with the spice mixture.
Step 4: Make the Streusel Topping
- In a separate medium bowl, combine the all-purpose flour, packed brown sugar, ground cinnamon, and salt.
- Add the cold, cubed butter to the dry ingredients.
- Using a pastry blender, two knives, or your fingertips, cut the butter into the flour mixture until coarse crumbs form. Again, avoid overmixing. The mixture should be crumbly with some larger pieces of butter.
Step 5: Assemble and Bake the Bars
- Pour the prepared apple filling evenly over the partially baked shortbread crust in the pan. Spread it out gently to cover the entire surface.
- Evenly sprinkle the streusel topping over the apple filling. Don’t press it down; leave it loose and crumbly.
- Return the baking pan to the oven.
- Bake for another 35-45 minutes, or until the streusel topping is golden brown, the apples are tender when pierced with a knife, and the filling is bubbly. If the topping starts to brown too quickly, you can loosely tent the pan with aluminum foil.
- Once baked, carefully remove the pan from the oven and place it on a wire rack to cool completely. This is a crucial step! The filling needs time to set properly, which makes the bars much easier to cut and prevents them from falling apart. Cooling completely can take several hours.
Step 6: Slice and Serve
Once the bars are completely cool, cut them into squares or rectangles using a sharp knife. For an extra touch, dust them with powdered sugar just before serving.
Tips for Success
- Choose the Right Apples: A mix of sweet and tart apples provides the best flavor and texture. Granny Smith offers tartness and holds its shape well, while Honeycrisp or Fuji add sweetness and a pleasant crispness.
- Don’t Overmix the Dough: For both the crust and the streusel, overmixing can lead to tough textures. Mix just until combined and still crumbly.
- Cold Butter is Key: Ensure your butter is very cold for both the crust and the streusel. This helps create a tender, flaky crust and distinct crumbs for the topping.
- Don’t Rush the Cooling: This is perhaps the most important tip! Cooling the bars completely allows the apple filling to set up properly. If you cut them while warm, they might be too soft and fall apart. Patience pays off!
- Adjust Sweetness: The amount of sugar in the apple filling can be adjusted based on the sweetness of your apples and your personal preference.
- Spice it Up: Feel free to adjust the spices in the apple filling and streusel. A little ginger or allspice can be a lovely addition.
- Storage: Store leftover apple pie bars in an airtight container at room temperature for up to 2-3 days, or in the refrigerator for up to 5 days. They also freeze well for longer storage; wrap individual bars tightly in plastic wrap and then foil.
Serving Suggestions
These Apple Pie Bars are delightful on their own, but here are a few ideas to elevate your serving experience:
- A Scoop of Vanilla Bean Ice Cream: The classic pairing with any warm apple dessert. The cold, creamy ice cream is a perfect contrast to the warm, spiced apples.
- A Dollop of Freshly Whipped Cream: Light and airy, whipped cream adds a touch of elegance and creaminess without being too heavy.
- A Drizzle of Caramel Sauce: For those who love an extra touch of decadence, a homemade or store-bought caramel sauce takes these bars to the next level.
- With a Hot Beverage: Enjoy a bar with a cup of coffee, tea, or a warm mug of chai for a cozy afternoon treat.
Troubleshooting Common Issues
- Soggy Bottom Crust: This can happen if the apples release too much liquid and the crust isn’t baked enough beforehand. Ensure your crust is lightly golden before adding the filling, and make sure to use a bit of flour in the apple mixture to absorb excess moisture. Using parchment paper can also help prevent sticking.
- Watery Filling: Similar to the above, this is often due to apples releasing too much liquid. Ensure you have enough flour in your apple mixture to thicken the juices. If your apples are particularly juicy, you can lightly “pre-cook” them in a pan for a few minutes to release some liquid before baking, then drain it.
- Bars Falling Apart When Cut: This is almost always due to not allowing the bars to cool completely. Resist the urge to cut them while warm! The filling needs ample time to set.
- Streusel Too Crumbly/Too Doughy: If your streusel is too fine and powdery, you might have overworked the butter. If it’s too doughy, your butter might have melted too much. Keep ingredients cold and work quickly.
The Versatility of Apple Pie Bars
While this recipe is a classic, don’t hesitate to get creative!
- Add Nuts: Toasted pecans or walnuts can be added to the streusel topping for extra crunch and nutty flavor.
- Different Fruits: In the summer, you could adapt this recipe for peach pie bars, cherry pie bars, or even mixed berry bars.
- Flavor Boosters: A splash of maple extract or a sprinkle of ginger in the apple filling can add another dimension of flavor.
- Citrus Zest: A bit of orange or lemon zest in the crust or filling can brighten the flavors.
A Perfect Fall Treat
These Apple Pie Bars are more than just a dessert; they are a celebration of autumn, a comforting embrace in edible form. They bring all the beloved warmth and spice of a traditional apple pie to your table in a convenient, shareable format. Whether you’re baking them for a special occasion or simply to fill your home with the inviting aroma of cinnamon and apples, these bars are sure to become a cherished part of your fall baking repertoire. So, gather your apples, preheat your oven, and get ready to enjoy a taste of pure autumnal bliss. Happy baking!