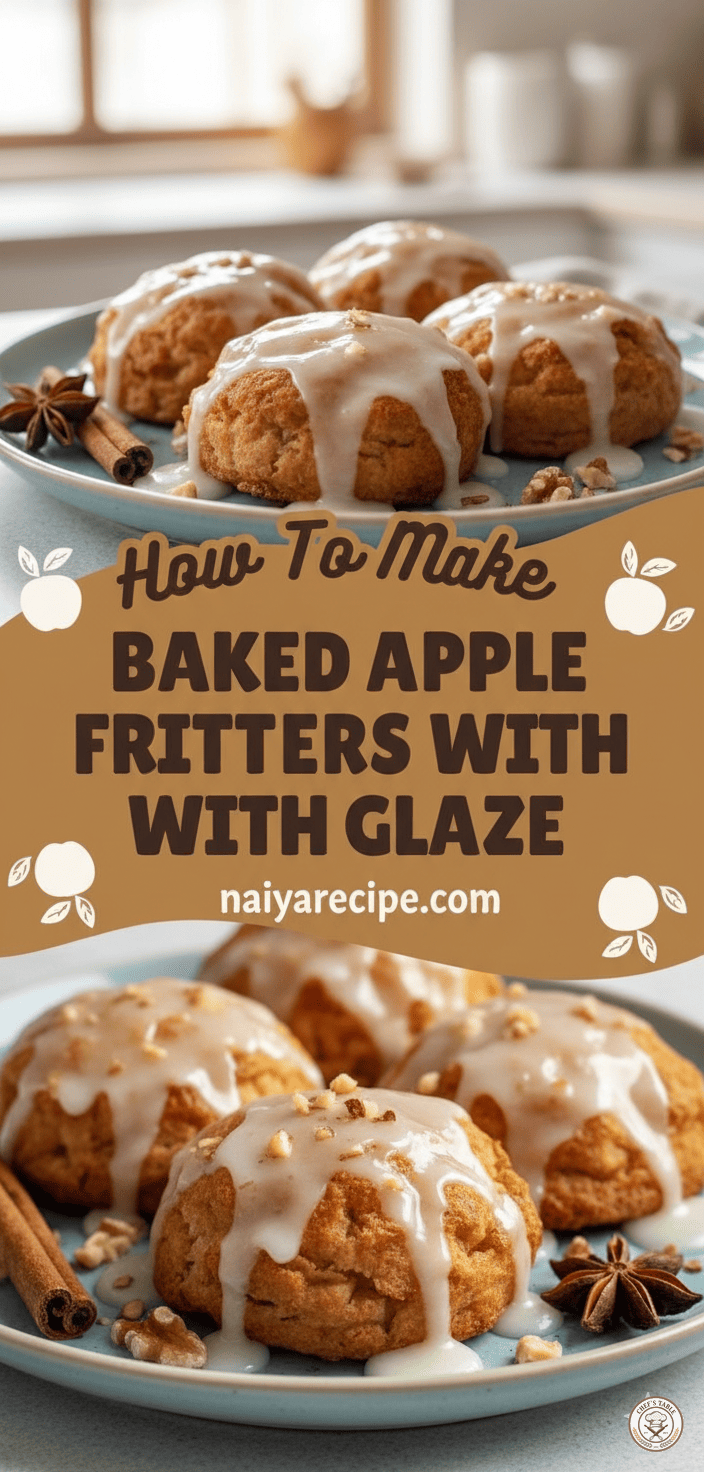
Apple fritters are a beloved classic, conjuring images of cozy autumn days, bustling farmer’s markets, and the comforting aroma of cinnamon and sweet apples. While traditionally deep-fried, this recipe offers a delightful baked alternative that sacrifices none of the flavor or texture, making them a slightly lighter treat without compromising on that irresistible crispy exterior and tender, apple-studded interior. These baked apple fritters are incredibly versatile, perfect for a leisurely weekend breakfast, a charming addition to a brunch spread, or a sweet pick-me-up with your afternoon tea or coffee.
The beauty of baking these fritters lies in their simplicity and the ease with which they come together. You’ll achieve a golden-brown finish and a wonderfully soft crumb, all while enjoying the natural sweetness of apples infused with warm spices. Topped with a simple, luscious glaze, they become an elegant indulgence that’s surprisingly easy to master, even for novice bakers. This comprehensive guide will walk you through every step, from selecting the best apples to achieving that perfect glaze, ensuring your baked apple fritters are a resounding success.
The Heart of the Fritter: Choosing Your Apples
The type of apple you choose can significantly impact the final flavor and texture of your fritters. You want an apple that holds its shape well during baking and offers a good balance of sweetness and tartness. Here are some excellent choices:
- Granny Smith: If you prefer a tart fritter with a firm bite, Granny Smiths are ideal. Their acidity provides a wonderful contrast to the sweet glaze.
- Honeycrisp: Known for their crisp texture and balanced sweet-tart flavor, Honeycrisps are a fantastic all-around choice. They retain their shape beautifully when baked.
- Fuji: Sweet and juicy with a firm texture, Fujis are another great option that will add natural sweetness to your fritters.
- Gala: Mildly sweet and crisp, Galas are a popular choice that bakes well and offers a pleasant flavor.
- Braeburn: These apples offer a good balance of sweet and tart, with a firm texture that stands up to baking.
For a more complex flavor profile, don’t hesitate to mix and match two different apple varieties. For instance, combining a tart Granny Smith with a sweet Honeycrisp can create a wonderfully nuanced fritter.
Gathering Your Ingredients
Before you begin, ensure you have all your ingredients measured and ready. This “mise en place” approach makes the baking process smoother and more enjoyable.
For the Apple Fritters:
- All-purpose flour: The base of our fritter batter, providing structure.
- Granulated sugar: Adds sweetness to the fritters.
- Baking powder: The leavening agent that makes our fritters light and fluffy.
- Ground cinnamon: The essential warm spice that complements apples perfectly.
- Ground nutmeg: A hint of nutmeg enhances the cinnamon and apple flavors.
- Salt: Balances the sweetness and brings out the flavors.
- Large egg: Binds the ingredients together and adds richness.
- Milk (dairy or non-dairy): Adds moisture to the batter.
- Unsalted butter, melted: Provides richness and a tender crumb.
- Vanilla extract: Enhances the overall flavor profile.
- Apples, peeled, cored, and finely diced: The star of the show!
For the Glaze:
- Powdered sugar (confectioners’ sugar): Creates a smooth, sweet glaze.
- Milk (dairy or non-dairy): Thins the glaze to the desired consistency.
- Vanilla extract: Adds a touch of warmth and flavor to the glaze.
Step-by-Step Baking Instructions
Follow these instructions carefully to create perfectly baked apple fritters.
Step 1: Prepare Your Apples
The first crucial step is to prepare your apples. Peel, core, and finely dice them. Aim for pieces that are about ¼-inch to ½-inch in size. This ensures they cook evenly and are distributed throughout the fritter without making it too chunky or watery. As you dice them, you can place them in a bowl with a squeeze of lemon juice to prevent browning, though this is less critical if you’re working quickly.
Step 2: Preheat Your Oven and Prepare Baking Sheets
Preheat your oven to 375°F (190°C). This temperature is ideal for ensuring the fritters bake through evenly and develop a golden exterior. Line two large baking sheets with parchment paper or silicone baking mats. This prevents sticking and makes for easy cleanup. If you only have one baking sheet, you can bake the fritters in batches.
Step 3: Combine Dry Ingredients
In a large mixing bowl, whisk together the all-purpose flour, granulated sugar, baking powder, ground cinnamon, ground nutmeg, and salt. Make sure there are no lumps and the spices are evenly distributed. Whisking dry ingredients thoroughly ensures that the leavening agents are properly incorporated, leading to a consistent rise in your fritters.
Step 4: Combine Wet Ingredients
In a separate medium bowl, lightly whisk the large egg. Then, add the milk, melted unsalted butter, and vanilla extract. Whisk these wet ingredients together until they are well combined. Ensure the melted butter isn’t too hot, or it might cook the egg prematurely. If it is, let it cool for a few minutes before adding.
Step 5: Combine Wet and Dry Ingredients
Pour the wet ingredients into the dry ingredients. Using a spatula or wooden spoon, stir until just combined. Be careful not to overmix the batter. Overmixing can develop the gluten in the flour too much, resulting in tough fritters. A few streaks of flour are perfectly fine. The goal is to bring the ingredients together, not to create a smooth, homogenous batter.
Step 6: Fold in the Diced Apples
Gently fold the finely diced apples into the batter. Distribute them evenly throughout the mixture. You’ll notice the batter is quite thick and chunky, which is exactly what you want for a robust fritter.
Step 7: Form and Bake the Fritters
Using two spoons or a small ice cream scoop (approximately 2 tablespoons per fritter), drop spoonfuls of the batter onto the prepared baking sheets. Leave about 1-2 inches of space between each fritter to allow for even baking and spreading. They will expand slightly in the oven.
Bake for 15-20 minutes, or until the fritters are golden brown around the edges and cooked through. To check for doneness, you can insert a toothpick into the center of a fritter; if it comes out clean, they are ready. The exact baking time may vary depending on your oven and the size of your fritters.
Once baked, transfer the fritters to a wire rack to cool slightly while you prepare the glaze. Cooling on a wire rack allows air to circulate around them, preventing the bottoms from becoming soggy.
Step 8: Prepare the Glaze
While the fritters are cooling, prepare the simple glaze. In a small bowl, whisk together the powdered sugar, milk, and vanilla extract until smooth. You’re aiming for a consistency that is thick enough to coat the back of a spoon but still pourable. If it’s too thick, add a tiny bit more milk, a quarter teaspoon at a time, until you reach the desired consistency. If it’s too thin, add a bit more powdered sugar.
Step 9: Glaze the Fritters
Once the fritters have cooled slightly but are still warm, you can glaze them. You have a few options:
- Drizzle: Use a spoon to drizzle the glaze generously over the warm fritters.
- Dip: For a more complete coating, gently dip the top of each warm fritter into the glaze.
Place the glazed fritters back on the wire rack over a sheet of parchment paper or foil to catch any drips. Allow the glaze to set for about 10-15 minutes before serving. This will give you a beautiful, slightly firm, and shiny glaze.
Tips for Success
- Don’t Overmix: As mentioned, overmixing leads to tough fritters. Mix until just combined.
- Evenly Diced Apples: Consistency in apple size ensures even cooking.
- Don’t Overcrowd the Baking Sheet: Give your fritters space to breathe for optimal baking.
- Adjust Glaze Consistency: Personal preference plays a role here. Add milk or powdered sugar gradually until it’s just right.
- Serve Warm: While delicious at room temperature, these fritters are truly at their best when served slightly warm, allowing the flavors to meld beautifully.
Variations to Try
While the classic apple fritter is delightful on its own, don’t hesitate to experiment with these variations:
- Spice it Up: Add a pinch of ground ginger or cardamom to the batter for a different flavor profile.
- Citrus Zest: Incorporate the zest of an orange or lemon into the batter for a bright, fresh note.
- Nutty Goodness: Fold in a handful of chopped walnuts or pecans along with the apples for added texture and flavor. You can also sprinkle them over the glaze.
- Caramel Drizzle: Instead of or in addition to the vanilla glaze, try a light drizzle of homemade or store-bought caramel sauce for an extra indulgent treat.
- Maple Glaze: Substitute some of the milk in the glaze with maple syrup for a rich, autumnal flavor.
Storage and Reheating
Baked apple fritters are best enjoyed on the day they are made. However, if you have leftovers, store them in an airtight container at room temperature for up to 2 days.
To reheat, you can warm them gently in a microwave for 10-15 seconds, or for a crispier exterior, pop them in a preheated oven at 300°F (150°C) for about 5-7 minutes, until warmed through. Be careful not to overheat them, as the glaze can become sticky.
Why You’ll Love These Baked Apple Fritters
This baked version of apple fritters offers several advantages without sacrificing flavor:
- Lighter Option: By baking instead of frying, you reduce the amount of oil, making them a slightly lighter indulgence.
- Less Mess: No hot oil splattering means an easier cleanup and a safer cooking experience.
- Consistent Results: Baking in the oven provides a more consistent temperature, often leading to more evenly cooked fritters.
- Deliciously Comforting: The combination of soft, spiced apple pieces, a tender cake-like batter, and a sweet vanilla glaze creates an incredibly comforting and satisfying treat.
- Perfect for Any Occasion: From a simple breakfast to a festive brunch or a delightful dessert, these fritters fit right in.
So, the next time you’re craving the comforting taste of apple fritters but want to avoid the fuss of deep-frying, turn to this baked recipe. It’s a simple, straightforward, and incredibly rewarding way to enjoy this classic treat. Get ready to fill your kitchen with the irresistible aroma of cinnamon and sweet apples, and delight your taste buds with every bite of these wonderfully baked apple fritters with glaze. Happy baking!