Welcome to a world where comfort meets culinary artistry, where the aroma of cinnamon and baked apples fills your home, and every bite is a symphony of flavors. Today, we embark on a journey to create something truly special: Artisan Mini Apple Pies. Forget the store-bought versions; these individual delights are a testament to the joy of homemade baking, crafted with love and attention to detail.
There’s an undeniable charm in a mini pie. It’s personal, perfectly portioned, and incredibly versatile. Whether you’re hosting a gathering, looking for a comforting dessert, or simply want to treat yourself to something extraordinary, these mini apple pies are the answer. They offer all the beloved elements of a classic apple pie – the tender, spiced apple filling, the flaky, golden crust – but in a delightful, individual package.
The Heart of the Pie: Choosing Your Apples
The secret to an exceptional apple pie lies, unsurprisingly, in the apples themselves. While many varieties can work, a blend often yields the most complex and satisfying flavor profile. You want apples that hold their shape well during baking and offer a good balance of sweetness and tartness.
Recommended Apple Varieties:
- Granny Smith: The quintessential pie apple, offering a tartness that cuts through the sweetness and a firm texture that resists turning to mush.
- Honeycrisp: Known for its crisp texture and perfectly balanced sweet-tart flavor, Honeycrisp adds a beautiful depth to the filling.
- Fuji: A sweet and juicy apple that maintains its texture well, contributing a lovely sweetness to the mix.
- Braeburn: Offers a nice crispness and a sweet-tart flavor, making it a great all-rounder for pies.
For the best results, I recommend using a combination of two or three of these varieties. For instance, a mix of Granny Smith and Honeycrisp will give you the perfect balance of tang and sweetness, with a delightful textural contrast. Aim for about 3-4 medium-sized apples for this recipe, which should yield approximately 4-6 mini pies, depending on the size of your molds.
Crafting the Flaky Crust: The Foundation of Perfection
A truly artisan pie demands an artisan crust. Forget the bland, crumbly crusts of the past. Our goal is a flaky, buttery, golden brown crust that provides the perfect counterpoint to the sweet apple filling. The key here is cold ingredients and minimal handling.
Ingredients for the Crust:
- 2 ½ cups all-purpose flour
- 1 teaspoon salt
- 1 cup (2 sticks) unsalted butter, very cold and cut into ½-inch cubes
- ½ cup ice water (you might need a little more or less)
Method for the Crust:
- Combine Dry Ingredients: In a large bowl, whisk together the flour and salt.
- Cut in the Butter: Add the cold butter cubes to the flour mixture. Using a pastry blender, your fingertips, or a food processor, cut the butter into the flour until the mixture resembles coarse meal with some pea-sized pieces of butter remaining. These pockets of butter are what create the flakiness!
- Add Ice Water: Gradually add the ice water, one tablespoon at a time, mixing gently until the dough just comes together. Be careful not to overmix; overworking the dough develops gluten, which can lead to a tough crust. You might not need all the water, or you might need a tiny bit more. The dough should be moist enough to hold together but not sticky.
- Chill the Dough: Divide the dough in half, flatten each half into a disc, wrap tightly in plastic wrap, and refrigerate for at least 30 minutes, or up to 2 days. Chilling the dough allows the gluten to relax and the butter to firm up, making it easier to roll and ensuring a flaky crust.
The Irresistible Apple Filling: A Symphony of Spices
While the crust provides the structure, the filling is where the magic truly happens. Our apple filling will be perfectly spiced, sweet, and just tender enough to melt in your mouth.
Ingredients for the Filling:
- 3-4 medium apples (as discussed above), peeled, cored, and sliced about ¼-inch thick
- ¼ cup granulated sugar (adjust to your apples’ sweetness)
- 2 tablespoons light brown sugar
- 1 tablespoon all-purpose flour or cornstarch (to thicken)
- 1 teaspoon ground cinnamon
- ¼ teaspoon ground nutmeg
- ⅛ teaspoon ground cloves (optional, but highly recommended for depth)
- 1 tablespoon lemon juice (prevents browning and brightens flavor)
- 1 tablespoon unsalted butter, melted
Method for the Filling:
- Prepare Apples: In a large bowl, combine the sliced apples with lemon juice. This helps prevent them from browning.
- Combine Dry Ingredients: In a separate small bowl, whisk together the granulated sugar, brown sugar, flour/cornstarch, cinnamon, nutmeg, and cloves.
- Mix Filling: Add the sugar-spice mixture to the apples and toss gently to coat evenly. Ensure every apple slice is glistening with the fragrant spices.
- Melted Butter: Stir in the melted butter. This adds richness and helps the spices adhere.
Assembling Your Artisan Mini Apple Pies: The Creative Touch
This is where your inner artist comes out! Assembling mini pies is not just about putting ingredients together; it’s about creating a beautiful, edible masterpiece.
Equipment You’ll Need:
- Mini pie pans or a muffin tin (4-6 wells, depending on size)
- Rolling pin
- Pastry brush
- Small bowl for egg wash
- Parchment paper
Assembly Steps:
- Preheat Oven: Preheat your oven to 375°F (190°C).
- Roll Out Dough: On a lightly floured surface, take one disc of chilled pie dough. Roll it out into a circle about ⅛-inch thick. Use a cookie cutter or a bowl with a diameter slightly larger than your mini pie pans/muffin tin wells to cut out circles for the bottom crusts. You’ll need as many circles as you have mini pie wells.
- Form Bottom Crusts: Gently press each dough circle into the mini pie pan or muffin tin well, ensuring it fits snugly and comes up the sides. You can lightly grease the pans if they’re not non-stick.
- Add Filling: Spoon the apple filling into each crust, mounding it slightly in the center. Don’t overfill, as the apples will release some liquid and soften during baking.
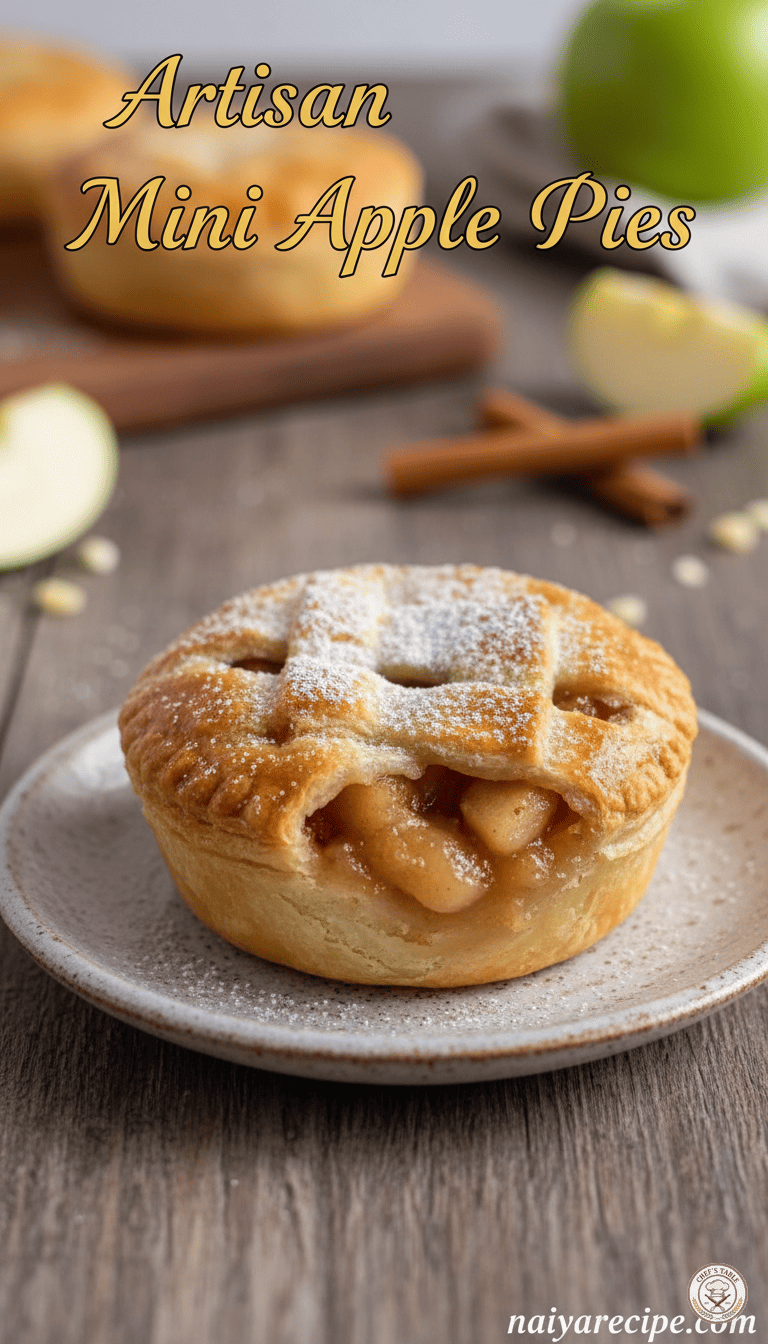
- Create Top Crusts: Take the second disc of dough and roll it out. For a classic lattice top (as pictured), cut the dough into thin strips (about ½-inch wide) using a knife or a pastry wheel. Alternatively, you can cut out solid circles for a full top crust, or use small cookie cutters to create decorative shapes (stars, leaves) to place on top.
- Lattice Top (Recommended): Lay 3-4 strips of dough parallel across the top of a filled pie. Fold back every other strip halfway. Place another strip perpendicularly over the unfolded strips. Unfold the original strips. Now, fold back the other set of strips and repeat the process. Trim any excess dough from the edges and crimp the edges with a fork or your fingers to seal.
- Egg Wash and Sugar: In a small bowl, whisk one egg with a tablespoon of water to create an egg wash. Lightly brush the top crust of each mini pie with the egg wash. This will give them a beautiful golden sheen. Sprinkle a pinch of granulated sugar over the tops for added sparkle and crunch.
- Vent (for solid tops): If you’re using a solid top crust, remember to cut a few small slits in the center to allow steam to escape during baking.
Baking to Golden Perfection: The Grand Finale
Now comes the moment of truth – baking your beautiful mini apple pies.
- Bake: Place the mini pie pans or muffin tin on a baking sheet (to catch any potential drips) and transfer to the preheated oven.
- Initial Bake: Bake for 15 minutes at 375°F (190°C).
- Reduce Heat: Reduce the oven temperature to 350°F (175°C) and continue baking for another 25-35 minutes, or until the crust is golden brown and the filling is bubbling. If the crust starts to brown too quickly, you can loosely tent the pies with aluminum foil.
- Cool: Once baked, carefully remove the pies from the oven. Let them cool in the pans for about 10-15 minutes before gently removing them to a wire rack to cool completely. This allows the filling to set properly.
Serving Suggestions: Elevating Your Mini Pie Experience
While these Artisan Mini Apple Pies are perfectly delightful on their own, a few simple additions can elevate them to an even greater culinary experience.
- A Scoop of Vanilla Bean Ice Cream: The classic pairing! The cold, creamy ice cream melts slightly into the warm apple filling, creating a blissful contrast of temperatures and textures.
- A Dollop of Freshly Whipped Cream: Lightly sweetened whipped cream adds an airy, luxurious touch.
- A Drizzle of Caramel Sauce: For those with a sweet tooth, a homemade or good quality store-bought caramel sauce is an exquisite addition.
- A Sprinkle of Toasted Nuts: Pecans or walnuts, lightly toasted, can add a lovely crunch and nutty flavor.
- A Dusting of Confectioners’ Sugar: A simple and elegant finish, especially if you’re serving them for a more formal occasion.
Tips for Success and Variations: Unleash Your Creativity
- Don’t Overwork the Dough: This is crucial for a flaky crust. Handle it as little as possible.
- Keep Ingredients Cold: Especially the butter and water for the crust. Cold butter creates steam in the oven, leading to those coveted flaky layers.
- Adjust Sugar to Apples: Taste your apples! If they are very sweet, you might reduce the sugar in the filling slightly. If they are very tart, you might add a touch more.
- Spice It Up: Feel free to adjust the spices to your preference. A pinch of ground ginger or cardamom can also be a wonderful addition.
- Fruit Variations: While this recipe focuses on apples, you can easily adapt it for other fruits. Consider mini cherry pies, peach pies, or even mixed berry pies. Adjust sugar and thickener as needed for different fruits.
- Make Ahead: You can prepare the pie dough a day or two in advance and keep it refrigerated. You can also assemble the pies and freeze them unbaked. When ready to bake, transfer directly from the freezer to the oven (you might need to add 10-15 minutes to the baking time).
- Storage: Leftover mini apple pies can be stored at room temperature for up to 2 days, or refrigerated for up to 4-5 days. Reheat gently in the oven for a “freshly baked” experience.
The Joy of Sharing Homemade
There’s something incredibly rewarding about serving homemade pies, especially when they are as charming and delicious as these Artisan Mini Apple Pies. The effort you put into selecting the apples, crafting the flaky crust, and perfectly spicing the filling shines through in every bite. They are a testament to the warmth of home baking, a perfect comfort food that brings smiles to faces.
So, gather your ingredients, put on some calming music, and enjoy the process of creating these delightful treats. Whether you’re baking them for a special occasion or simply to brighten an ordinary day, these mini apple pies are sure to become a cherished part of your culinary repertoire. They are more than just a dessert; they are an experience, a little piece of edible art, and a delicious reminder of the simple pleasures in life. Happy baking!