There’s something undeniably comforting about the aroma of apple pie baking in the oven. It’s a scent that evokes memories of crisp autumn days, cozy gatherings, and the simple pleasures of homemade treats. But what if you could capture that classic apple pie magic in a more individual, charming, and perhaps even easier-to-make form? Enter the Apple Pie Filling Galette.
Galettes, for the uninitiated, are the free-form, rustic cousins of traditional pies. They’re forgiving, require no special pie plates, and boast an irresistible, flaky crust that perfectly cradles a sweet, bubbling fruit filling. In this rendition, we’re taking the beloved flavors of apple pie and transforming them into these delightful, individual galettes, making them perfect for personal servings or an impressive dessert spread.
The Allure of the Apple Galette
What makes an apple galette so special? It’s a combination of factors. First, there’s the aesthetic. Their irregular, handmade appearance is incredibly appealing, suggesting a homemade touch that’s both charming and inviting. Unlike a perfectly crimped pie, a galette celebrates imperfection, making it less intimidating for novice bakers while still delivering on flavor and texture.
Then there’s the crust. Oh, the crust! Because the edges are simply folded over, they tend to get wonderfully crisp and golden brown, offering a delightful contrast to the tender, spiced apple filling. And speaking of filling, by using an apple pie filling, we’re essentially shortcutting a significant part of the preparation, ensuring consistent flavor and a perfect texture every time.
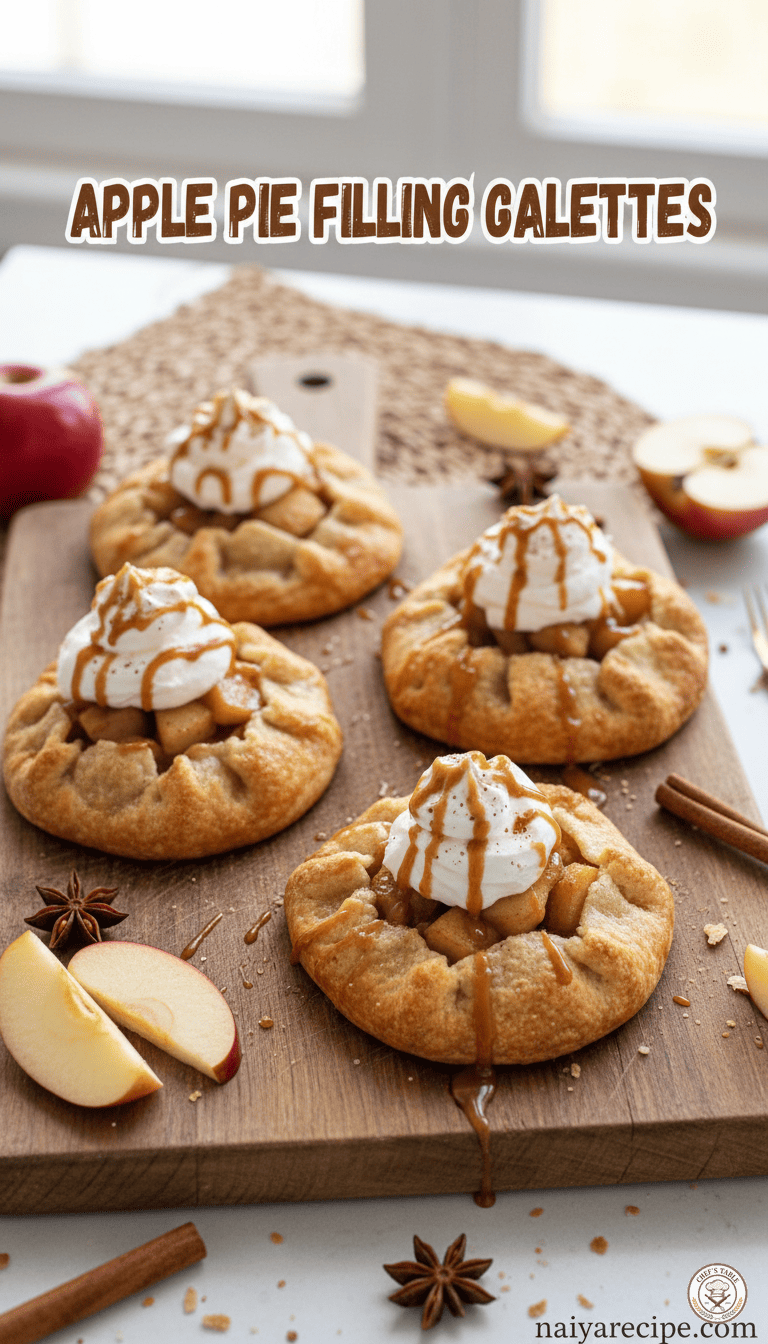
Finally, the individual serving size is a huge plus. No more awkward slicing of a whole pie! Each galette is a complete, satisfying dessert on its own, making them ideal for portion control or for serving at parties where guests can easily pick up their own treat. Topped with a dollop of whipped cream and a drizzle of caramel, these galettes are not just a dessert; they’re an experience.
Crafting the Perfect Galette: A Step-by-Step Guide
While the concept of a galette is simple, mastering a few key techniques will elevate your creation from good to absolutely sublime.
The Crust: The Foundation of Flavor
The success of any galette hinges on its crust. We’re aiming for a flaky, tender, and buttery foundation that can stand up to the moist apple filling.
Ingredients for the Crust:
- 2 ½ cups all-purpose flour
- 1 teaspoon granulated sugar
- ½ teaspoon salt
- 1 cup (2 sticks) unsalted butter, very cold and cut into ½-inch cubes
- ½ cup ice water (plus more if needed)
Instructions for the Crust:
- Combine Dry Ingredients: In a large bowl, whisk together the flour, sugar, and salt.
- Cut in the Butter: Add the cold butter cubes to the flour mixture. Using a pastry blender, your fingertips, or a food processor, cut the butter into the flour until the mixture resembles coarse meal with some pea-sized pieces of butter remaining. These pieces are crucial for flakiness!
- Add Ice Water: Gradually add the ice water, one tablespoon at a time, mixing gently until the dough just comes together. Be careful not to overmix, as this can develop the gluten too much, resulting in a tough crust. The dough should still be a bit shaggy.
- Form and Chill: Divide the dough into four equal portions. Gently press each portion into a disc, wrap tightly in plastic wrap, and refrigerate for at least 30 minutes, or up to 2 days. Chilling is essential for the butter to firm up, which contributes to the flakiness and makes the dough easier to roll.
The Apple Pie Filling: Sweet & Spiced Perfection
For simplicity and consistent results, a pre-made apple pie filling is a fantastic option. However, if you prefer to make your own from scratch, here’s a simple recipe:
Ingredients for the Filling:
- 6-7 medium apples (such as Granny Smith, Honeycrisp, or Fuji), peeled, cored, and thinly sliced
- ½ cup granulated sugar (adjust to apple sweetness)
- ¼ cup packed light brown sugar
- 2 tablespoons all-purpose flour or cornstarch (for thickening)
- 1 teaspoon ground cinnamon
- ¼ teaspoon ground nutmeg
- ⅛ teaspoon ground cloves (optional)
- 1 tablespoon fresh lemon juice
- 2 tablespoons unsalted butter, melted
Instructions for the Filling (if making from scratch):
- Combine Ingredients: In a large bowl, gently toss the sliced apples with both sugars, flour (or cornstarch), cinnamon, nutmeg, and cloves.
- Add Lemon Juice: Drizzle with lemon juice and toss again. The lemon juice helps prevent browning and brightens the flavors.
- Melted Butter: Stir in the melted butter.
Assembling the Galettes: The Artistic Touch
Now for the fun part – bringing it all together!
Ingredients for Assembly & Topping:
- Prepared pie crust dough (4 discs)
- Approximately 4-5 cups prepared apple pie filling
- 1 large egg, beaten (for egg wash)
- 1 tablespoon granulated sugar (for sprinkling)
- Whipped cream, for serving
- Caramel sauce, for drizzling
- A sprinkle of ground cinnamon or star anise (for garnish)
Instructions for Assembly:
- Preheat Oven: Preheat your oven to 400°F (200°C). Line a large baking sheet with parchment paper.
- Roll Out Dough: On a lightly floured surface, take one disc of chilled dough. Roll it out into an approximately 9-10 inch circle, about ⅛-inch thick. Don’t worry about perfect circles; the rustic look is part of the charm!
- Add Filling: Transfer the rolled-out dough to the prepared baking sheet. Spoon about 1 to 1 ¼ cups of the apple pie filling into the center of the dough, leaving a 1 ½ to 2-inch border around the edges.
- Fold the Edges: Carefully fold the edges of the dough over the filling, pleating as you go. The center will remain open, showcasing the delicious apples.
- Egg Wash and Sugar: Brush the folded crust with the beaten egg wash. This will give it a beautiful golden sheen. Sprinkle the crust liberally with granulated sugar for a lovely crunchy texture.
- Repeat: Repeat the rolling, filling, and folding process with the remaining dough discs and apple filling.
- Bake: Bake for 30-40 minutes, or until the crust is golden brown and the filling is bubbly and tender. If the crust starts to brown too quickly, you can loosely tent the galettes with foil.
- Cool: Let the galettes cool on the baking sheet for at least 15-20 minutes before transferring them to a wire rack to cool completely. This allows the filling to set.
Serving Suggestions and Variations
These Apple Pie Filling Galettes are truly delightful on their own, but a few additions can take them to the next level.
- Classic Toppings: A generous swirl of homemade whipped cream and a drizzle of warm caramel sauce are non-negotiable for a truly indulgent experience. The cool, creamy whipped cream perfectly complements the warm, spiced apples.
- A La Mode: For an even richer treat, serve them warm with a scoop of vanilla bean ice cream that melts enticingly into the apple filling.
- Spice it Up: For an extra layer of warmth, sprinkle a tiny pinch of ground cinnamon or even a whole star anise on top of the whipped cream just before serving.
- Nutty Crunch: For added texture, consider adding a sprinkle of chopped pecans or walnuts to the apple filling before baking.
- Citrus Zest: A touch of orange or lemon zest can be added to your homemade apple filling for a bright, zesty note that cuts through the sweetness.
- Small Bites: For a party setting, you could roll out smaller circles of dough and create mini galettes, perfect for a two-bite dessert.
Why These Galettes are a Must-Try
These Apple Pie Filling Galettes are more than just a dessert; they’re a celebration of comfort, simplicity, and the timeless appeal of apples and spice. They’re perfect for:
- Autumn Gatherings: The quintessential fall dessert that will warm hearts and homes.
- Easy Entertaining: Impress your guests with these charming individual desserts without the fuss of a traditional pie.
- Weekend Baking: A rewarding project that fills your kitchen with an intoxicating aroma.
- A Cozy Treat: Perfect for a quiet evening at home with a cup of tea or coffee.
So, next time you’re craving the comforting flavors of apple pie but want something a little different, a little more rustic, and perhaps a little easier, give these Apple Pie Filling Galettes a try. They are guaranteed to become a beloved addition to your recipe repertoire. The flaky crust, the sweet and tender apple filling, and the ease of preparation make them an absolute triumph in the world of homemade desserts. Enjoy every delicious bite!