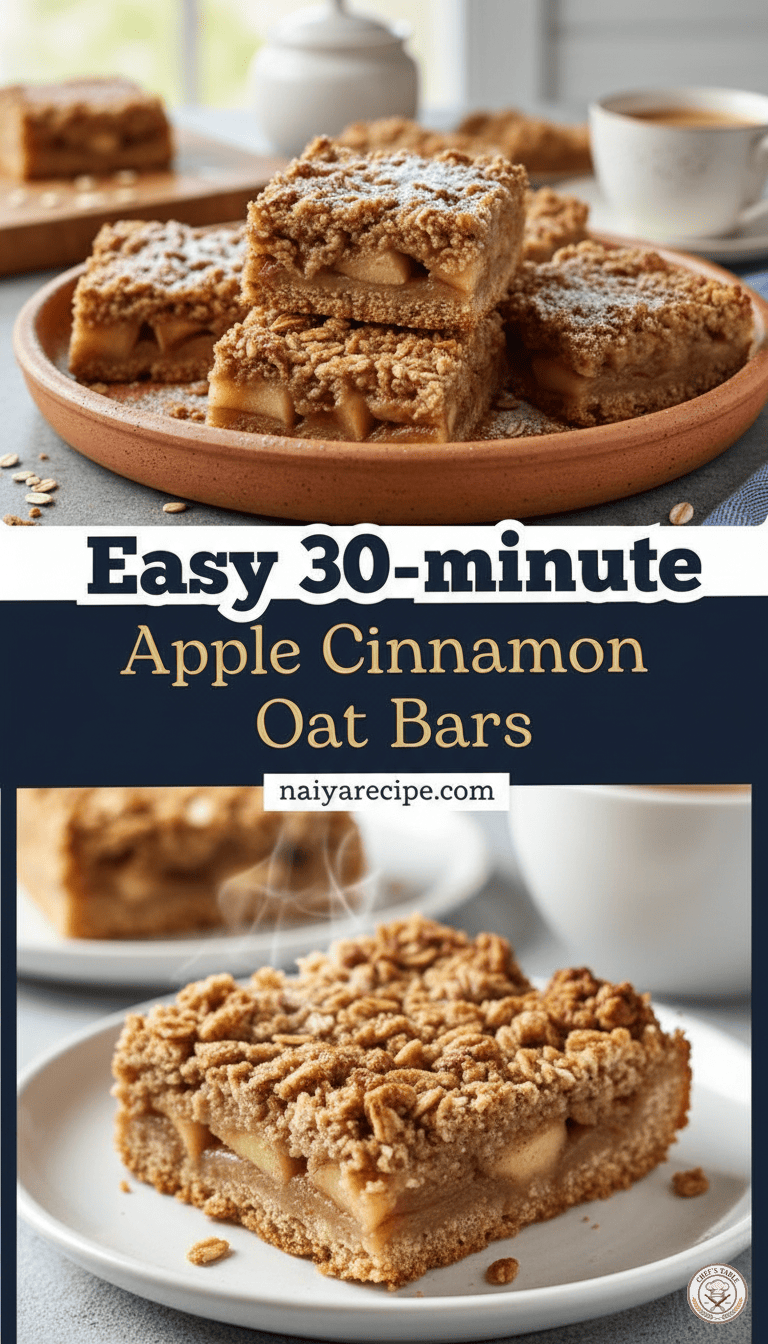
Welcome, fellow food lovers, to a treat that’s about to become your new favorite go-to! Today, we’re diving into the delightful world of Easy 30-minute Apple Cinnamon Oat Bars. Imagine a cozy autumn day, the scent of warm apples and cinnamon wafting through your kitchen, and a plate of these golden, crumbly bars ready to be devoured. Sounds perfect, doesn’t it? Well, guess what – achieving this culinary bliss is far easier and quicker than you might think!
In our busy lives, finding time to bake can often feel like a luxury. That’s why this recipe is an absolute game-changer. Designed for speed and simplicity without compromising on flavor, these apple cinnamon oat bars can be whipped up in just 30 minutes from start to finish. Yes, you read that right – 30 minutes! This means you can enjoy a homemade, wholesome, and incredibly delicious treat even on your busiest days. Whether you need a quick breakfast on the go, a satisfying snack, a lunchbox surprise, or a comforting dessert, these bars fit the bill perfectly.
Why You’ll Love These Bars
Before we get to the nitty-gritty of the recipe, let’s talk about why these bars are so irresistibly good:
- Speedy Preparation: The biggest selling point! From mixing to baking, you’re looking at a minimal time commitment. Perfect for impromptu baking sessions.
- Wholesome Ingredients: Packed with oats, fresh apples, and warm spices, these bars offer a healthier alternative to many store-bought options.
- Irresistible Flavor Combination: The classic pairing of apples and cinnamon is elevated by the buttery, crumbly oat topping and a tender, fruit-filled base. It’s comfort in every bite.
- Versatile: Enjoy them warm or cold, for breakfast, a snack, or dessert. They’re also perfect for meal prepping and freezing.
- Kid-Friendly: Both kids and adults adore these bars. They’re a fantastic way to sneak some fruit into your family’s diet.
- Beginner-Friendly: If you’re new to baking, this recipe is a fantastic starting point. It requires no complex techniques or fancy equipment.
The Magic of Apples and Cinnamon
Let’s take a moment to appreciate the star ingredients: apples and cinnamon. This duo is a culinary match made in heaven, evoking feelings of warmth, comfort, and nostalgia.
Apples: Not only are apples delicious, but they also bring a wealth of health benefits to these bars. They’re a good source of fiber, vitamin C, and various antioxidants. When baked, apples soften and release their natural sweetness, creating a wonderfully moist and flavorful filling. For this recipe, firm, slightly tart apples like Granny Smith, Honeycrisp, Fuji, or Braeburn work best as they hold their shape well and provide a lovely contrast to the sweetness of the oats.
Cinnamon: The aromatic, sweet, and slightly spicy notes of cinnamon are the perfect complement to apples. Beyond its delightful flavor, cinnamon is known for its anti-inflammatory properties and its ability to help regulate blood sugar. It transforms simple apples into a fragrant, inviting filling that truly sings.
Ingredients You’ll Need
One of the beauties of this recipe is its reliance on simple, everyday ingredients you likely already have in your pantry.
For the Oat Crust & Topping:
- Rolled Oats: The heart of our bars! Use old-fashioned rolled oats for the best texture. Quick oats can work in a pinch but may result in a slightly less chewy texture.
- All-Purpose Flour: Provides structure and helps bind the oat mixture.
- Brown Sugar: Adds a lovely molasses note and moisture, contributing to that irresistible chewy texture.
- Granulated Sugar: For a touch more sweetness and crispness in the topping.
- Ground Cinnamon: To enhance the warm, spiced flavor throughout the oat mixture.
- Salt: Just a pinch to balance the sweetness and bring out all the flavors.
- Unsalted Butter: Melted and cooled slightly. This binds the crust and topping together, creating that rich, buttery flavor and crumbly texture. If using salted butter, reduce the added salt in the recipe.
For the Apple Filling:
- Apples: As mentioned, firm, slightly tart varieties work best. Peel, core, and dice them into small, even pieces.
- Lemon Juice: A splash prevents the apples from browning and brightens their flavor.
- Brown Sugar: Adds sweetness and helps create a lovely, syrupy consistency for the filling.
- Ground Cinnamon: More cinnamon to really make those apples shine!
- Cornstarch (or all-purpose flour): A thickening agent to ensure the apple filling isn’t too runny.
Step-by-Step Guide to Perfection
Let’s get baking! Follow these simple steps for perfect apple cinnamon oat bars every time.
Step 1: Preheat and Prepare
First things first, preheat your oven to 375°F (190°C). Then, line an 8×8 inch (20×20 cm) baking pan with parchment paper, leaving an overhang on the sides. This will make it incredibly easy to lift the baked bars out of the pan for cutting. Lightly grease the parchment paper for extra non-stick insurance.
Step 2: Make the Oat Mixture
In a large bowl, combine the rolled oats, all-purpose flour, brown sugar, granulated sugar, ground cinnamon, and salt. Whisk them together until they are well combined. This ensures an even distribution of flavors throughout your crust and topping.
Next, pour in the melted butter. Using a fork or your fingertips, mix until the dry ingredients are thoroughly moistened and the mixture resembles coarse crumbs. The butter will bind everything together beautifully.
Step 3: Form the Crust
Take about two-thirds of the oat mixture and press it firmly and evenly into the bottom of your prepared baking pan. Use the back of a spoon or your clean hands to create a compact crust. This will be the sturdy base for your delicious apple filling.
Step 4: Prepare the Apple Filling
In a separate medium-sized bowl, combine the diced apples, lemon juice, brown sugar, ground cinnamon, and cornstarch. Toss everything gently until the apples are evenly coated. The cornstarch will help thicken the filling as it bakes, preventing it from becoming too watery.
Step 5: Assemble the Bars
Spread the apple filling evenly over the oat crust in the baking pan. Try to get a nice, level layer so that each bar has a good amount of apple goodness.
Finally, crumble the remaining one-third of the oat mixture over the apple filling. This will form your delicious, golden, and slightly crispy oat topping.
Step 6: Bake to Golden Perfection
Place the baking pan in your preheated oven and bake for 25-30 minutes, or until the topping is golden brown and the apples are tender and bubbly. You’ll know they’re ready when your kitchen is filled with an irresistible aroma!
Step 7: Cool and Cut
Once baked, remove the pan from the oven and let the bars cool completely in the pan on a wire rack before attempting to cut them. This is a crucial step! If you try to cut them while they’re warm, they might crumble and fall apart. Cooling allows the bars to set and firm up, making for clean, neat slices.
Once completely cooled, use the parchment paper overhang to lift the entire slab of bars out of the pan. Place it on a cutting board and slice into squares or rectangles.
Tips for Success
- Don’t Overmix the Oat Mixture: Mix just until the dry ingredients are moistened. Overmixing can lead to a tougher crust.
- Evenly Dice Apples: Uniformly sized apple pieces will cook more evenly, ensuring a consistent texture in your filling.
- Press the Crust Firmly: A well-compacted crust will hold its shape better and provide a good foundation for the filling.
- Cool Completely: Patience is key here! Resist the urge to cut into them warm.
- Storage: Store leftover bars in an airtight container at room temperature for up to 3 days, or in the refrigerator for up to a week.
- Freezing: These bars freeze beautifully! Once cooled and cut, place them in a single layer on a baking sheet and freeze until solid. Then transfer them to a freezer-safe bag or container for up to 3 months. Thaw at room temperature or warm gently in the microwave.
Variations and Customizations
While the classic apple cinnamon combination is divine, feel free to get creative with these bars!
- Add Nuts: Toasted pecans or walnuts can add a lovely crunch and nutty flavor to the oat topping.
- Dried Fruit Boost: A handful of raisins or dried cranberries can be mixed into the apple filling for extra chewiness and sweetness.
- Spice It Up: Beyond cinnamon, try adding a pinch of nutmeg, cardamom, or allspice to the apple filling for a more complex flavor profile.
- Different Fruits: In place of apples, you could experiment with other fruits like pears, berries, or peaches when they are in season. Adjust the sugar content based on the sweetness of the fruit.
- Glaze It: For an extra touch of decadence, drizzle a simple powdered sugar glaze over the cooled bars. Mix powdered sugar with a tiny bit of milk or lemon juice until you reach a drizzly consistency.
Serving Suggestions
These Easy 30-minute Apple Cinnamon Oat Bars are fantastic on their own, but here are a few ideas to elevate your serving experience:
- Warm with Ice Cream: A warm bar with a scoop of vanilla bean ice cream melting over it is pure heaven, especially as a dessert.
- Breakfast Treat: Enjoy with a cup of coffee or tea for a quick and satisfying breakfast.
- Yogurt Topping: Crumble a bar over a bowl of plain Greek yogurt for a textured and flavorful snack.
- On-the-Go Snack: Perfect for lunchboxes, picnics, or a quick energy boost during the day.
A Note on Dietary Considerations
This recipe is naturally vegetarian. For those with specific dietary needs, here are a few thoughts:
- Gluten-Free: Ensure you use certified gluten-free rolled oats and a gluten-free all-purpose flour blend.
- Dairy-Free/Vegan: You can easily make this recipe dairy-free and vegan by substituting the butter with a plant-based butter alternative or coconut oil.
Final Thoughts
There you have it – a truly versatile and utterly delicious recipe for Easy 30-minute Apple Cinnamon Oat Bars. This recipe proves that you don’t need hours in the kitchen to create something truly special and comforting. It’s an invitation to embrace simple, wholesome ingredients and enjoy the process of baking without the stress.
So, the next time you’re craving a sweet treat, a quick breakfast, or a delightful snack, remember this recipe. Gather your ingredients, set your timer for 30 minutes, and get ready to enjoy the warm, comforting flavors of homemade apple cinnamon goodness. Your taste buds (and your busy schedule!) will thank you.
Happy baking, and enjoy every last crumb!
For more delightful and easy recipes, visit naiyarecipe.com!