There’s something incredibly comforting and nostalgic about the aroma of cinnamon-spiced apples simmering on the stovetop. It evokes memories of grandma’s kitchen, holiday gatherings, and the simple joy of a homemade dessert. Today, we’re diving into the heart of that warmth with an easy, old-fashioned apple filling recipe that’s versatile, delicious, and guaranteed to become a staple in your culinary repertoire.
Whether you’re planning to bake a classic apple pie, create delightful turnovers, or simply want a warm, spoonable treat, this apple filling is your go-to. It’s simple, uses common ingredients, and delivers that perfect balance of sweet and tart with a hint of warming spices. Forget complicated steps or exotic ingredients; this recipe is all about celebrating the natural goodness of apples.
The Magic of Apples: Choosing Your Best Companion
The foundation of any great apple filling is, of course, the apples themselves. While many varieties work well, choosing the right apple can elevate your filling from good to extraordinary. For a robust apple filling that holds its shape and offers a pleasant tartness, consider these varieties:
- Granny Smith: The quintessential baking apple. Its firm texture stands up well to cooking, and its tartness provides a fantastic contrast to the sweetness of the sugar and spices.
- Honeycrisp: Known for its crisp texture and balanced sweet-tart flavor, Honeycrisps are excellent for adding a pleasant bite to your filling.
- Fuji: Sweet and firm, Fuji apples bring a lovely sweetness without becoming mushy.
- Braeburn: Offers a nice balance of sweet and tart with a good firm texture.
- Golden Delicious: While sweeter and softer than some, they can be used in combination with tarter apples for a more complex flavor profile.
For the best results, a mix of two or three varieties often yields the most interesting flavor and texture. For example, combining Granny Smith with Honeycrisp or Fuji gives you the best of both worlds: tartness, sweetness, and varied texture.
Beyond the Pie: Versatile Uses for Your Apple Filling
While apple pie is the star attraction for many, this versatile filling can be used in countless other delicious ways. Here are just a few ideas to inspire your culinary creativity:
- Apple Crumble or Crisp: Spoon the filling into a baking dish, top with a buttery oat crumble, and bake until golden and bubbly. Serve with a scoop of vanilla ice cream for a quintessential comfort dessert.
- Apple Turnovers: Cut puff pastry into squares, place a spoonful of filling in the center, fold into triangles, seal the edges, and bake until golden. A simple glaze of powdered sugar and milk can add a sweet finish.
- Stuffed Pancakes or Waffles: Warm the filling slightly and spoon it generously over freshly made pancakes or waffles for a decadent breakfast or brunch.
- Yogurt or Oatmeal Topping: For a healthier twist, add a dollop of warm apple filling to your morning yogurt or oatmeal. The spices and natural sweetness will transform your breakfast.
- Crepes: Fill delicate crepes with the warm apple mixture for an elegant dessert or a fancy breakfast.
- Ice Cream Topping: Drizzle warm apple filling over vanilla or cinnamon ice cream for an instant, satisfying treat.
- Apple Strudel: Layer the filling with flaky phyllo dough or a homemade strudel dough for a sophisticated dessert that’s easier than it looks.
- Baked Apples: Core whole apples, fill them with a portion of this mixture, and bake until tender.
- On its Own: Seriously, sometimes a warm bowl of this spiced apple filling is all you need. It’s delicious enough to enjoy by the spoonful!
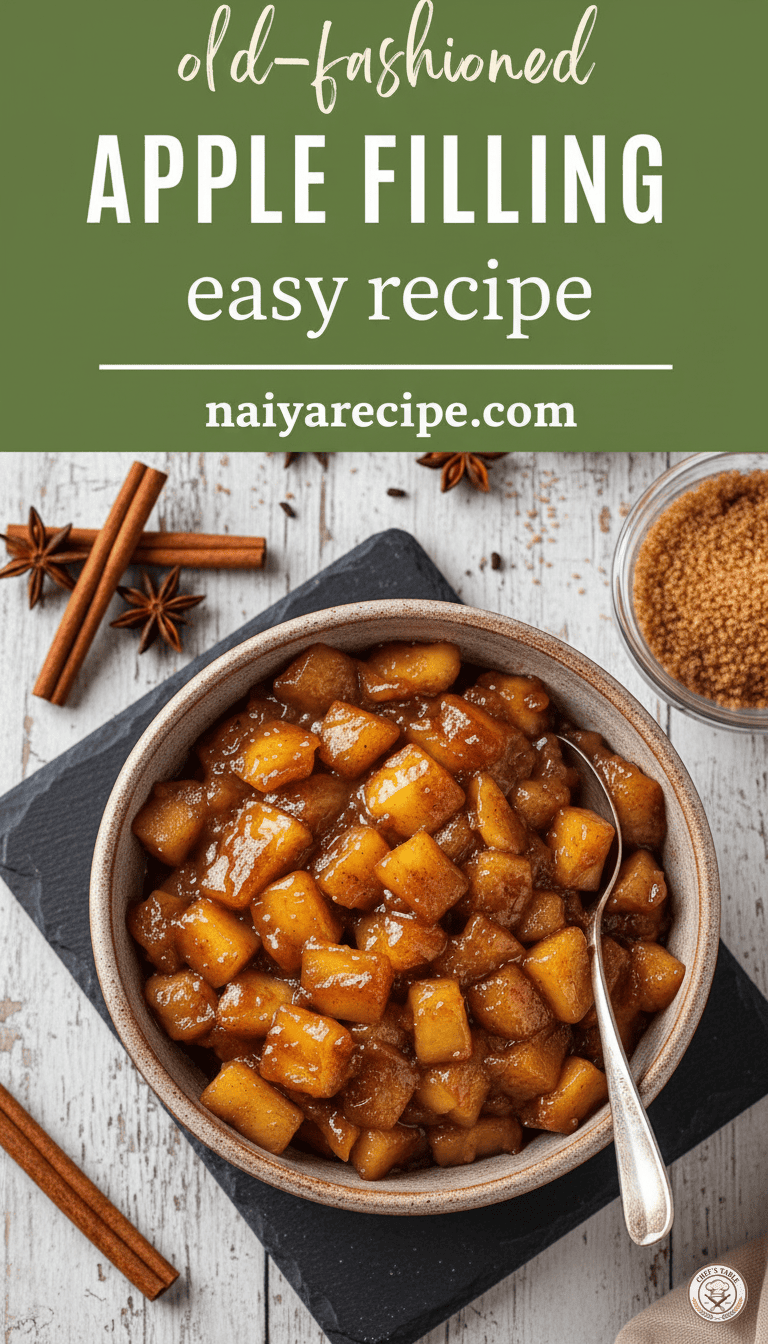
Old-Fashioned Apple Filling: The Easy Recipe
This recipe focuses on simplicity and classic flavors, bringing out the best in the apples without overpowering them.
Yields: Approximately 4-5 cups
Prep time: 15 minutes
Cook time: 15-20 minutes
Ingredients:
- 6-8 medium apples (about 2.5 – 3 pounds), peeled, cored, and diced into ½-inch pieces
- ½ cup packed light brown sugar (adjust to taste, depending on apple sweetness)
- ¼ cup granulated sugar (adjust to taste)
- 2 tablespoons all-purpose flour or cornstarch (for thickening)
- 1 teaspoon ground cinnamon
- ¼ teaspoon ground nutmeg
- ⅛ teaspoon ground cloves (optional, but adds depth)
- ¼ teaspoon salt
- 2 tablespoons unsalted butter
- 2 tablespoons fresh lemon juice (prevents browning and brightens flavor)
- ½ cup water or apple juice
Equipment:
- Large saucepan or Dutch oven
- Measuring cups and spoons
- Vegetable peeler
- Cutting board and sharp knife
- Spatula or wooden spoon
Instructions:
- Prepare the Apples: Peel, core, and dice your apples into uniform ½-inch pieces. The consistency in size will ensure they cook evenly. Place the diced apples in a large bowl and toss immediately with the fresh lemon juice. This step is crucial to prevent the apples from browning and adds a touch of brightness to the final product.
- Combine Dry Ingredients: In a separate small bowl, whisk together the brown sugar, granulated sugar, flour (or cornstarch), cinnamon, nutmeg, cloves (if using), and salt. The flour or cornstarch will act as a thickener, giving your filling that perfect, gooey consistency.
- Cook the Apples: Melt the butter in a large saucepan or Dutch oven over medium heat. Once melted, add the lemon-tossed apples to the pan. Cook for 3-5 minutes, stirring occasionally, just until the apples start to soften slightly. You don’t want them completely soft at this stage, as they will continue to cook.
- Add Sugars and Spices: Sprinkle the sugar and spice mixture evenly over the apples in the pan. Stir well to coat all the apple pieces thoroughly. Continue to cook for another 2-3 minutes, allowing the sugars to begin dissolving and the spices to release their aromatic flavors.
- Simmer and Thicken: Pour in the water or apple juice. Bring the mixture to a gentle simmer, then reduce the heat to low. Cover the pan and let it cook for 10-15 minutes, stirring occasionally. The apples should become tender but still retain some shape, and the sauce should thicken to a luscious consistency. The exact cooking time will depend on the type of apples you use and how soft you prefer them. For a firmer filling, cook for less time; for a softer, more “saucy” filling, cook a bit longer.
- Cool and Store: Once the apples are cooked to your desired tenderness and the sauce has thickened, remove the pan from the heat. Let the filling cool completely before using it in your chosen dessert or storing it. As it cools, the filling will continue to thicken even more.
- Taste Test: Always taste your apple filling once it’s cooled slightly. This is your chance to adjust sweetness or spices if needed. Sometimes, depending on the apples, a little extra sugar or a pinch more cinnamon can make all the difference.
Tips for the Perfect Apple Filling
- Don’t Overcook: The key to a great apple filling is tender apples that still have a bit of bite, not mush. Keep an eye on them during the simmering process.
- Adjust Sweetness: Apple sweetness varies greatly. Taste your apples before adding sugar. If they are very sweet, you might reduce the sugar slightly. If they are very tart, you might add a touch more.
- Flavor Boosters: For an extra layer of flavor, consider adding a tiny pinch of cardamom or allspice along with the cinnamon and nutmeg. A teaspoon of vanilla extract added at the very end (after cooking) can also enhance the flavors.
- Make Ahead: This apple filling is fantastic for making ahead of time. Prepare a larger batch and store it in the refrigerator for up to a week, or freeze it for up to three months.
- Freezing Instructions: To freeze, spoon the cooled filling into freezer-safe containers or bags, leaving a little headspace. Thaw in the refrigerator overnight before using.
Storing Your Old-Fashioned Apple Filling
Proper storage ensures you can enjoy your delicious apple filling for days or even weeks.
- Refrigerator: Once completely cooled, transfer the apple filling to an airtight container. It will keep well in the refrigerator for up to 5-7 days.
- Freezer: For longer storage, freeze the apple filling. Allow it to cool completely, then transfer it to freezer-safe bags or containers. Label with the date. It can be stored in the freezer for up to 3 months. Thaw in the refrigerator overnight or gently reheat on the stovetop over low heat, stirring frequently.
Why “Old-Fashioned” Matters
The term “old-fashioned” in this recipe isn’t just a nostalgic descriptor; it speaks to a culinary philosophy. It means using wholesome ingredients, simple techniques, and letting the natural flavors shine. There are no shortcuts or artificial enhancements here—just real apples, warming spices, and a touch of sweetness, cooked with care. This approach results in a filling that’s not only incredibly delicious but also deeply satisfying and comforting.
In a world full of complex recipes and gourmet trends, sometimes the most rewarding dishes are those that connect us to culinary traditions and the warmth of home cooking. This old-fashioned apple filling is a testament to that timeless appeal.
Conclusion
This old-fashioned apple filling is more than just a recipe; it’s an invitation to create, share, and savor. It’s the foundation for countless desserts and treats, and a comforting delight on its own. With its simple ingredients and straightforward steps, even novice cooks can achieve a delicious and impressive result. So, gather your apples, embrace the warmth of cinnamon, and get ready to fill your kitchen with the irresistible aroma of homemade goodness. Happy cooking!
Find more delicious and easy recipes at naiyarecipe.com.