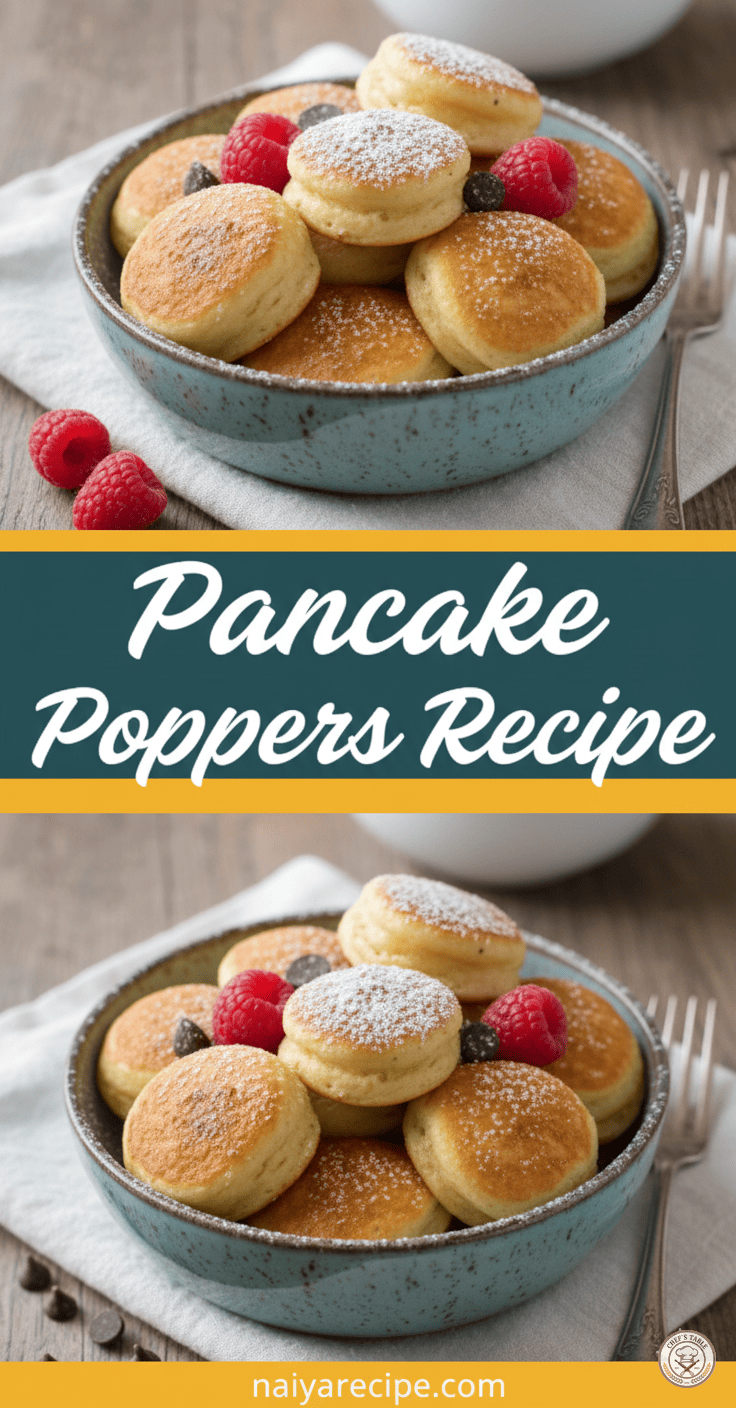
Pancake poppers are a delightful and bite-sized twist on classic pancakes, offering a fun and easy way to enjoy a breakfast favorite. These miniature pancakes are perfect for brunch, parties, or a special weekend treat. They’re incredibly versatile, allowing for a variety of fillings and toppings, making them a hit with both kids and adults. This recipe focuses on creating light, fluffy, and utterly irresistible pancake poppers that are sure to become a staple in your kitchen.
The beauty of pancake poppers lies in their convenience. Their small size makes them quick to cook and easy to serve, eliminating the need for cutting and stacking individual pancakes. They’re also fantastic for meal prepping; you can make a large batch and store them in the refrigerator or freezer for a grab-and-go breakfast throughout the week. Whether you enjoy them plain, with a dusting of powdered sugar, or drizzled with your favorite syrup, these poppers are a guaranteed crowd-pleaser.
This comprehensive guide will walk you through everything you need to know to master the art of pancake poppers. From selecting the right ingredients to perfecting your cooking technique, we’ll cover all the essential tips and tricks to ensure your poppers are consistently delicious. We’ll also explore various ways to customize your poppers, from incorporating different flavors into the batter to experimenting with sweet and savory fillings.
The Perfect Batter: The Foundation of Fluffy Poppers
The secret to light and airy pancake poppers begins with the batter. A well-balanced batter is crucial for achieving that desirable fluffy texture. Our recipe uses a combination of all-purpose flour, baking powder, a touch of sugar, and a pinch of salt to create the ideal foundation.
Ingredients for the Batter:
- 1 ½ cups all-purpose flour
- 2 tablespoons granulated sugar
- 2 teaspoons baking powder
- ½ teaspoon salt
- 1 large egg
- 1 cup milk (dairy or non-dairy alternatives work well)
- 2 tablespoons unsalted butter, melted, plus extra for greasing the pan
- 1 teaspoon vanilla extract
Instructions for Preparing the Batter:
- Whisk Dry Ingredients: In a large mixing bowl, combine the all-purpose flour, granulated sugar, baking powder, and salt. Whisk them together thoroughly to ensure all ingredients are evenly distributed. This step is important for preventing lumps and ensuring consistent leavening.
- Combine Wet Ingredients: In a separate medium-sized bowl, whisk together the egg, milk, and melted butter. Make sure the melted butter has cooled slightly before adding it to the egg mixture to prevent scrambling the egg. Stir in the vanilla extract.
- Combine Wet and Dry: Pour the wet ingredients into the dry ingredients. Stir gently with a whisk or a spatula until just combined. It’s crucial not to overmix the batter. A few lumps are perfectly fine and even desirable, as overmixing can develop the gluten in the flour, resulting in tough pancakes. The goal is a slightly lumpy batter that’s just come together.
- Rest the Batter (Optional but Recommended): For even fluffier poppers, allow the batter to rest for 5-10 minutes at room temperature. This allows the gluten to relax and the baking powder to fully activate, leading to a lighter texture.
Cooking Your Pancake Poppers: Achieving Golden Perfection
Cooking pancake poppers requires a special pan, typically a aebleskiver pan or a specific pancake popper pan with hemispherical indentations. If you don’t have one, you can still make miniature pancakes on a regular griddle, but they won’t have the characteristic spherical shape.
Equipment:
- Aebleskiver pan or pancake popper pan
- Wooden skewers or chopsticks for flipping
- Pastry brush (optional, for greasing)
Cooking Instructions:
- Preheat the Pan: Place your aebleskiver or pancake popper pan over medium heat. Allow it to preheat for a few minutes. To test if it’s hot enough, drop a tiny bit of water into one of the indentations; it should sizzle and evaporate quickly.
- Grease the Pan: Lightly grease each indentation with a small amount of melted butter or cooking oil using a pastry brush or a paper towel. Even if your pan is non-stick, a little grease helps achieve a beautiful golden-brown crust and prevents sticking.
- Fill the Indentations: Pour the pancake batter into each indentation, filling it about two-thirds full. Be careful not to overfill, as the batter will expand as it cooks.
- Cook the First Side: Cook for 2-3 minutes, or until you see small bubbles forming on the surface of the batter and the edges appear set. The bottom should be golden brown.
- Flip and Cook the Second Side: Using a wooden skewer or a pair of chopsticks, carefully flip each pancake popper over. This is where the spherical shape starts to form. If you’re using an aebleskiver pan, you’ll rotate the partially cooked popper to complete the sphere.
- Continue Cooking: Cook for another 2-3 minutes, or until the poppers are golden brown on all sides and cooked through. You can gently press on a popper to check if it feels springy, indicating it’s done.
- Remove and Serve: Once cooked, remove the pancake poppers from the pan and transfer them to a plate. Repeat the process with the remaining batter, greasing the pan lightly between batches if needed.
Customizing Your Pancake Poppers: Endless Possibilities
One of the most exciting aspects of pancake poppers is the ability to customize them with various fillings and toppings. This allows you to create an endless array of flavor combinations to suit any preference.
Sweet Fillings and Mix-ins:
- Chocolate Chips: Miniature chocolate chips are a classic addition. Simply sprinkle them into the batter once it’s in the pan, or gently fold them into the batter beforehand.
- Fresh Berries: Small diced strawberries, blueberries, or raspberries can be added to the batter for a burst of fruity flavor.
- Fruit Preserves/Jams: A tiny dollop of your favorite fruit jam or preserves can be added to the center of each popper before flipping for a delightful surprise.
- Cream Cheese: A small cube of cream cheese can be placed in the center for a creamy, tangy filling.
- Nut Butter: A tiny spoonful of peanut butter or almond butter in the center adds richness and protein.
- Spices: A pinch of cinnamon or nutmeg can be added to the dry ingredients for a warm, comforting flavor.
- Lemon Zest: For a brighter, zesty flavor, add a teaspoon of lemon zest to the batter.
Savory Variations:
While often thought of as sweet, pancake poppers can also be made savory.
- Cheese: Grated cheddar or mozzarella can be folded into the batter or placed in the center for cheesy poppers.
- Herbs: Freshly chopped chives, parsley, or dill can add a herbaceous note.
- Everything Bagel Seasoning: Sprinkle a little everything bagel seasoning over the batter before cooking for a unique savory twist.
- Vegetable Puree: A small amount of pureed pumpkin or sweet potato can be incorporated into the batter for added flavor and nutrients.
Topping Ideas:
- Powdered Sugar: A simple dusting of powdered sugar is a classic and elegant finish.
- Maple Syrup: The quintessential pancake topping, warm maple syrup is always a winner.
- Fruit Syrup: Blueberry, strawberry, or raspberry syrup adds a lovely fruitiness.
- Fresh Fruit: Serve with a side of fresh berries, sliced bananas, or other seasonal fruits.
- Whipped Cream: A dollop of whipped cream makes these feel extra special.
- Nutella or Chocolate Sauce: For a decadent treat, drizzle with chocolate hazelnut spread or chocolate sauce.
- Yogurt Drizzle: A light drizzle of plain or flavored yogurt can add a tangy counterpoint.
- Melted Butter: A classic touch that enhances the flavor.
Tips for Success
- Don’t Overmix the Batter: This is the golden rule for fluffy pancakes. Lumps are good!
- Proper Pan Temperature: Too hot, and the outside will burn before the inside cooks. Too cool, and they won’t brown nicely and will absorb too much oil. Medium heat is usually best.
- Grease Between Batches: Even with a non-stick pan, a little grease ensures consistent browning and easy removal.
- Use a Squeeze Bottle (Optional): For easier and cleaner filling of the indentations, you can pour the batter into a squeeze bottle.
- Keep Warm: As you cook batches, you can keep the finished pancake poppers warm in a preheated oven at a low temperature (around 200°F/95°C) on a baking sheet.
- Don’t Rush the Flip: Wait until the edges are set and bubbles form before attempting to flip. This ensures the poppers hold their shape.
Storing and Reheating Pancake Poppers
Pancake poppers are fantastic for making ahead, which makes them perfect for busy mornings or meal prepping.
- Refrigerator: Store cooled pancake poppers in an airtight container in the refrigerator for up to 3-4 days.
- Freezer: For longer storage, arrange cooled poppers in a single layer on a baking sheet and freeze until solid (about 1-2 hours). Once frozen, transfer them to a freezer-safe bag or container, separating layers with parchment paper to prevent sticking. They can be stored in the freezer for up to 2-3 months.
- Reheating:
- Microwave: Reheat individual portions in the microwave for 30-60 seconds, or until warmed through.
- Toaster Oven/Oven: For a crispier exterior, reheat in a toaster oven or conventional oven at 350°F (175°C) for 5-10 minutes, or until heated through.
- Air Fryer: Reheat in an air fryer at 350°F (175°C) for 3-5 minutes for a quick and crispy result.
Conclusion
Pancake poppers are a delightful and customizable breakfast or brunch item that brings a touch of fun to any meal. Their bite-sized nature, versatility, and ease of preparation make them a perfect choice for families, entertaining, or simply enjoying a special treat. By following this detailed recipe and incorporating your favorite fillings and toppings, you’ll be able to create a batch of irresistibly fluffy and delicious pancake poppers every time. So, gather your ingredients, fire up your pan, and get ready to enjoy these miniature wonders. Happy cooking!